The Streak Continues: 225
It is just before 5:15am here in Amherst, MA as I publish this blog post. Yesterday’s program, “What Makes a Great Natural History Image?,” my third at the NECCC conference, was very well received. I do it again today in the 10:30 till noon slot. My programs are being generously sponsored by the Canon USA Explorers of Light group. Please stop by and say “Hi.” This post, which took me about 90 minutes to prepare, marks 225 consecutive days with a new educational blog post. With so many folks getting in the habit of using our B&H links and our Amazon logo-links why quit now? April, May, June, and July have been fantastic as lots of folks are getting the message; using my affiliate links does not cost you a penny and helps support my efforts here. To show your appreciation, I do ask that you use our B&H and Amazon affiliate links on the right side of the blog for all of your purchases. Please check the availability of all photographic accessories in the BIRDS AS ART Online Store, especially Gitzo tripods, Wimberley tripod heads, and the like. We sell only what I have used and tested, and know that you can depend on. We will not sell you junk. We know the tools that you need to make creating great images easy and fun. And we are always glad to answer your gear questions via e-mail.
You can find the following items in the store: Gitzo tripods, Mongoose M3.6 and Wimberley heads, plates, low feet, and accessories, flash brackets, , Delkin e-film Pro Compact Flash Cards, LensCoat products, and our unique line-up of educational materials including ABP I & II, Digital Basics, Site and Set-up e-Guides, Canon and Nikon Camera Users and AF e-Guides, and MP-4 Photoshop video tutorials among others.
I would of course appreciate your using our B&H affiliate links for all of your major gear, video, and electronic purchases. For the photographic stuff mentioned in the paragraph above we, meaning BAA, would of course greatly appreciate your business. Here is a huge thank you to the many who have been using our links on a regular basis and visiting the BAA Online store as well.
|
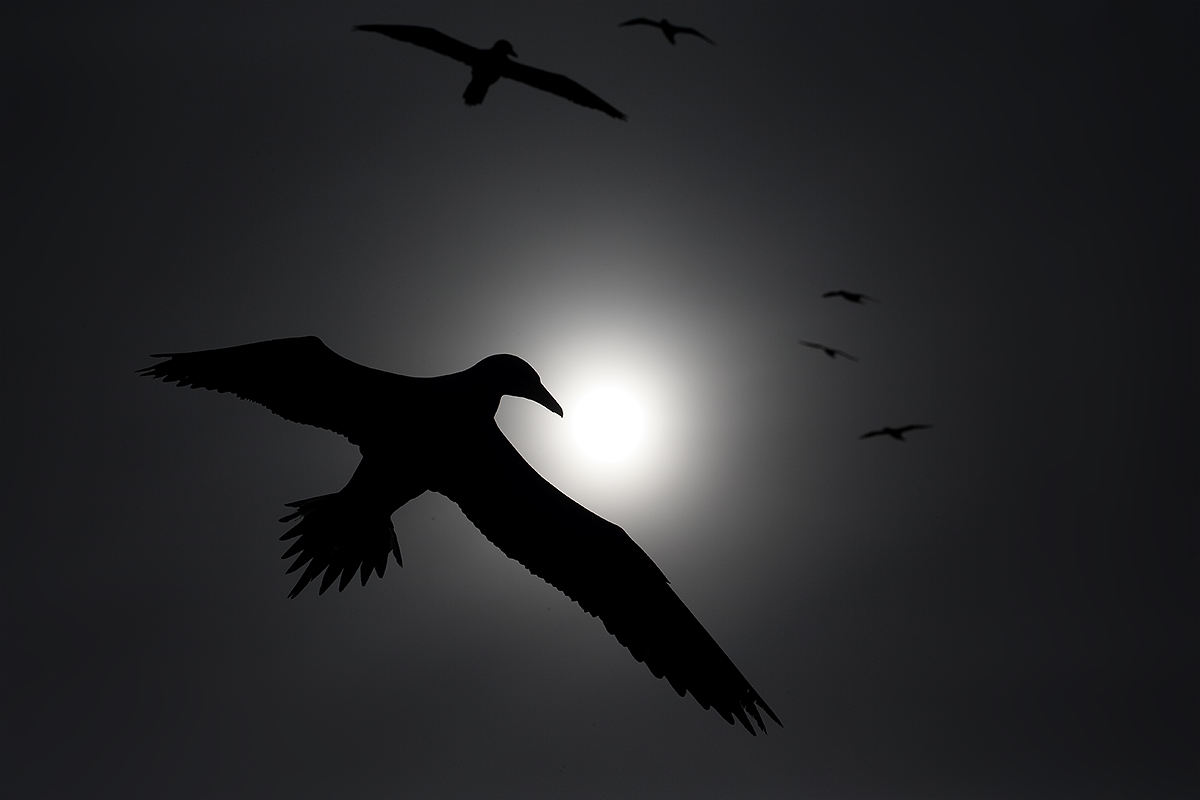
This image was created on the morning gannet boat trip on the hugely successful UK Puffins and Gannets IPT with the Canon EF 70-200mm f/2.8L IS II lens , the Canon 1.4x EF Extender III (hand held at 222mm), and the Canon EOS-1D X. ISO 200. Evaluative metering -3 stops as framed: 1/8000 sec. at f/16 in Av mode. Central sensor/AI Servo Surround/Rear Focus AF on main subject’s head (as originally framed) was active at the moment of exposure. Click here if you missed the Rear Focus Tutorial. Be sure to click on the image to see a larger version. |
Creating Mystery at Bass Rock
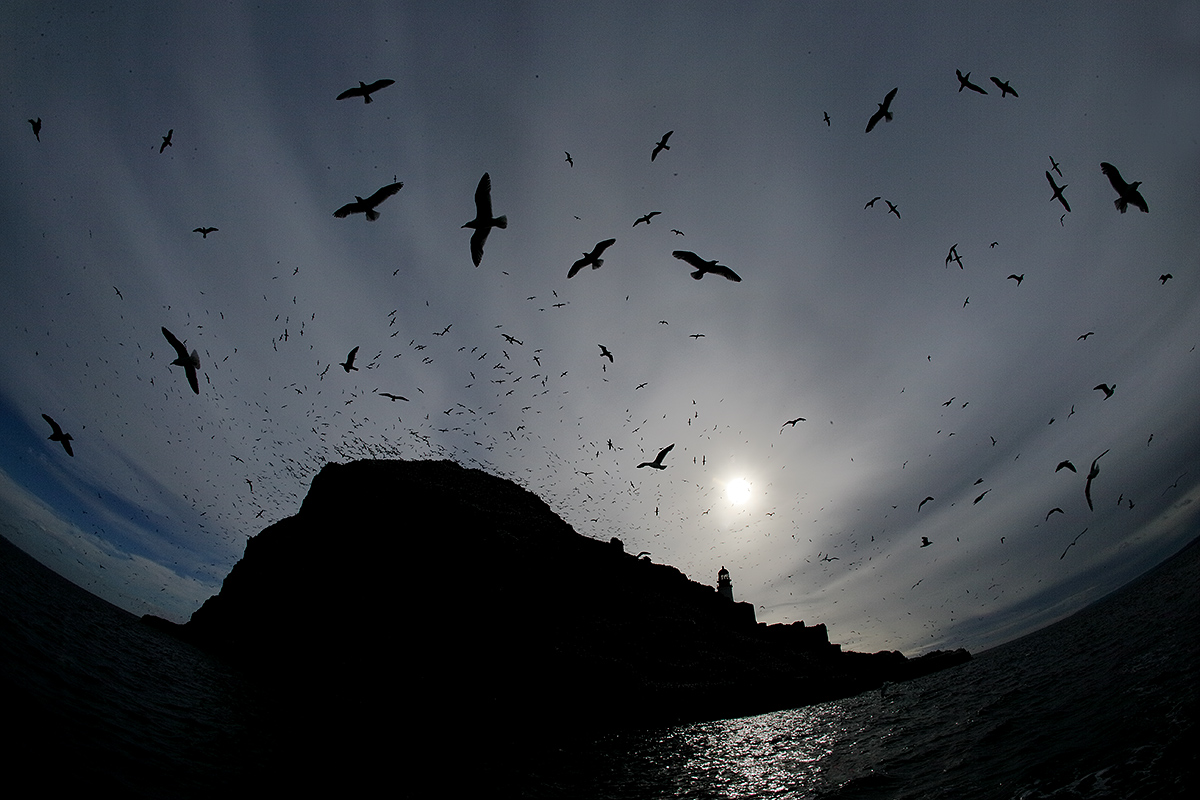
As I mentioned in the 70-200mm f/2.8L IS & 1D X Combo Does Not Suck blog post, we had changeable conditions that included foggy bright. In the two images here I opted to include the sun in the frame and to underexpose in part to add drama. With the image above I tried to follow individual birds that were heading towards the muted sun and click the shutter at just the right moment. With the image below the trick was to focus on one of the closer gulls, re-compose while being aware of keeping the image level, and then holding the shutter button down in hopes of coming up with a pleasing arrangement of the swirling birds. As seen below.
|
This image was created with the hand held Canon 15mm fish eye lens (now replaced by the Canon EF 8-15mm f/4L Fisheye USM lens) with the Canon EOS-1D X . ISO 400. Evaluative metering -1 stop: 1/1600 sec. f/22 in Manual mode. Color temperature: AWB. Central sensor/AI Servo Surround/Rear Focus AF on one of the closer gulls and re-compose. Click here if you missed the Rear Focus Tutorial. Be sure to click on the image to see a larger version. |
Your Favorite?
I like both of these images. Denise likes one of the two much better than the other. Which one do you think is the stronger image? And why?
Exposure Questions
1-Why did I need to underexpose both of the images here?
2-Why did the first image need much more under-exposure (-3 stops as compared to -1 stop) than the second image? There are two reasons.
3-Which ISO setting should I have used for both images?
ID Points
In the fish eye image the prominent birds are large gulls: Herrings with a few Lesser Black-backeds. Note their broad, slightly curved wings and relatively short fanned tails. You can pick out a few of the higher flying, smaller-in-the-frame gannets by their dead-straight wings and long straight tails.
Be sure to like and follow BAA on Facebook by clicking on the logo link upper right. Tanks a stack!
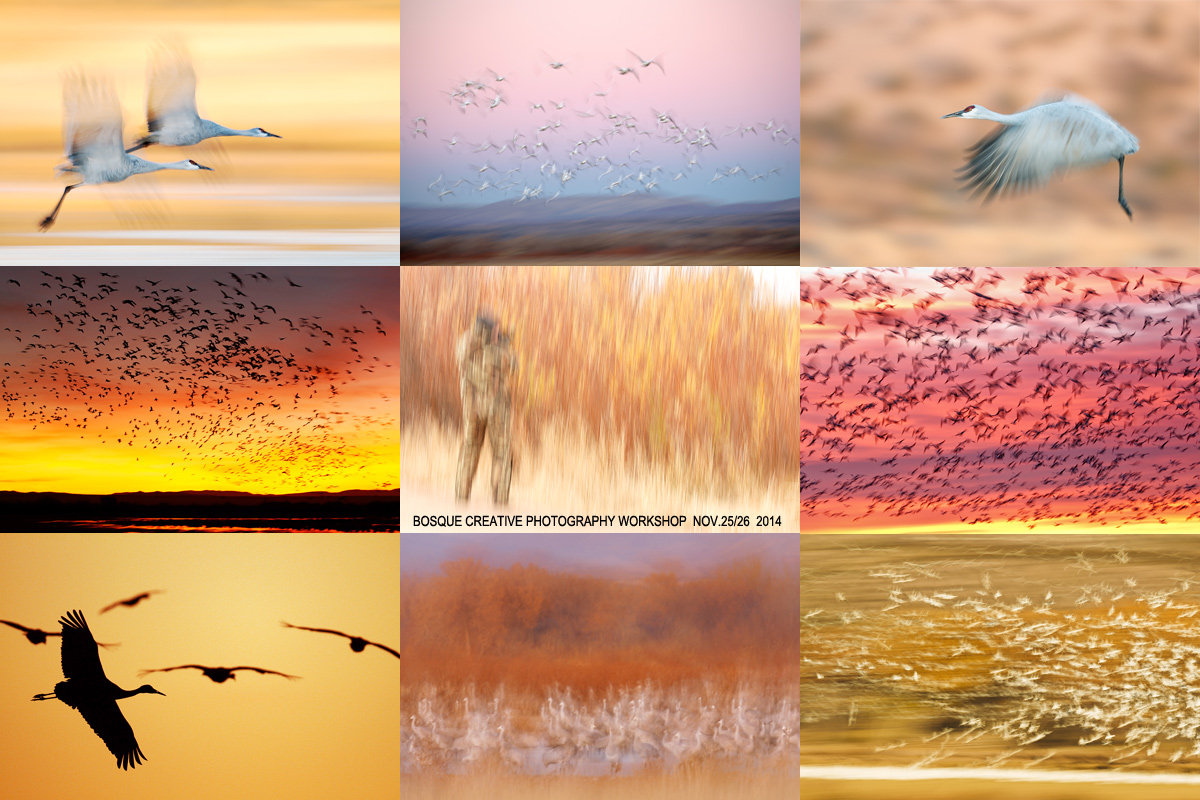
Join Denise Ippolito and me for two great days of photography, fun, and learning at one of our soul places. We will surely be taking you out of the box on this workshop. Please click on the card to enjoy a larger version.
Bosque del Apache 2014 A Creative Adventure/BIRDS AS ART “Creative Photography Instructional Photo-Tour.” (IPT). NOV 24-25, 2014. 2-FULL DAYS: $729. Leaders: Denise Ippolito & Arthur Morris. Introductory Slide program: 7:00pm on Sunday 11/23.
Get Out of Your Box!
The Creative Bosque IPT is perfect for folks who want to learn to think outside the box, to create new and different images. This workshop is the perfect add-on for folks who are planning on attending the Festival of the Cranes. Learn to unleash your creative juices at the wondrous Bosque del Apache National Wildlife Refuge in San Antonio, New Mexico with two great leaders including the amazingly talented and creative Denise Ippolito. In-the-field instruction will include tips on gear set-up, on creating a variety of pleasing blurs, on getting the right exposure, and on designing pleasing images. And lots more. From vertical pan blurs to subject motion blurs to zoom blurs to multiple exposures we will cover it all. If conditions are perfect, we will not hesitate to take advantage of them to do some traditional bird photography. This workshop will include an inspirational introductory slide program on Sunday evening, 11/23, after dinner on your own, two morning and two afternoon photography sessions, all lunches, a digital workflow and Photoshop session after lunch on Monday, and an image critiquing session after lunch on Tuesday.
A $329 non-refundable deposit is required to hold your slot for this IPT. Your balance, payable only by check, will be due on 7/25/2014. If the trip fills, we will be glad to apply a credit applicable to a future IPT for the full amount less a $100 processing fee. If we do not receive your check for the balance on or before the due date we will try to fill your spot from the waiting list. If your spot is filled, you will lose your deposit. If not, you can secure your spot by paying your balance.
Please print, complete, and sign the form that is linked to here and shoot it to us along with your deposit check (made out to “Arthur Morris.”) You can also leave your deposit with a credit card by calling the office at 863-692-0906. If you register by phone, please print, complete and sign the form as noted above and either mail it to us or e-mail the scan. If you have any questions, please feel free to contact me via e-mail.
Support the BAA Blog. Support the BAA Bulletins: Shop B&H here!
We want and need to keep providing you with the latest free information, photography and Photoshop lessons, and all manner of related information. Show your appreciation by making your purchases immediately after clicking on any of our B&H or Amazon Affiliate links in this blog post. Remember, B&H ain’t just photography!
Amazon Canada
Many kind folks from north of the border, ay, have e-mailed stating that they would love to help us out by using one of our affiliate links but that living in Canada and doing so presents numerous problems. Now, they can help us out by using our Amazon Canada affiliate link by starting their searches by clicking here. Many thanks to those who have written.
Typos
In all blog posts and Bulletins, feel free to e-mail or to leave a comment regarding any typos, wrong words, misspellings, omissions, or grammatical errors. Just be right. 🙂


Dear tilted lighthouse boys and girls,
This image is perfectly level as measured by the points where the left and right horizon lines touch the frame edges. It was perfect right out of camera. How did I do that while hand holding? By using the grid that I have activated in the view finder–I think that it is the 4X6 grid in the viewfinder….
The lighthouse is tilted inward because of the fish eye (lens barrel) distortion. While I could correct that it would seem abnormal to my eye. artie
I knew the lens did it and maybe it wouldn’t work but would still like to see how it looks with the lighthouse straight.
I like both but my run away favorite is #2. To my eye, there is a lot of motion in the second image created by the swirl of the fisheye plus the birds and the sky. The angle of the lighthouse was not an issue for me.
Love them both! First one in particular is very dramatic!
I like the second one. A lot of thought and skill went into that one and it really turned out well. I would have lov to have been on that boat just to see that.
Join us next year 🙂 a
Hi, Artie. I agree with Elinor on all counts, except that birds in the first image are gannets. In both images the shutter speed is fast enough to get sharp images and you could stop down enough, and I see no noise, so I don’t see what was wrong with ISO 400.
No except.. I do not believe that I said that there were gulls in the first image….
Artie: “Except” applied to what Elinor wrote, not what you wrote.
David
I stand corrected. Yes, if I had looked more carefully I should have seen they were not gulls.
The second image is killer, but I do agree with Elinor….ya gotta straighten that lighthouse!
I’m probably way off but will take a stab at it
1- Had to underexpose to get a round sun to show. A lighter exposure would show a bright sky with no defined sun.
2-In image #1 the sun was large in the frame with only a few dark spots (the gulls). In image #2 there was more dark area–about a third of the image. The sun was very small in the frame where it was large in image #1. Therefore less underexposure needed for #2.
3-Maybe around ISO 200 to avoid noise in the dark areas? However I can’t see any noise in these.
My favorite is #2 for a bunch of reasons–the sun just over the lighthouse, the lighthouse itself, the streak of blue on the left, the sun’s reflection in the water, the steep hill, the pattern of birds which swirl back into the distance, curving upward streaks of the clouds with the sun anchoring them. Beautiful !
Could the lighthouse be straightened by turning the photo to the right just a smidgeon? The lighthouse is so important to my eye that having it straight would be good.