What’s Up?
The usual. This blog post took about 2 1/4 hours to prepare including the time spent on the three image optimizations. It is scheduled to be published very early on Friday morning. Today marks 86 straight days with a new educational blog post.
South Georgia October 2015
Do consider joining me in South Georgia next October for the trip of a lifetime. Click here for complete details.
Please Remember to use our Affiliate Links 🙂
To show your appreciation for my continuing efforts here, we ask, as always, that you use our the B&H and Amazon affiliate links on the right side of the blog for all of your purchases. B&H is recommended for you major photography gear purchases, Amazon for your household, entertainment, and general purpose stuff. Please remember: no phone orders: web orders only!
Please check the availability of all photographic accessories in the BIRDS AS ART Online Store, especially the Mongoose M3.6 tripod heads, Gitzo tripods, Wimberley heads and plates, LensCoats and accessories, and the like. We sell only what I have used, have tested, and can depend on. We will not sell you junk. We know what you need to make creating great images easy and fun. And we are always glad to answer your gear questions via e-mail.
I would of course appreciate your using our B&H affiliate links for all of your major gear, video, and electronic purchases. For the photographic stuff mentioned in the paragraph above we, meaning BAA, would of course greatly appreciate your business. Here is a huge thank you to the many who have been using our links on a regular basis and visiting the BAA Online store as well.
|
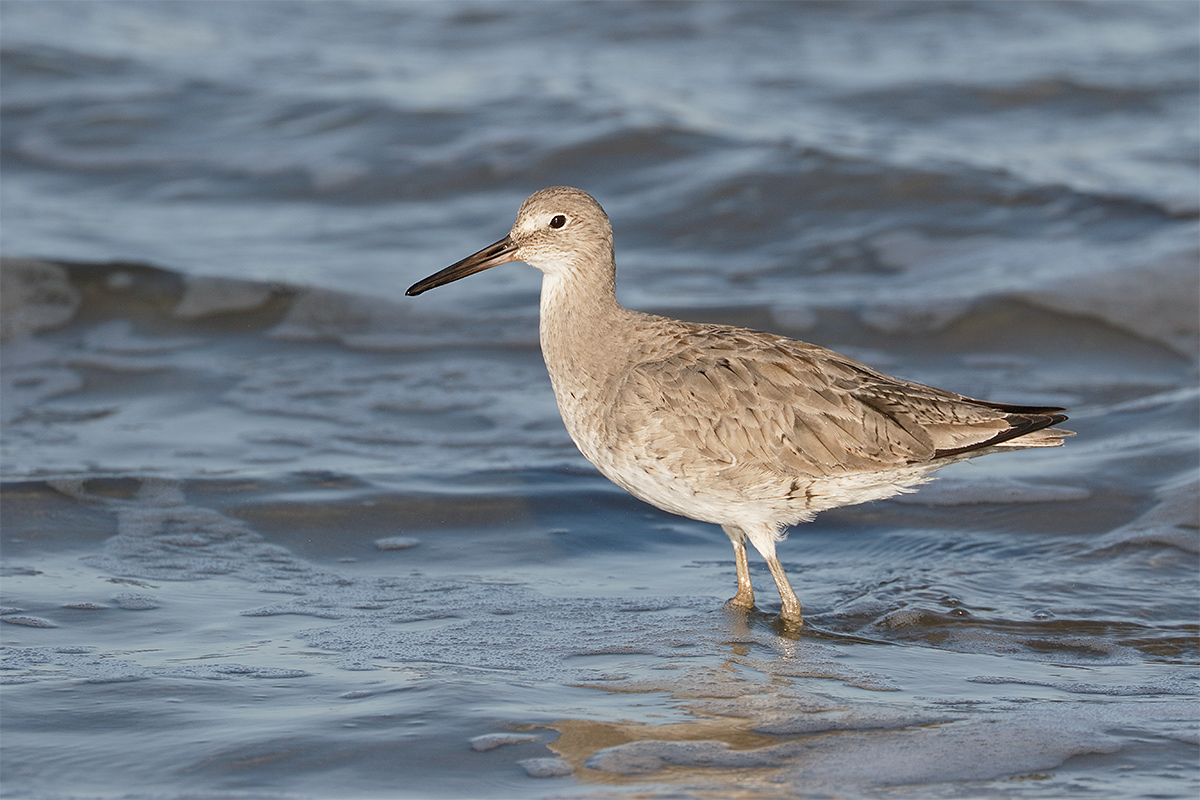
This image was created at Morro Bay (while standing) with the hand held Canon EF 100-400mm f/4.5-5.6L IS II USM lens, the Canon Extender EF 1.4X III (at 490mm), and the amazing Canon EOS 7D Mark II. ISO 400: 1/1600 sec. at f/9 confirmed via histogram. Center AF point (by necessity)/AI Servo Expand/Shutter Button AF as framed was active at the moment of exposure (as is always best when hand holding). The center AF point was on the side of the bird’s breast well forward of the bend of the wing. Click on the image to see a larger version. Image #1: Willet in surf. |
Why the 1.4X?
Near the end of my great Morro Bay trip I realized that I had not made any images of single Willet. Why? For unknown reasons, this species in California is a lot more skittish than it is in Florida in winter. The solution? Add the 1.4X III TC to the mix to give me 560mm. With the 1.6 crop factor I enjoyed effective 896mm at the max. With active birds feeding in the shallow surf you will need to have AF active and find a spot with a bit of contrast so that AF holds well.
As you are working at f/8 with this set-up you will be limited to choosing the central AF point only. Be sure to hit the grid button once to add the four expand points to give you a bit more compositional freedom. When I have sufficient light as I did in this situation I will almost always work at f/9 for a bit of extra sharpness. The placement of the active AF point had the sensor pretty much on the same plane as the subject’s eye just as we want.
I warped the wave-let that nearly intersected the tip of the bird’s bill and then refined that Quick Mask with a Layer Mask. Additional clean-up there was with the Clone Stamp Tool. Finally, to smooth things over, I painted a Quick Mask of the messy area, applied a Gaussian Blur, and reduced the opacity. I painted the area where the bill had been softened by the blur back in with a Regular Layer Mask. The difference was dramatic.
|
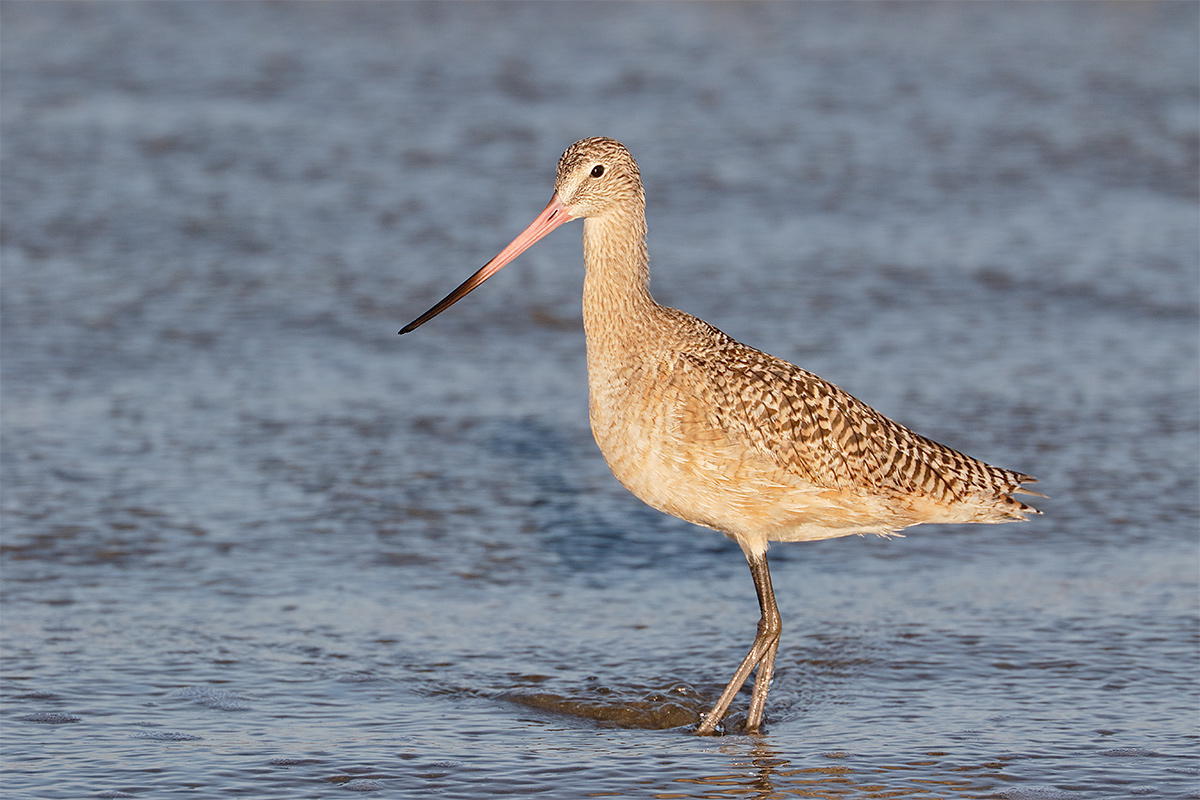
This image was created at Morro Bay (while standing) with the hand held Canon EF 100-400mm f/4.5-5.6L IS II USM lens, the Canon Extender EF 1.4X III (at 490mm), and the amazing Canon EOS 7D Mark II. ISO 400. Evaluative metering +1/3 stop: 1/1250 sec. at f/9. Center AF point (by necessity)/AI Servo Expand/Shutter Button AF as framed was active at the moment of exposure (as is always best when hand holding). The center AF point was on the center of the bird’s breast directly below the bird’s eye, just a bit forward of and a bit lower than it was in the opening image. Click on the image to see a larger version. Image #2: Marbled Godwit in surf. |
More of the same with a twist…
Here, I made sure to have the active AF point a bit lower on the bird’s breast to be sure that I did not clip the godwit’s feet. Notice that with the center AF point on the bird’s breast that there is about 2 1/2 times more room from the bill tip to the left frame edge than from the tip of the tail to the right frame edge. Just as in the Willet image that opened this post. In nearly all cases you will want two to four times more room in front of the bird than behind it…. If the distance from the bill tip to the frame edge is the same as the distance from the tail tip is the same your bird will be centered and in nearly all cases, the composition will be both static and boring.
|
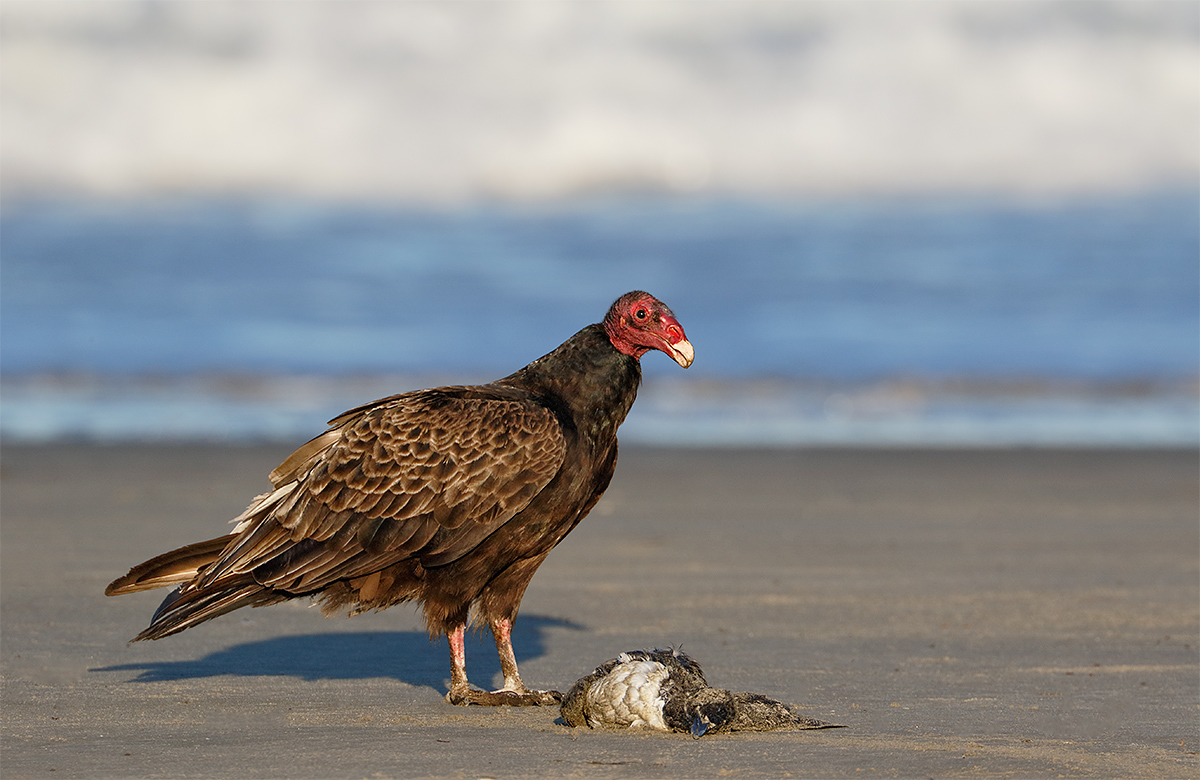
This image was created at Morro Bay with the hand held Canon EF 100-400mm f/4.5-5.6L IS II USM lens, the Canon Extender EF 1.4X III (at 560mm), and the amazing Canon EOS 7D Mark II. ISO 400. Evaluative metering +2/3 stop as framed: 1/640 sec. at f/9. Center AF point (by necessity)/AI Servo Expand/Shutter Button AF as framed was active at the moment of exposure (as is always best when hand holding). The center AF point was right on the bird’s neck. Click on the image to see a larger version. Image #3: Turkey Vulture with seabird carcass |
On the ground…
I got down flat in the sand and crawled up on this bird in early morning light as I had noticed that they did not at all like people approaching them. I rested my left forearm on the beach and made sure to have AF active at the moment of exposure to ensure a sharp image of a relatively distant subject. Here I was working at the max, effective 896mm.
As the beach was somewhat of a mess optimizing this image involved lots of work with the Clone Stamp Tool, the Patch Tool, and the Spot Healing Brush.
Summing Up
When using a 1.4X TC on an f/5.6 lens you are limited to the center AF point only; when hand holding you need to place the active AF point on a spot on the bird that will render the bird’s eye razor sharp. As you will almost never be happy with the image design if you blindly place the active AF point on the bird’s eye, you need to put your thinking cap on and be creative when making this decision….
Making sharp images of moving birds with the 100-400II/1.4X III TC/7D II combo requires both attention to detail (as immediately above) and some degree of skill. For static subjects, the use of a tripod and a Mongoose M3.6 is strongly recommended. Remember that if you are using rear focus or focus lock, or even One-Shot AF, it is imperative that your rig not be moved even a fraction of a millimeter after focus has been set. The movement that results from just breathing is more than enough to throw off AF….
Your Favorite?
Please take a moment to let us know which of today’s three images is your favorite, and why.
The Image Optimizations
The RAW files for all three of today’s images were of course converted in DPP 4 and optimized in Adobe Photoshop Creative Cloud.
Digital Basics
Everything that I did to optimize today’s images is covered in detail in our Digital Basics File–written in my easy-to-follow, easy-to-understand style. Are you tired of making your images look worse in Photoshop? Digital Basics File is an instructional PDF that is sent via e-mail. It includes my complete digital workflow, dozens of great Photoshop tips, details on using all of my image clean-up tools, the use of Contrast Masks, several different ways of expanding and filling in canvas, all of my time-saving Keyboard Shortcuts, Quick Masking, Layer Masking, and NIK Color Efex Pro basics, Contrast Masks, Digital Eye Doctor techniques, using Gaussian Blurs, Tim Grey Dodge and Burn, a variety of ways to make selections, how to create time-saving actions, the Surface Blur (background noise reduction) settings, and tons more.
APTATS I & II
Learn the details of advanced Quick Masking techniques in APTATS I. Learn Advanced Layer Masking Techniques in APTATS II. Mention this blog post and apply a $5 discount to either with phone orders only. Buy both APTATS I and APTATS II and we will be glad to apply at $15 discount either with phone orders or here in the BAA Online Store. For phone orders, call Jim or Jennifer at 863-692-0906 weekdays.
|
You can order your copy of “The Photographers’ Guide to Canon Digital Photo Professional 4.0” (aka the DPP 4 Raw Conversion eGuide) by Arash Hazeghi and Arthur Morris by clicking here. |
The DPP 4 eGuide (PDF)
The Ideal Companion to the 7D Mark II User’s Guide
Learn how and why I and many other discerning photographers choose and use only DPP 4 to convert their Canon RAW files in the DPP 4 RAW Conversion Guide by Arash Hazeghi and yours truly. The latest version supports all of the newer Canon camera bodies and several older models including the EOS-7D and the EOS-1D Mark IV. A free update that will cover most of the newly added cameras will be sent in a week or two. See upcoming blog posts for exact details.
|
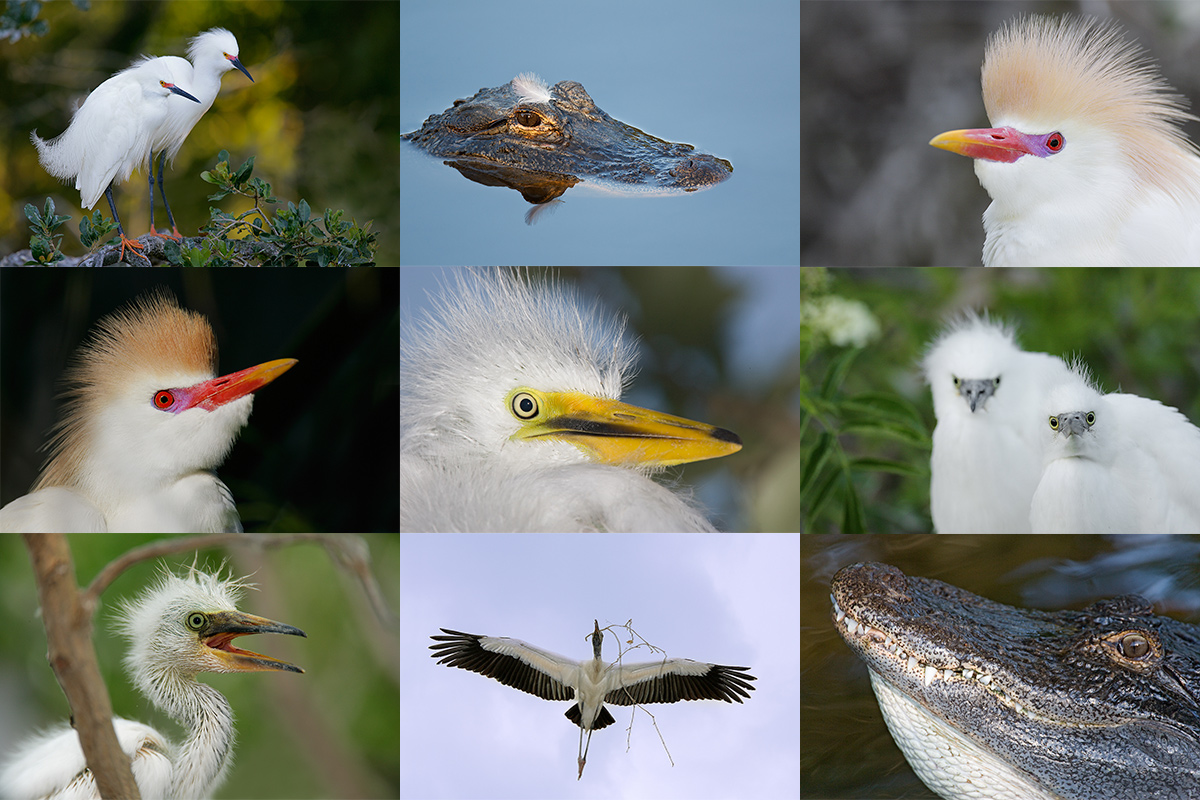
Clockwise from upper left to center: Snowy Egrets/breeding plumage pair, American Alligator with egret feather on head, Cattle Egret in breeding plumage (with fill flash), large Snowy Egret chicks, displaying gator, Wood Stork in flight carrying nesting material (fill flash), begging Snowy Egret chick, another Cattle Egret in breeding plumage (with fill flash), and Great Egret chick. |
Date Change: St. Augustine Alligator Farm Short-Notice Spoonbill and Wading Bird Chicks IPT: May 4-6, 2015.
St. Augustine Alligator Farm Short-Notice Spoonbill and Wading Bird Chicks IPT: May 4-6, 2015. TWO FULL and TWO 1/2 DAYS: $1099. Limit 8/Openings 5.
St. Augustine in early May is a bird photographer’s paradise. With any luck we should have chicks of all sizes in the nests ranging from newly hatched Snowy Egrets and Tricolored Herons to nearly fledged Great Egrets. More than a few pairs of Roseate Spoonbills have nested at the Alligator Farm for the past several years. Photographing the spoonbill chicks in the nest is a huge challenge…. With any luck we will encounter a few Snowy and Cattle Egrets in stunning breeding plumage. We should have lots of flight photography ops especially late in the day. We will enjoy extra early entry on our three mornigs. Folks who will need a photographer’s pass ($89.95 includes full season early entry and late stay and submission fees for up to 5 photos in their annual contest; this works out to cheaper than four separate entry tickets). We will have those ready for pick-up on the first afternoon.
|
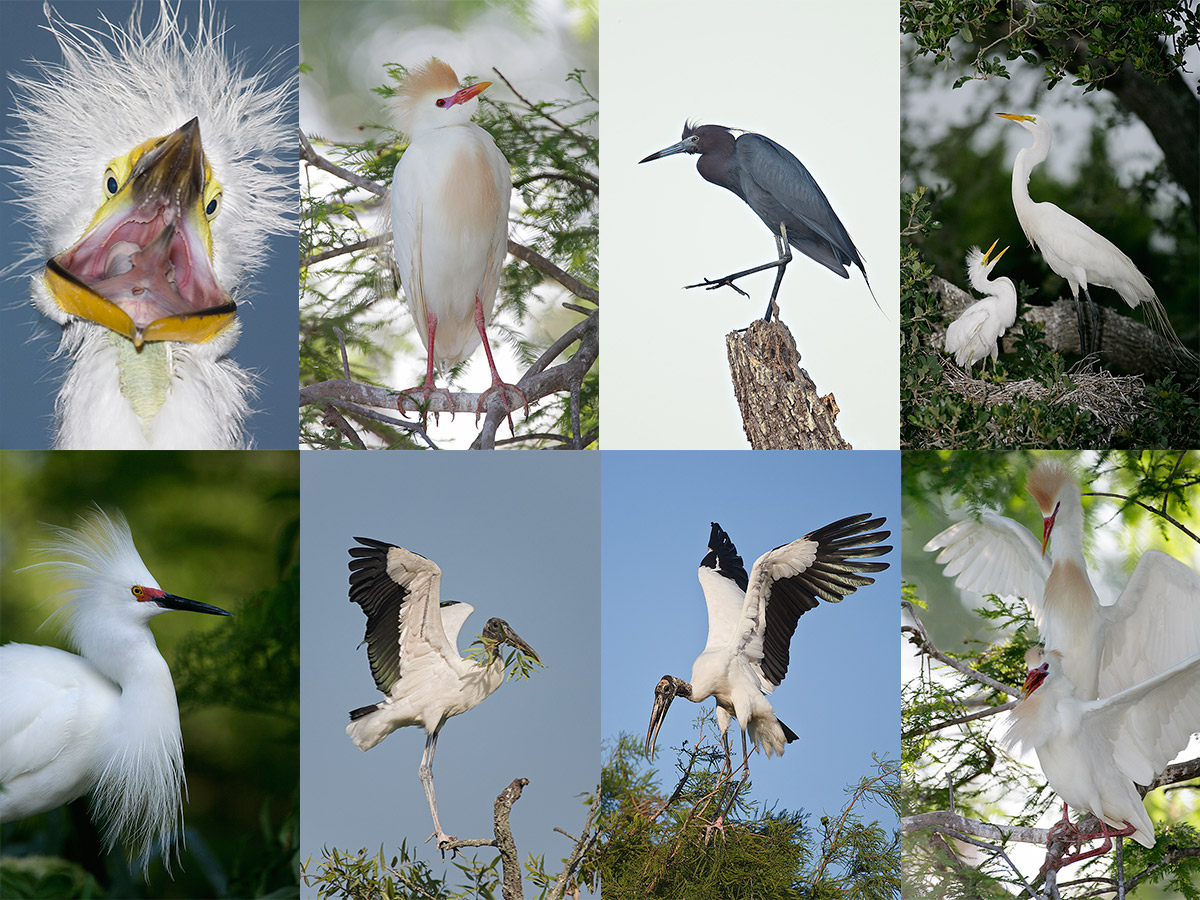
Clockwise from upper left: flash-as-main light Great Egret chick begging, breeding plumage Cattle Egret w/fill flash, Little Blue Heron, Great Egret chick in nest begging, Cattle Egrets copulating, Wood Stork with nesting material, another Wood Stork with nesting material, and breeding plumage Snowy Egret displaying. |
What You Will Learn
On this IPT you will the learn the basics and fine points of digital exposure and how to get the right exposure every time after making a single test exposure. You will learn to understand and predict bird behavior and to see and understand the light. You will learn to design pleasing images by mastering your camera’s AF system and how and why to work in Manual mode (even if you’re scared of it). Most importantly, you will learn to spot the good situations, to choose the best perspective. Rookeries are crowded, cluttered, white-washed places. Most folks who visit have no clue as to the difference of an image with tons of distractions and one with a clean line of sight and the best possible distant background. Join me and I will teach you to see like a pro.
I will be bringing my flash to the Alligator Farm (gasp!) I have not used flash for at least a year. I will be teaching you how to use flash as fill and how to use flash as main light. In addition, I will be reviewing the flash flight techniques that I developed at St. Augustine more than a few years ago.
|
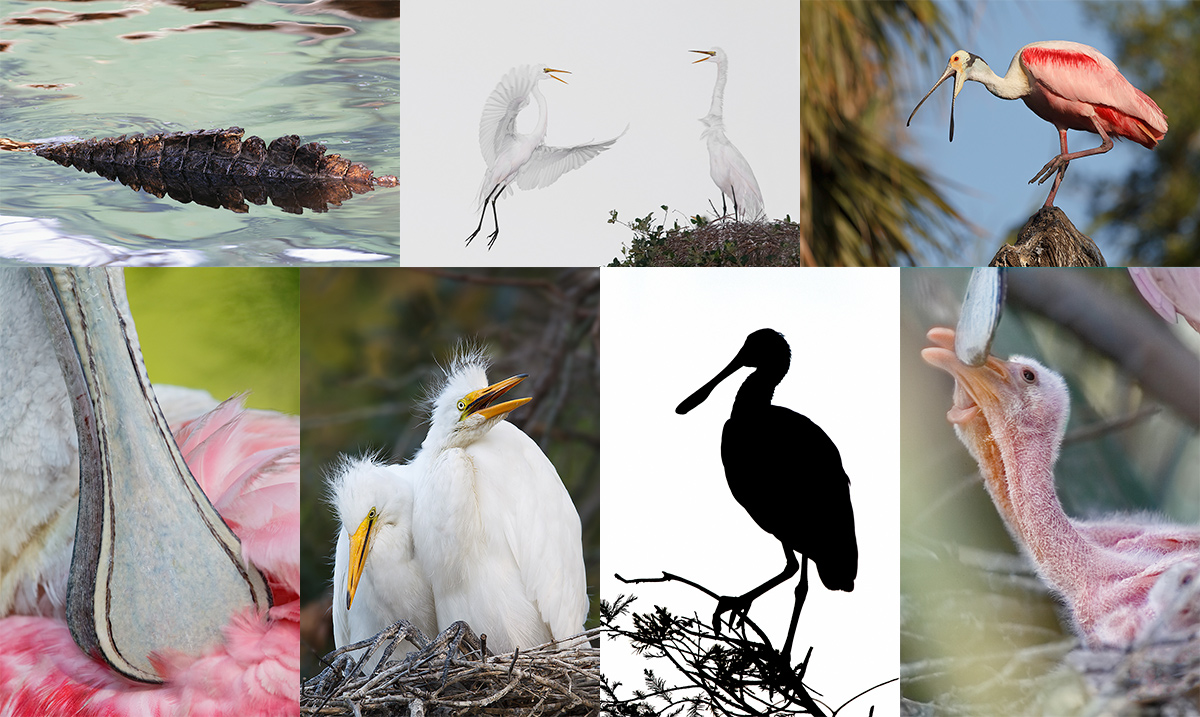
Clockwise from upper left: gator back, Great Egret returning to mate (with fill flash), Roseate Spoonbill with bill open, Roseate Spoonbill chick begging, Roseate Spoonbill 11am silhouette, large Great Egret chicks in nest, and bill of Roseate Spoonbill. |
Whats the Rest of the Deal?
Afternoon session on Monday, May 4. Then two full days with a morning and afternoon session each day, May 5 & 6. Then our last morning on May 7. At lunch on Tuesday and Wednesday (included) we will review my images; folks learn a ton watching me edit–why keep this one and delete that one? If you opt to bring your laptop, we can take a look at five of your best images from the morning or another session. We will process a few of my images in Photoshop after converting them in DPP. That followed by Instructor Nap Time.
A $499 non-refundable deposit is required to hold your spot. Your balance–$600, payable only by check, is due immediately. Please include a separate check for $89.95 so that we can purchase your pass in advance. Please click here to read our cancellation policy before committing. Then please print, read, and sign the necessary paperwork linked to here and get it to us. You can register by calling Jim or Jen at the office at 863-692-0906 and arranging for your deposit of $499. Balances are payable only by check. I hope to see you there.
Be sure to like and follow BAA on Facebook by clicking on the logo link upper right. Tanks a stack!
Support the BAA Blog. Support the BAA Bulletins: Shop B&H here!
We want and need to keep providing you with the latest free information, photography and Photoshop lessons, and all manner of related information. Show your appreciation by making your purchases immediately after clicking on any of our B&H or Amazon Affiliate links in this blog post. Remember, B&H ain’t just photography!
Amazon.com
Those who prefer to support BAA by shopping with Amazon may use this link:
Amazon Canada
Many kind folks from north of the border, eh, have e-mailed stating that they would love to help us out by using one of our affiliate links but that living in Canada and doing so presents numerous problems. Now, they can help us out by using our Amazon Canada affiliate link by starting their searches by clicking here. Many thanks to those who have written.
Typos
In all blog posts and Bulletins, feel free to e-mail or to leave a comment regarding any typos or errors. Just be right :).



Hi Artie,
Thanks for your reply. You are right of course, I am way behind on a lot of emails and blogs.
Cheers,
Ken
Hey Ken, YAW. artie
“Remember that if you are using rear focus or focus lock, or even One-Shot AF, it is imperative that your rig not be moved even a fraction of a millimeter after focus has been set. The movement that results from just breathing is more than enough to throw off AF….”
How then do we do the ” focus and recompose” action often needed for the scene without ruining focus?
Any of the standard methods will work provided that the lens does not move relative to a static subject. You do that by being on a tripod or, if hand holding, to be as braced as possible…. The standard methods include rear focus, focus lock, or using One-Shot AF. Nothing new here, just a reminder that you cannot focus and recompose carelessly when hand holding, especially when you are limited to the center AF point artie
Hi Artie,
Great capture of the Turkey Vulture; I notice you are using shutter button AF for stationary and BIF and moving away from the Rear Button AF. Just wondering why you have migrated back to the shutter button AF.
I would appreciate the pros and cons for both.
Thanks,
Ken
Hi Ken, You have been missing too many blog posts recently 🙂
I started going back to shutter button AF in pure flight situations more than a few months ago and found it easier to do one thing than to do two things….. So I started using it more and more an more whenever I could pick an AF sensor that would yield a sharp image. Now I switch to Rear button focus almost exclusively when working on a tripod with static subjects.
All of the above has been covered in detail in blog posts over the past few months 🙂
I am always learning and trying to improve Note, however, that what is best for me might not be best for you. later and love, artie
1D MkIV and 5D MkII. I’m feeling pretty comfortable with DPP4 now but it would be good to have the reassurance of the testing that Arash has done. Thanks, Gerald
Good morning Artie! I love that Marbled Godwit – here we have the Black-tailed and Bar-tailed varieties – I think I should head up to Texel! Have you set a date yet for the update to the DPP4 Guide? Best wishes, Gerald
Good plan on Texel. Which camera body are you waiting on in the update? artie