Stuff
The alarm was set for 3:00am yesterday but I woke at 2:25 and started getting things together for our Fort DeSoto/Dr. Rucker outing. Jim woke at 3:30am and we were on our way at 4:02. We arrived at North Beach at 6:30. There was not much going on at my favorite morning spot but I stuck it out. I started with some nice Marbled Godwit sunrise silhouettes. After that, the few birds that were present flew off as the tide advanced. I found a preening Wilson’s Plover and worked that for a while. Next was a single Marbled Godwit who was soon joined by a few more shorebird friends. On the way out I stumbled across two Wilson’s Plover chicks and got a few frames. Then it was off to Bradenton to get multiple injections. Those hurt a bit but overall everything went well. I did look at the images last night and was a bit disappointed; I got a new 1.4X TC and it it obvious that it needs to be micro-adjusted with the 600 II and my 7D II….
|
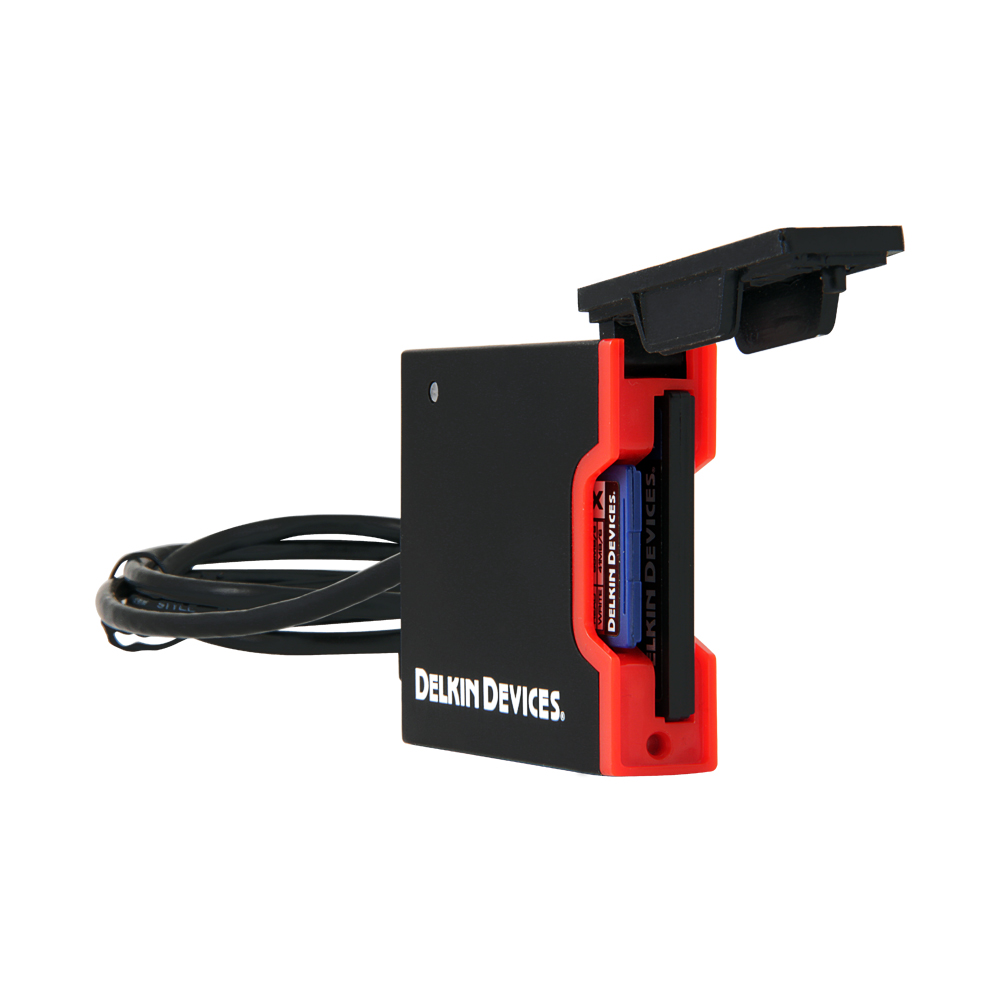
Everyone on the last IPT who saw the blazingly fast Delkin USB 3.0 High Speed Dual Slot Card Reader in action wanted one. Learn more about this great product here. |
On the Way Home
Next we stopped for some good Thai food in Bradenton. It is almost 3pm as I am typing. Jim is driving. God bless him. Having left my great new Delkin USB 3.0 High Speed Dual Slot Card Reader at home I will not get to see my images for a while. But I am sure that I got a few good ones that I will be sharing with you here soon.
This blog post, the 126th in a row, took about 1 1/2 hours to prepare. It was published automatically at 5:00am on Thursday morning.
|
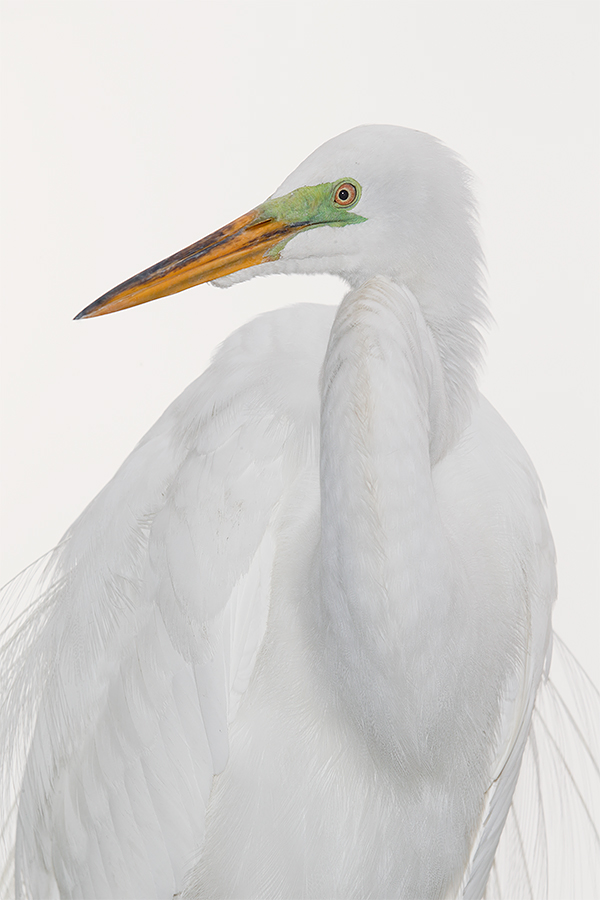
This image was created with the tripod-mounted Canon EF 600mm f/4L IS II USM lens, Canon Extender EF 1.4X III, and the Canon EOS-1D X . ISO 200: 1/160 sec. at f/13. ETTL quasi-Flash as Main Light at +1 2/3 stops with a Better Beamer on the Canon Speedlite 600EX-RT. I used the Wimberley V2 head, the Wimberley V2 tripod head, the Wimberley F-9 Flash Bracket (designed for and compatible with the Wimberley Head Version II), the Canon OC-E3 Off Camera Shoe Cord 3, and the Canon CP-E4 Compact Battery Pack for faster re-charging times and to save flash head battery power. Three AF points above and one AF point to the right of the center AF point/AI Servo Expand/Rear Focus AF as framed was active at the moment of exposure. The selected AF point was on the bird’s neck directly below the bird’s eye. Click here to see the latest version of the Rear Focus Tutorial. Click on the image to see a larger version. Great Egret “Studio Portrait” |
By e-mail from Jim Robellard
Artie:
I can’t thank you enough for the great learning experience in St Augustine. As I look over the pictures from the IPT I can see the progress and increases in quality and possibilities from day to day. I wanted to really learn the camera and the flash and as I told a friend, I learned more about the 7D Mark II from you in a few days than I have in years of working with various cameras. It is one thing to read the Canon Instruction Manual, your great 7D Mark II User’s Guide, and the Canon autofocus manual, but to have you point out things to help me understand the camera to make it really sings for each scenario was and is amazing. I still love the flash-as-main light photos we did and the fill flash as well, but as someone who has gone to many a studio shoot for work, I’m thinking “This really looks like we posed Mrs. Egret in the studio.” it was truly amazing.
All the best and thanks again for sharing your knowledge with us both daily on the blog and on your IPTs. If you ever want to come down our way to shoot Tigertail or Corkscrew, Judy and I want to extend you an invitation to stay at the house here on Marco Island. I know your travel schedule is brutal and we travel as well but let’s keep in touch. PS: Judy’s a great cook and is just learning to deal with her diabetes. Good health and safe travels.
Jim
Quasi-Flash as Main Light
I call the technique used to create today’s featured image “quasi-flash as main light” because it combines elements of fill flash (work in Manual mode and get the ambient exposure right) with elements of flash as main light (use enough flash to completely and correctly illuminate the subject). Add a white sky background and you will wind up with a gorgeous studio look.
How did I determine the two correct exposures? For the ambient I went with +3 stops off the white sky. No surprise there. Then I simply varied the flash settings while looking at the image on the rear LCD. The only time that I want folks judging the look of an image on the rear LCD is when they need to determine the effectiveness of the flash…. For all the rest, get in the habit of using both your luminance and RGB histograms.
Coming Soon
I will be doing an illustrated blog post soon showing exactly why you need to have your flash on a flash bracket when using a super-telephoto lens. The picture will be worth a thousand words…. Check out the various flash bracket options here or shoot me an e-mail with questions. More soon on flash brackets as well.
Be sure to like and follow BAA on Facebook by clicking on the logo link upper right. Tanks a stack!
Support the BAA Blog. Support the BAA Bulletins: Shop B&H here!
We want and need to keep providing you with the latest free information, photography and Photoshop lessons, and all manner of related information. Show your appreciation by making your purchases immediately after clicking on any of our B&H or Amazon Affiliate links in this blog post. Remember, B&H ain’t just photography!
Amazon.com
Those who prefer to support BAA by shopping with Amazon may use this link:
Amazon Canada
Many kind folks from north of the border, eh, have e-mailed stating that they would love to help us out by using one of our affiliate links but that living in Canada and doing so presents numerous problems. Now, they can help us out by using our Amazon Canada affiliate link by starting their searches by clicking here. Many thanks to those who have written.
Typos
In all blog posts and Bulletins, feel free to e-mail or to leave a comment regarding any typos or errors. Just be right :).


As always, great image Guru. However, to me it seems there could have been more visible details of the feathers.
Regrets in case I’m wrong.
While I did not use my NIK 50/50 on the bird’s plumage, fine feather detail looks great from here despite the fact that WHITEs in soft light tend not to reveal great detail…. a
ps: thought of calling it “Quazi-flash as main light…”
Sorry if I missed it in your blog cause I kinda just scanned it, but you mentioned you used the Wimberley head and bracket?
How did that choice come about? Are you using the Wimberley on the occasions when you know you’ll be using flash? Thanks.
Doug
Well, it is a long story. You know how I hate flash because there is so much stuff that you have to remember to bring…. I got all the crap together and thought that I had remembered everything. But when I went to put the Integrated Flash Arm into the Mongoose M3.6, I realized that the slot was not there…. I recently had my demo replaced that after six+ years of heavy use. I had brought a Wimberley V2 head along as a potential loaner for a participant. Along with the F-9. Since I could not use the Mongoose with the flash bracket I went to the Wimberley V2. My shoulder did not like that decision…. artie
Kinda had the same bad luck with me just a few days ago. I use my flash maybe, once a year. Well I was going to Magee Marsh where a flash is pretty much imperative. I loaded up the flash, the BB, the arm. Went over everything at least twice. Got everything.
I get to Magee and start setting up. Ooops, forgot the flash cord. Figuring it was better than nothing, attached the flash directly to the hot shoe. Unfortunately I forgot to tighten it cause when I went to put everything over my shoulder, the flash came crashing to the grass.
Luckily it was grass. The flash was ok, but the velcro got all wet and nothing would stick.
I had a really bad first 10 minutes there 🙂
Doug
Hi Artie,
Getting the flash above camera gets rid of that shadow in the base of you picture.
Learnt that one the hard way.
Love the egret
.i have missed all the ideal head angle discussions so I am trawling back thru last years blog posts to see what I can find.
All the best with your recovery after treatment.
Regards
David
Nope on the shadow. Those come from the flash being mis-aligned however it is mounted… Lot on head angle. Even better, study the “Head Angle Fine Points” thread in the amazing Educational Resources forum on Bird Photographer’s.Net (BPN) here. artie
ps: there are many dozens of examples: 392 replies and more than 44,000 views….
pps: BPN: Honest critiques done gently: It’s Ain’t Just Birds!