What’s Up?
I spent a good deal of Thursday LensAligning my 600 II with both TCs, my 1D X II, and my workhorse 5DS R. Today, Friday June 24, will be spent micro-adjusting the 100-400 II and the 70-200mm f/4L IS that I borrowed especially for the gannet boat portion of the upcoming UK Puffins and Gannets IPT. The flight photography is so amazing on the gannet boat that most folks cannot lift their lenses after the first 45 minutes of the two hour photo session. That’s why I go to the f/4 version of one of my favorite and most versatile intermediate telephoto zoom lenses. I swear that the new LensAlign FocusTune tutorial will be done fairly soon…
Nickerson Beach Terns/Skimmers/Oystercatchers Instructional Photo-Tour (IPT): July 18-22, 2016. 4 1/2 DAYS: $1899. Limit 10/Openings 6.
Meet and greet at 3pm on the afternoon of Monday, July 18.
Please e-mail for repeat customer or couples discount info, or for info on a 3-day option.
With only four folks signed up, learning situations will abound. The primary subject species on this IPT will be the nesting Common Terns and Black Skimmers. The trip is timed so that we will get to photograph tiny tern chicks as well as fledglings. There will be lots of flight photography including adults flying with baitfish. Creating great images of the chicks being fed will be a huge challenge. In addition to the terns we will get to photograph lots of Black Skimmers courting, setting up their nesting territories, and in flight (both singles and large pre-dawn flocks blasting off). Midair battles are guaranteed on sunny afternoons. And with luck, we might even see a few tiny skimmer chicks toward the end of the trip. We will also get to photograph the life cycle of American Oystercatcher. This will likely include nests with eggs and tiny chicks, young being fed, and possibly a few fledglings.
The Streak
Today’s blog post marks a totally insane, absurd, completely ridiculous, unfathomable, silly, incomprehensible, makes-no-sense, 230 days in a row with a new educational blog post. And I still have dozens of new topics to cover; there should be no end in sight until my big South America trip next fall. As always-–and folks have been doing a really great job recently–-please remember to use our B&H links for your major gear purchases. For best results use one of our many product-specific links; after clicking on one of those you can continue shopping with all subsequent purchases invisibly tracked to BAA. Your doing so is always greatly appreciated. Please remember: web orders only. Please remember that if you are shopping for items that we carry in the BAA Online Store (as noted in red at the close of this post below) we would appreciate your business.
|
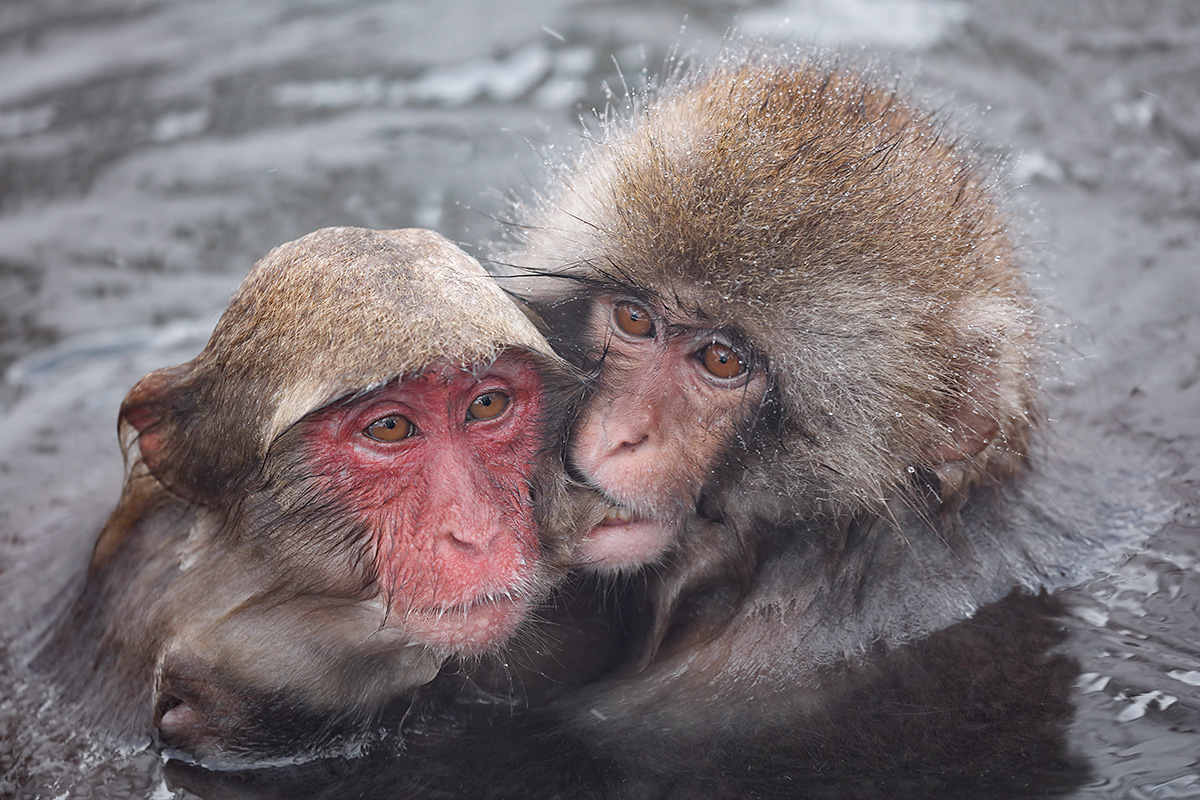
This image was created on the 2016 Japan in Winter IPT with the hand held Canon EF 100-400mm f/4.5-5.6L IS II USM lens (at 312mm) and the mega mega-pixel Canon EOS 5DS R. ISO 400: 1/320 sec. at f/6.3 was both a big error and a big underexposure. AWB, another mistake 🙂 Center AF point/AI Servo Surround/Rear Focus AF as framed was active at the moment of exposure (as is always best when hand holding). The selected AF point fell between the right eye and the nose of the young monkey on our right. Click here to see the latest version of the Rear Focus Tutorial. Click on the image to see a larger version. Young Snow Monkey gently biting momma |
Bite Me Gently…
Snow Monkey are endearing subjects. Simply photographing their faces is a moving experience. Being able to photograph interactions brings the experience to a higher level. They are gentle (unless they are fighting!) and human-like, especially their hands. I have yet to find any nature photographer who does not enjoy photographing the Snow Monkeys. One of these years I will get to do that in a snow and ice storm…
The Image Optimization
The image optimization was a difficult one. It began with the RAW conversion in DPP 4. I used Arash’s new values for Luminance and Chrominance 5DS R noise reduction as detailed in the updated DPP 4 RAW Conversion Guide and saved the recipe for 5DS R ISO 400. But since the RAW file was under-exposed I increased each of those values. Then I adjusted the Color Temperature slider and hit Command + D to convert the file. Once in Photoshop I used the Dehaze filter at 45%, did a Levels adjustment, and balanced the color using two different techniques. That was followed by decreasing the BLUE, CYAN and MAGENTA saturation by varying degrees. Next, I darkened the pupils a bit using the Eye Doctor techniques (by painting tiny Quick Masks) and selectively sharpened both faces with a Contrast Mask at 15, 65, 0. Last was NeatImage noise reduction using the techniques detailed in The Professional Post Processing Guide. Arash’s innovative technique allows you to apply less noise reduction to the subject and more to the background. Voila.
Critique This Image
Love it, hate it. Let us know what you like and do not like about it. Could it have been improved in the field? Could the processing have been better? How? Clue: saying “this image sucks; you should delete it” is not a valid critique. Paraphrasing Ted Allen, I say, Do that and you will be chopped.
Digital Basics
Everything detailed above is covered in detail in my Digital Basics File–written in my easy-to-follow, easy-to-understand style. Are you tired of making your images look worse in Photoshop? Digital Basics File is an instructional PDF that is sent via e-mail. It includes my complete digital workflow, dozens of great Photoshop tips, details on using all of my image clean-up tools, the use of Contrast Masks, several different ways of expanding and filling in canvas, all of my time-saving Keyboard Shortcuts, Quick Masking, Layer Masking, and NIK Color Efex Pro basics, Contrast Masks, Digital Eye Doctor techniques, using Gaussian Blurs, Tim Grey Dodge and Burn, a variety of ways to make selections, how to create time-saving actions, the Surface Blur (background noise reduction) settings as taught to me by Denise Ippolito, and tons more.
|
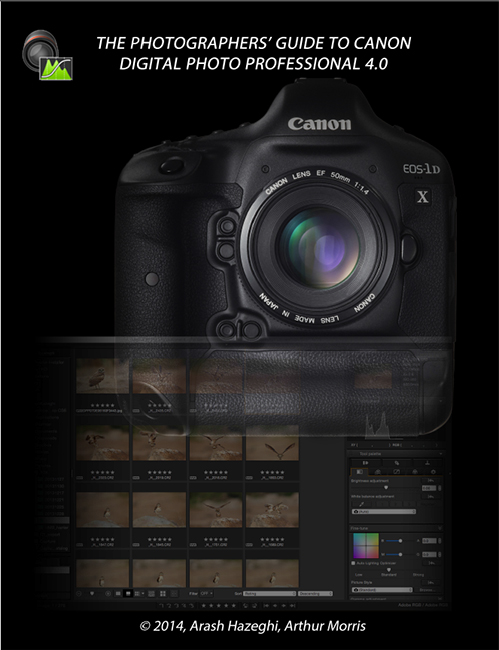
You can order your copy of “The Photographers’ Guide to Canon Digital Photo Professional 4.0” (aka the DPP 4 Raw Conversion eGuide) by Arash Hazeghi and Arthur Morris by clicking here. |
The DPP 4 RAW Conversion Guide Updated
Thanks to lots of hard work by Arash Hazeghi, the DPP 4 RAW Conversion Guide has been updated. There were quite a few changes in the basic set-up and in the preferences in the latest version, 4.4.30.2 and Arash covered those in fine fashion. Most importantly, the Chrominance and Luminance NR value tables have been updated to include the 5DS (R) and the 1D X Mark II.
If you already own the DPP 4 RAW Conversion Guide, please click here to send Jim an email and be sure to cut and paste page 1 of the current guide or your receipt into the body of the e-mail to serve as proof of purchase. Your update will be sent from Hightail, so please watch for that.
Learn how and why I and many other discerning photographers choose and use only DPP 4 to convert their Canon RAW files in the DPP 4 RAW Conversion Guide by Arash Hazeghi and yours truly. The latest version supports all of the newer Canon camera bodies and several older models including the EOS-7D and the EOS-1D Mark IV. The DPP IV Guide is the ideal companion to the 7D Mark II User’s Guide, a runaway best seller.
Folks who love the DPP 4 Guide will surely want to get themselves a copy of The Professional Photographers’ Guide to Post Processing. (See same immediately below).
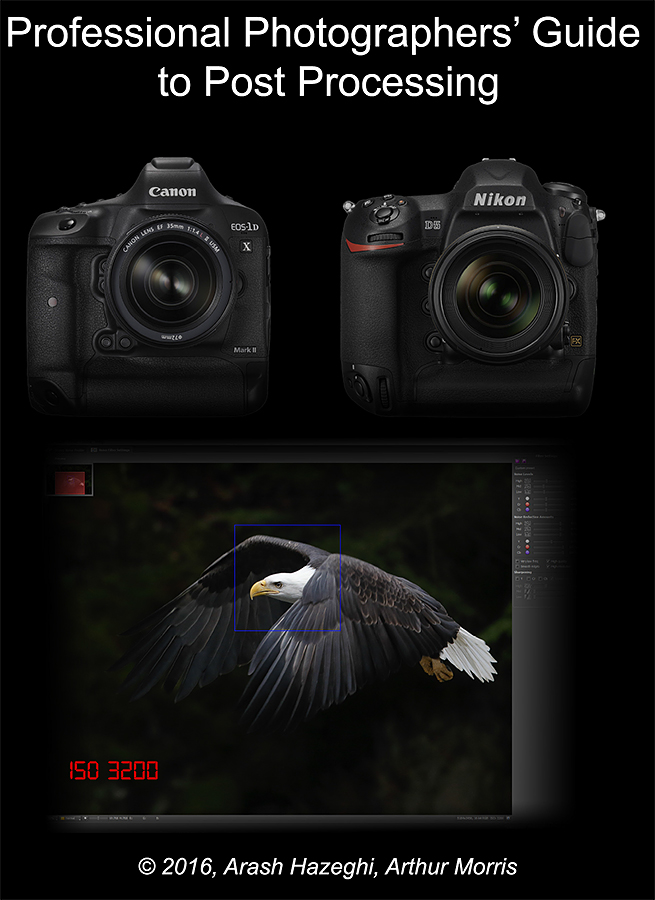
The Professional Photographers’ Guide to Post-Processing by Arash Hazaghi with Arthur MorrisYou can order your copy here If you are ever at all concerned with noise in your optimized images this new e-guide will astound you. |
The Professional Photographers’ Guide to Post-Processing: $48.
Your e-book (11mb) will be delivered either by e-mail or by Hightail (for download).
Arash’s Take on the guide…
In recent years, advances in CMOS image sensor technology have enabled DSLR cameras to capture detailed, high-quality images at very high ISO settings; this has taken low-light and action photography to a whole new level. To make the most out of your camera’s high ISO performance, proper post-processing, including advanced noise reduction and efficient sharpening, is essential. The first step in effective post-processing is executing an optimal RAW conversion that produces a TIFF file that is clean, free of artifacts, and detailed, without too much sharpening or strong noise reduction. For Canon users, we recommend converting your RAW images in Canon Digital Photo Professional 4 (DPP 4). We cover exactly how to do that in the DPP 4 RAW Conversion Guide. This new supplemental guide deals with the post-RAW conversion processing of your TIFF files for final presentation.
In order to use this guide, you need Adobe Photoshop (CS4 or later) as well as the Neat Image noise reduction plugin for Photoshop. This plugin can be downloaded here. We recommend the pro version. You will need an up-to-date PC or Mac computer to process your files. A modern quad-core processor (Intel i7 or Xeon) with at least 16GB of RAM and a fast SSD drive for running Photoshop is recommended. It is best to do your image processing on a high quality IPS LCD panel capable of displaying Adobe RGB color gamut. We recommend calibrating your screen using a hardware color calibration solution such as Spyder or Xrite. The consumer LCD screens used in many laptops and low-end desktops suffer from poor contrast ratios and a limited color gamut. Images processed on inferior screens may appear noisy, too dark, too bright, or unsharp. And they will often show a color cast when viewed on a high quality monitor that has been properly calibrated.
Artie’s Take on the guide…
This guide is for serious photographers who wish to maximize the quality of their optimized, noise reduced files and who want to learn to sharpen their images after they are sized for a final usage. The emphasis is on sharpening for electronic presentation. The guide includes the brilliant techniques that Arash developed for applying just the right amount of NR to the subject (while retaining all the fine detail) and then applying a lot more NR to the background where it is almost always needed. His efforts were refined by Arthur Morris to ensure that the guide is clear, concise, easy-to-read, and easy to-easy-to-follow; artie’s great strength is his how-to writing. He has used Arash’s brilliant NR and sharpening techniques on his 15 inch Macbook Pro with Retina Display with great success.
You can order your copy here.
Important Note
The entire guide is based on the remarkable Pro Version of NeatImage. Only the Pro Version supports 16-bit files. This Photoshop Plug-in requires a separate $79.95 purchase. Why NeatImage when there are so many other Noise Reduction programs available?
When someone asked about Topaz Denoise on the blog I got in touch with Arash. here was his response:
I asked Arash about Topaz Denoise. Here is his response:
It cannot calibrate the noise levels. I tried it. It was garbage.
Best
Arash Hazeghi Ph.D.
To which I added:
In the guide, we teach folks to calibrate noise levels for an image or series of images. As an option, also covered in the guide, we teach you to create a Noise Profile for each ISO with a given camera by photographing a NeatImage calibration target.
Arash continued the next day; this published here for the first time:
Here is a more elaborate answer. A preset is a “one size fit all” solution; it is not the same as a calibration. If you look carefully through your images you will find that the ISO value used and the amount of visible noise in the image aren’t always correlated. An image at ISO 400 can look noisier than an image taken at ISO 3200. Many factors other than the ISO determine the amount of visible noise in an image. Two images taken at the same ISO may require significantly different amounts of NR. Furthermore, different areas of the same image often require different amounts of noise reduction.
The presets are made by looking at the noise characteristics of a flat neutral or 18% grey target with no detail. They don’t include shadows, highlights, grain size, or the possibility of the effects of post-capture exposure boosts. (In other words, images made at a given ISO that are lightened during or after conversion will always exhibit more noise than properly exposed images.) The presets are often made using in-camera JPEGs that have been already noise-reduced, sharpened, and compressed thus smearing (destroying) the fine feather detail. Sometimes they are made from ACR RAW conversions that are vastly inferior as compared to properly executed DPP 4 RAW conversions.
A calibrated noise profile is created for each image in its present form independent of the ISO value, the exposure levels, or the RAW convertor. It makes no assumptions. NeatImage NR calibrations can be compared to purchasing a hand-crafted, custom-tailored suit versus buying a suit off the rack at WalMart. In engineering terms, NeatImage calculates the noise spectrum for each image and then with proper adjustment attenuates only the frequencies that don’t overlap with the detail. Other NR tools like Topaz, Nik etc. apply constant attenuation regardless of what the spectrum looks like. Try the guide and see for yourself.
You can learn more about NeatImage or purchase a copy here. NeatImage does offer a demo version.
|
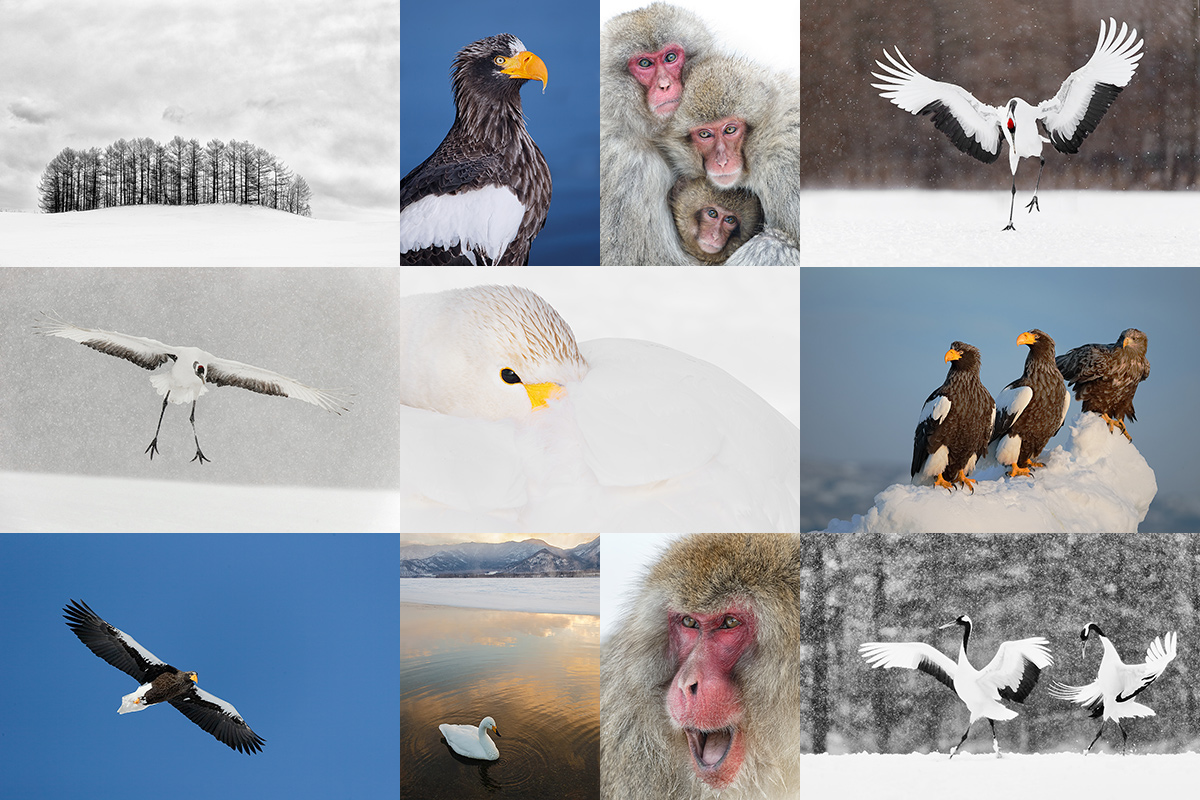
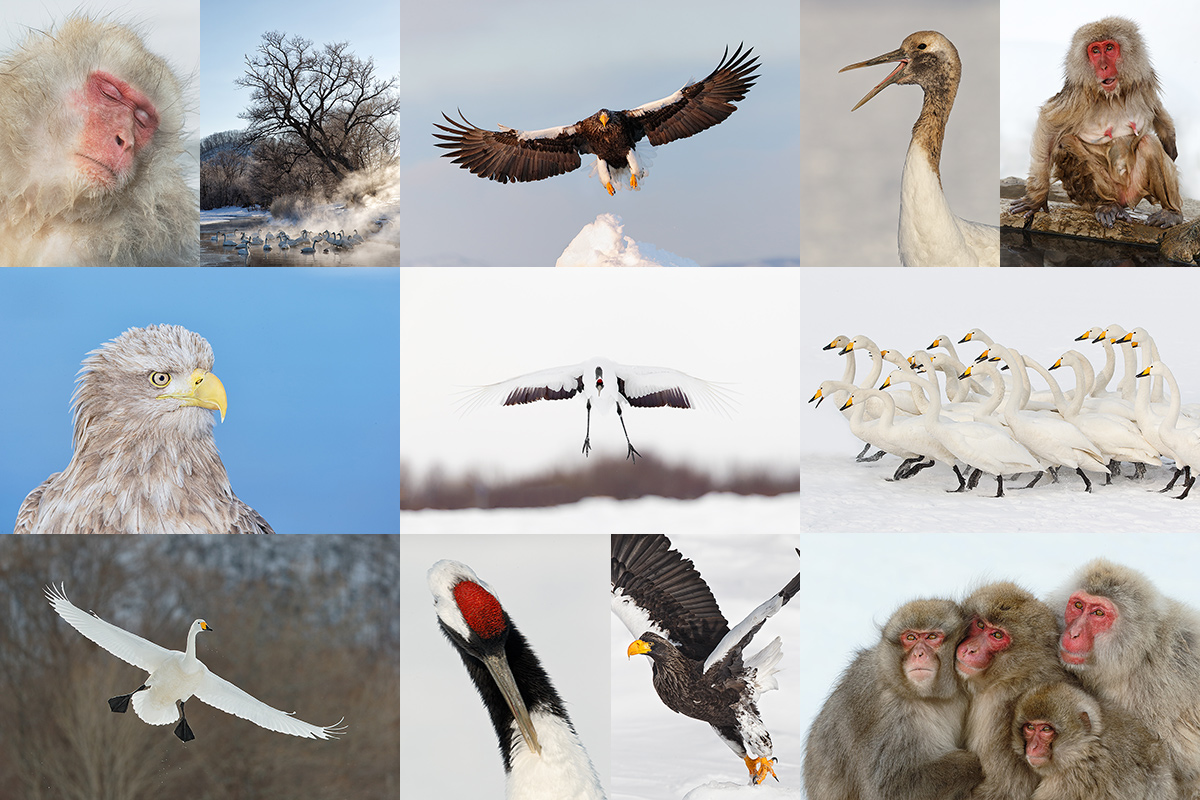
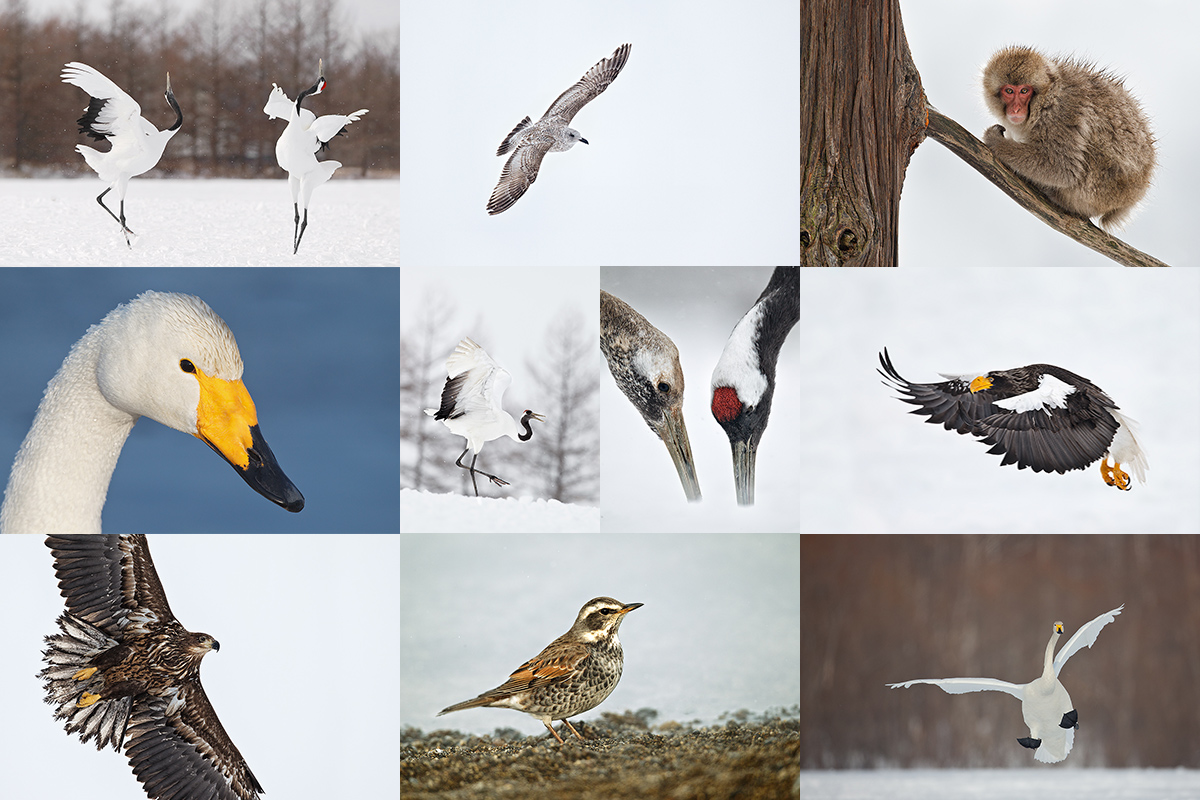
Consider joining me in Japan in February, 2017, for the world’s best Japan in Winter workshop. Click on the card to enjoy the spectacular larger version. |
Japan In Winter IPT. February 9-24, 2017: $11,499 (was $13,999)/double occupancy. Limit 9/Openings: 5.
Price Reduced $2,500 on 3-8-16!
All lodging including the Tokyo hotel on 9 FEB, all breakfasts & dinners, ground transport and transfers including bus to the monkey park hotel, and all entrance fees and in-country flights are included. Not included: international flights, some lunches–a few are on the run, and alcoholic beverages.
Please e-mail for couple and IPT repeat customer discount information.
This trip is one day longer than the great 2014 trip to allow for more flexibility, more time with the cranes, and most importantly, more time for landscape photography. Hokkaido is gorgeous. You will enjoy tons of pre-trip planning and gear advice, in-the-field instruction and guidance, at-the-lodge Photoshop and image review sessions in addition to short introductory slide programs for each of the amazing locations. Skilled photographer Paul McKenzie handles the logistics and we enjoy the services of Japan’s best wildlife photography guide whom I affectionately call “Hokkaido Bear.” His network of local contacts and his knowledge of the weather, the area, and the birds is unparalleled and enables him to have us in the best location every day.
|
Amazing subjects. Beautiful settings. Nonstop action and unlimited opportunities. Join me. |
The Logistics
Arrive Tokyo: 9 FEB 2017 the latest. 8 FEB is safer and gives you a day to get acclimated to the time change. Your hotel room for the night of the 9th is covered.
Bus Travel to Monkey Park Hotel: 10 FEB: A 1/2 DAY of monkey photography is likely depending on our travel time… This traditional hotel is first class all the way. Our stay includes three ten course Japanese dinners; these sumptuous meals will astound you and delight your taste buds. There are many traditional hot springs mineral baths (onsens) on site in this 150 year old hotel.
Full Day snow monkeys: FEB 11.
Full Day snow monkeys: FEB 12.
13 FEB: Full travel day to Hokkaido/arrive at our lodge in the late afternoon. The lodge is wonderful. All the rooms at the lodge have beds. Bring your warm pajamas. A local onsen (hot springs bath and tubs) is available for $5 each day before dinner–when you are cold, it is the best thing since sliced bread. The home-cooked Japanese styles meals at the lodge are to die for. What’s the best news? Only a small stand of woods separates us from the very best crane sanctuary. During one big snowstorm we were the only photo group to be able to get to Tsurui Ito; we had the whole place to ourselves in perfect conditions for crane photography!
FEB 14-23: Red-crowned Crane, raptors in flight, Whooper Swans, and scenic photography. Ural Owl possible. An overnight trip to Rausu for Steller’s Sea Eagle and White-tailed Eagle photography on the tourists boats is 100% dependent on the weather, road, and sea ice conditions. Only our trip offers complete flexibility in this area. It has saved us on more than once occasion. The cost of 2 eagle-boat trips is included. If the group would like to do more than two boat trips and we all agree, there will be an additional charge for the extra trip or trips. No matter the sea ice conditions, we will do two eagle boat trips (as long as we can make the drive to Rausu; it snows a lot up there). We have never been shut out.In 2016 there was no sea ice but our guide arranged for two amazingly productive boat trips.
Lodging notes: bring your long johns for sleeping in the lodge. At the Snow Monkey Park, and in Rausu, the hotel the rooms are Japanese-style. You sleep on comfortable mats on the floor. Wi-fi is available every day of the trip.
FEB 24. Fly back to Tokyo for transfer to your airport if you are flying home that night, or, to your hotel if you are overnighting. If you need to overnight, the cost of that room is on you.
|
Life is short. Hop on the merry-go-round. |
To Sign Up
To save your spot, please send your $5,000 non-refundable deposit check made out to “Birds as Art” to Arthur Morris/BIRDS AS ART, PO Box 7245, Indian Lake Estates, FL 33855. I do hope that you can join me for this trip of a lifetime. Do e-mail with any questions or give me a buzz at 863-692-0906.
Purchasing travel insurance within 2 weeks of our cashing your deposit check is strongly recommended. On two fairly recent Galapagos cruises a total of 5 folks were forced to cancel less than one week prior to the trip. My family and I use Travel Insurance Services and strongly recommend that you do the same.
Please Remember to use our Affiliate Links and to Visit the New BAA Online Store 🙂
To show your appreciation for my continuing efforts here, we ask, as always, that you get in the habit of using my B&H affiliate links on the right side of the blog for all of your photo and electronics purchases. Please check the availability of all photographic accessories in the New BIRDS AS ART Online Store, especially the Mongoose M3.6 tripod head, Wimberley lens plates, Delkin flash cards and accessories, and LensCoat stuff.
As always, we sell only what I have used, have tested, and can depend on. We will not sell you junk. We know what you need to make creating great images easy and fun. And we are always glad to answer your gear questions via e-mail.
I would of course appreciate your using our B&H affiliate links for all of your major gear, video, and electronic purchases. For the photographic stuff mentioned in the paragraph above we, and for everything else in the new store, we, meaning BAA, would of course greatly appreciate your business. Here is a huge thank you to the many who have been using our links on a regular basis and those who will be visiting the New BIRDS AS ART Online Store as well.
Be sure to like and follow BAA on Facebook by clicking on the logo link upper right. Tanks a stack!
Typos
In all blog posts and Bulletins, feel free to e-mail or to leave a comment regarding any typos or errors. Just be right 🙂



If you could have got a bit lower to eye level rather than shooting slightly down, this would be a killer. This also assumes you had a nice background to work with.
Love your image of the Snow Monkeys, Art and we are looking forward to joining you next February from Brisbane, Australia.
Regarding your comment “One of these years I will get to do that in a snow and ice storm… ” both being well used to our Queensland weather we don’t quite share that particular area of enthusiasm!
Marilyn and I are counting the weeks down to the February IPT, regardless of what the weather throws at us. Have fun in UK.
Hey Artie, love the image, but I particularly like the great description of the post processing. I sure would like to see the “before” image :-).
Also really liked the NR explanation regarding NeatImage – that is excellent.
Thanks
Thanks. The original was just darker, not really much to look at. I did execute a small crop from the right and from above… And yes, NeatImage is the bomb.
a
My thoughts as well. I would have liked more at the bottom, but I love the expressions. To me it looks like a baptism…the red faces monkey looks like he was dunked. Love the image and hope you get a snow storm for the next shoot.
Looking forward to some great photos from the UK
Safe travels 🙂
Thanks, and me too on the great images from the UK 🙂
a
The Snow Monkey image is fantastic, I wouldn’t change a thing
Thank you sir. Glad that you like it.
a
Love, love, love the image-seems a bit tight (at 312mm). I agree, you can’t get enough of these incredibly funny, human-like Snow Monkeys. See you in the UK 🙂 .
Agree; a bit tight on the bottom but at least it is not a man crop. See you at the gate in EWR.
a