|
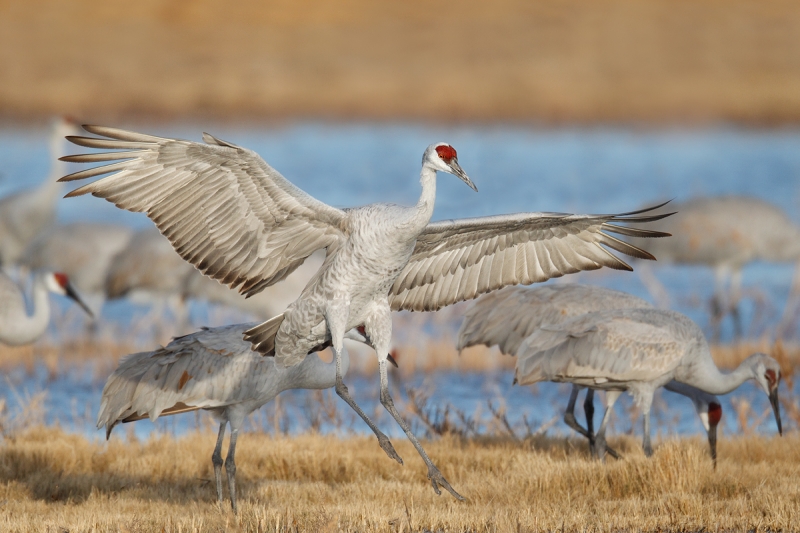
This image was created with the tripod-mounted Canon EF 800mm f/5.6L IS USM Autofocus Lens, the Canon 1.4x EF Extender III (Teleconverter), and the EOS-1D Mark IV (now replaced by the Canon EOS-1D X Digital SLR Camera (Body Only)). ISO 800. Evaluative metering +1 stop: 1/1000 sec. at f/8. Central sensor (by necessity)/AI Servo Rear Focus bird’s breast. Click here if you missed the Rear Focus Tutorial. Click on the image to see a larger version. |
No Room at the Inn
I came up with a new spot last year at Bosque, a spot were it was possible to photograph incoming cranes in late afternoon on most days. After 18 years at Bosque, I am still figuring out new stuff. That’s just one of many reasons that you should consider joining us on this year’s Bosque Instructional Photo-Tour. See more below.
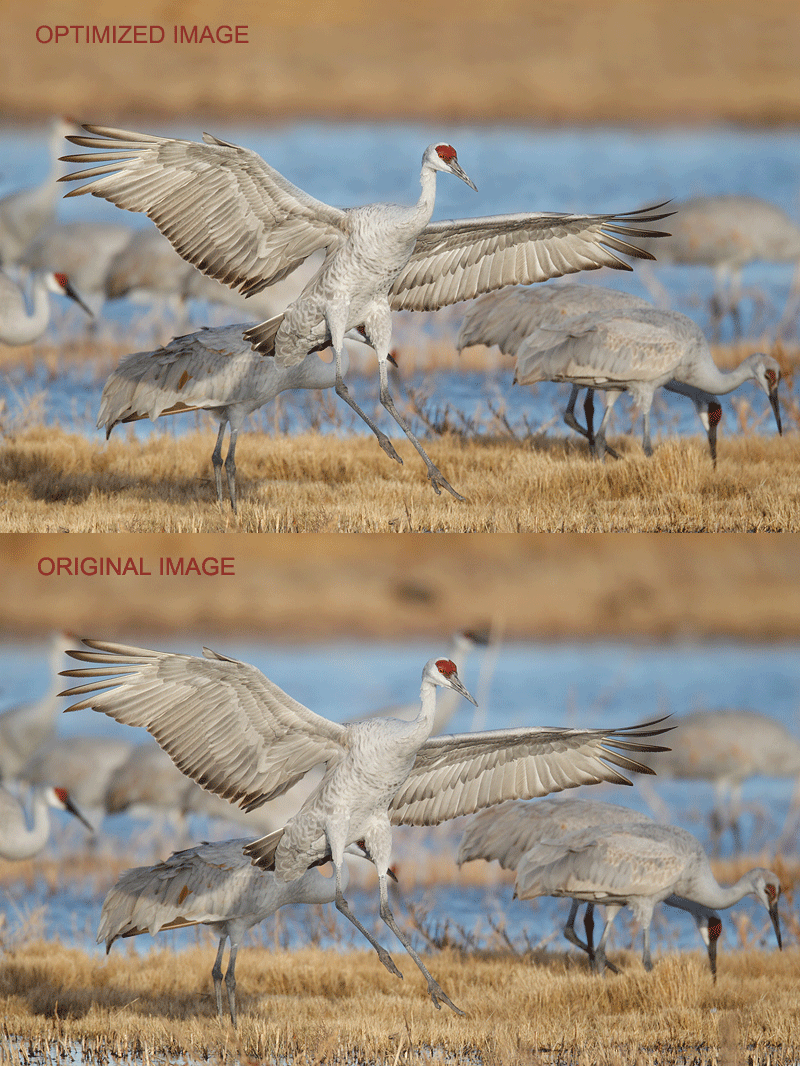
It is rare that images of a bird landing in a crowd are pleasing. The original here (see same below) was not. But with 15 minutes of Photoshop work, the optimized image above works very well for me. What do you think?

|
Image Optimization
First I cleaned up the grassy background at the top using an 80% Opacity Clone Stamp Tool. Then I used techniques from APTATS II to move the bird down in the frame, that to cover up the bottom strip of ugly grass and water. Then I used a Quick Mask (as detailed in APTATS I) to cover the stalk and the bird just in front of the subject. That Quick Mask was fine-tuned with a regular Layer Mask. Then I did some cloning on a layer, again fine-tuned with the addition of a regular Layer Mask. I selected the subject with the Quick Selection Tool and applied my favorite NIK Color Efex Pro 50/50 filter and reduced that to about 35% Opacity. I applied the finishing touches with a bit of Eye Doctor work and some selective sharpening of the face with a Contrast Mask (17/70/0).
All of the above of course as described in detail in Digital Basics File, an instructional PDF that is sent via e-mail. It includes my complete digital workflow, dozens of great Photoshop tips including Digital Eye Doctor techniques, several different ways of expanding canvas, a section on sharpening, a section on creating time-saving Actions, all of my time-saving Keyboard Shortcuts, and Quick Masking, Layer Masking and NIK Color Efex Pro basics.
|
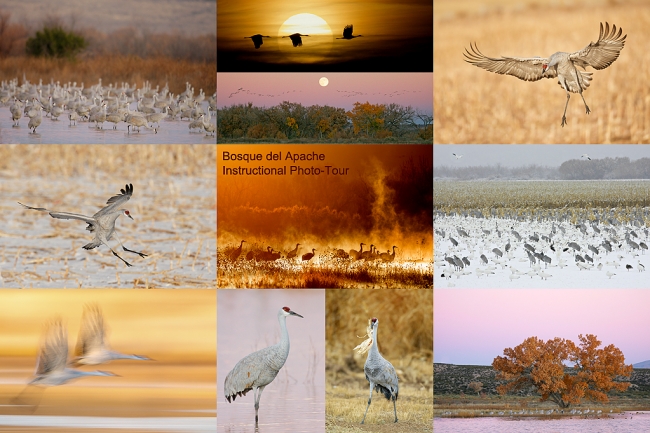
Sandhill Crane composite, Bosque del Apache NWR, San Antonio, NM. Click on the image for a larger version. |
Bosque del Apache 2013 IPT: “The Complete Bosque Experience.” NOV 26-DEC 2, 2013. 7-FULL DAYS: $3399. Co-leader: Denise Ippolito. Introductory Slide program: 6:30 pm on 11/25. Limit: 12.
Tens of thousand of Snow Geese, 10,000 Sandhill Cranes, ducks including point-blank American Wigeon and Wood Duck, amazing sunrises, sunsets, and blast-offs. Live, eat, and breathe photography with one of (if not the) world’s premier photographic educators at one of his very favorite locations on the planet. Top-notch Photoshop instruction. This will make 19 consecutive Novembers at Bosque for me. Nobody knows the place better than I do. Join us to learn to think like a pro, to recognize situations and to anticipate them based on the weather, especially the sky conditions, the light, and the wind direction. Every time we make a move we will let you know why. When you head home applying what you learned will prove to be invaluable. Includes all lunches and the Thanksgiving Buffet at the Crowne Plaza in Albuquerque. I hope that you can join me for what will be an unparalleled learning experience.
A $500 non-refundable deposit is required to hold your slot for this IPT. Your balance is due 4 months before the date of the IPT and is also non-refundable. If the trip fills, we will be glad to apply a credit applicable to a future IPT for the full amount less a $100 processing fee. If we do not receive your check for the balance on or before the due date we will try to fill your spot from the waiting list. If your spot is filled, you will lose your deposit. If not, you can secure your spot by paying your balance.
Please print, complete, and sign the form that is linked to here and shoot it to us along with your deposit check (made out to “Arthur Morris.”) You can also leave your deposit with a credit card by calling the office at 863-692-0906. If you register by phone, please print, complete and sign the form as noted above and either mail it to us or e-mail the scan. If you have any questions, please feel free to contact me via e-mail.
Typos
On all blog posts, feel free to e-mail or leave a comment regarding any typos, wrong words, misspellings, omissions, or grammatical errors. Just be right. 🙂
Support the BAA Blog. Support the BAA Bulletins: Shop B&H here!
We want and need to keep providing you with the latest free information, photography and Photoshop lessons, and all manner of related information. Show your appreciation by making your purchases immediately after clicking on any of our B&H or Amazon Affiliate links in this blog post. Remember, B&H ain’t just photography!


Support the Blog


Amazon
Everyone buys something from Amazon, be it a big lens or deodorant. Support the blog by starting your search by typing in the little white box below. No purchase is too small to be appreciated; they all add up. Why make it a habit? Because I make it a habit of bringing you new images and information on an almost daily basis.
And from the BAA On-line Store:
LensCoats. I have a LensCoat on each of my big lenses to protect them from nicks and thus increase their re-sales value. All my big lens LensCoat stuff is in Hardwood Snow pattern.
LegCoat Tripod Leg Covers. I have four tripods active and each has a Hardwood Snow LegCoat on it to help prevent further damage to my tender shoulders 🙂 And you will love them in mega-cold weather….
Gitzo GT3532 LS CF Tripod. This one replaces the GT3530LS Tripod and will last you a lifetime. Learn more about this great tripod here.
Mongoose M3.6 Tripod Head. Right now this is the best tripod head around for use with lenses that weigh less than 9 pounds. For heavier lenses, check out the Wimberley V2 head.
Double Bubble Level. You will find one in my camera’s hot shoe whenever I am not using flash.
The Lens Align Mark II. I use the Lens Align Mark II pretty much religiously to micro-adjust all of my gear an average of once a month and always before a major trip. Enjoy our free comprehensive tutorial here.
BreezeBrowser. I do not see how any digital photographer can exist without this program.
Delkin Flash Cards. I use and depend on Delkin compact Flash Cards and card readers most every day. Learn more about their great 700X and 1000X cards here or about my favorite Delkin card here.


Was this image made with the 1DX?
No Ted. Thanks for catching my inadvertent brain typo. I have corrected it above.
Great Image, I Love It!!
I love the optimized version – the front bird is clearly defined and well lit.
P.S. I’m always impressed when you come up with images like this. I probably would have kept it, but would never have gotten around to cleaning it up 😉
I hear you. It took me 1 1/2 years to get around to optimizing this one :). See you in Quito! artie
Works for me as well. Now that the subject’s head is in the clear, and you have a clean edge at the bottom of the frame, it’s a beauty!
Cheers