|
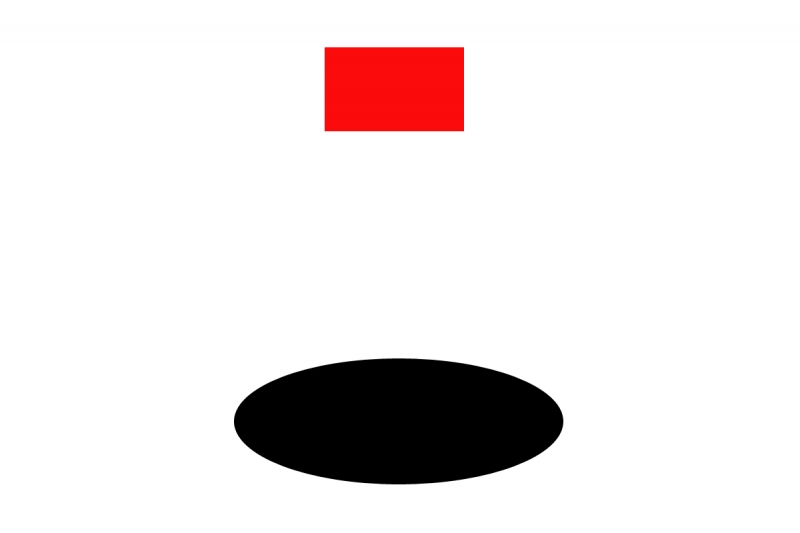
Simple composition map A. |
Image Design Principle Simplified
In The Art of Bird Photography II, in Chapter II, Advanced Composition and Image Design, I wrote:
While the hallmark of my style is working with single birds set against backgrounds of pure color, there are countless times when including other elements (both natural and man made) in the composition is not only necessary, but desirable. The positioning of these other elements in the frame is exceedingly important. These elements are not, of course, “placed” in the frame; the photographer changes the juxtaposition of these elements in the frame relative to the subject’s position by changing his or her perspective. Shifting the various elements of composition around in the frame by moving left or right, up or down, forward or backward, or some combination of the above, will—with practice—become second nature.
In the recent “A Simple Image Design Principle That Few Understand…” blog post, I used a rather complex example to show that had I moved well to my right the final image would have featured a much stronger image design with the mountain on the right and the birds moved a bit to the left. Here, to better your understanding, I have simplified things. Note in the diagram above that the two compositional elements are stacked up one behind the other in the center of a horizontal frame. Though this may work well on rare occasion, and even more rarely may be the best image design choice, such compositions are usually image killers.
Learning to deal with this type of problem is paramount to becoming a better photographer, to being able to design pleasing images of birds and bear and flowers and big game animals. Of of your children or of a stunning scene. The principals are always the same.
|
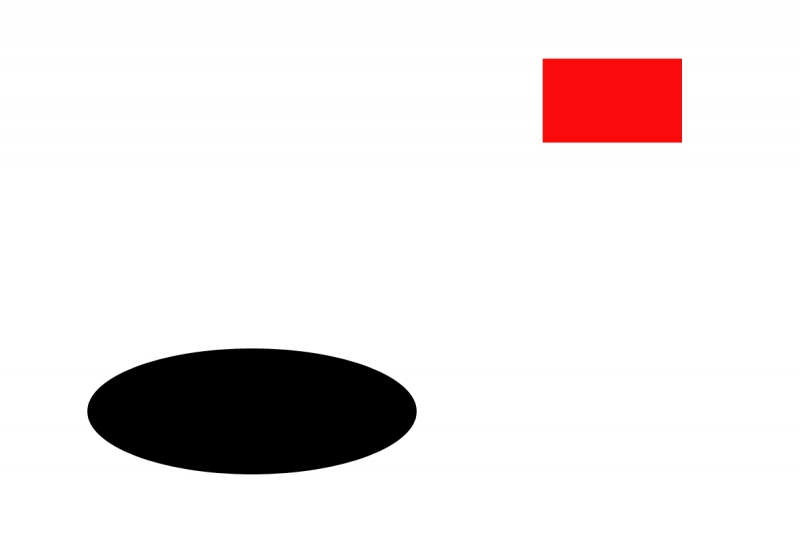
Simple composition map B. |
The Simple Solution
How did I get from composition A to composition B? To change the juxtaposition of the black oval and the red rectangle I simply moved to my right. This opened up space between the two elements and resulted in a much more pleasing image design, one with much better compositional balance.
Here is another excerpt chapter on Advanced Composition and Image Design in The Art of Bird Photography II (916 pages on CD only):
Always strive for compositional balance. The manner in which the elements of an image relate to one another should be pleasing rather than disconcerting. A bird in the lower right corner of the frame might balance a blossom in the upper right. A flock of birds on one side of the frame may balance a stand of reeds on the other. Similarly, blocks of light or dark background colors may balance each other. Do note that the empty or negative space in an image also affects the balance of an image. When changing the juxtaposition of the subject and another element of composition, compositional balance should be one of your main concerns. If a gull is placed on the horizontal centerline one quarter of the way in from the left frame edge, strive to place the rock or the shell, for example, on the horizontal centerline one quarter of the way in from the right frame edge. If a goldfinch is placed in the upper right third of a vertical composition, try to place a colorful flower or leaf in the lower left third. And so on and so forth….
Moving left or right, up or down, is something that I do dozens of times during each photography session. Sometimes I move a few inches, sometimes I move 50 yards. How far I move and the direction that I move are determined by the size of the two elements and the distance between them. Two other factors that must be considered are light angle and subject to film plane orientation. (Yes, there is lots on those two topics in ABP II.) It is true that your angle to the subject will change slightly here but what I am trying to do is to get folks to understand that they can only change the spatial relationship of two objects in the frame by moving left or right, up or down, or some combination of the two. Again, over time and with practice, this will become second nature.
I have taught this same image design principle to IPT groups in countless Applebees with a salt shaker as the foreground element and a bottle of Heinz ketchup as the background elements. And then again in the field. If you would like to improve your photographic skills do consider joining us on a future IPT.
Click here for complete Instructional Photo-Tour information.
Traveling
Please know that artie will be traveling to and from the Galapagos until July 19th. He will not have any internet access while aboard the Samba from July 3-16th. He will be home briefly July 19-20 before flying to Long Island for the sold out Nickerson Beach Baby Birds IPT. Jim will be in the office every weekday to help you with your mail order purchases and Jen will be here handling IPT registrations. The blog will continue to be active as he has prepared more than a few posts for you in advance for you to enjoy during his absence.
If you have a gear or an image processing question please e-mail me after July 19th.
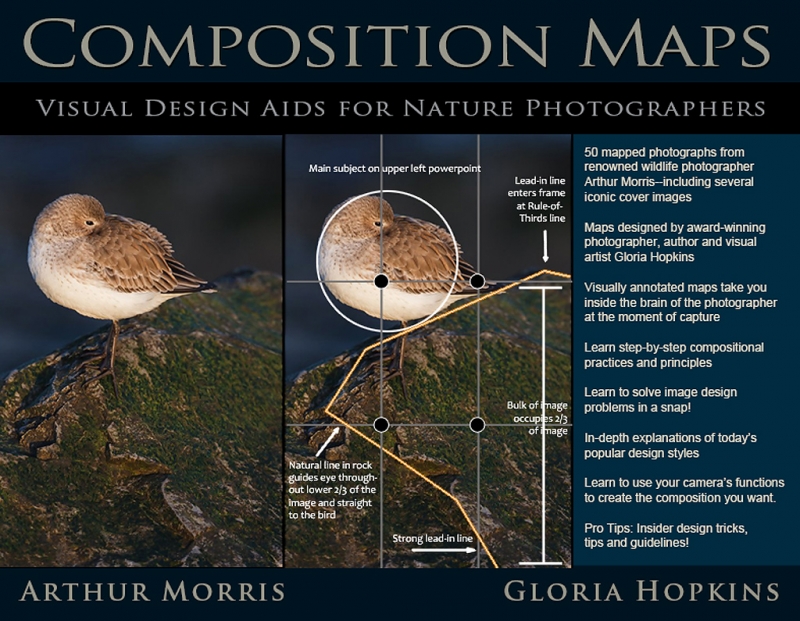
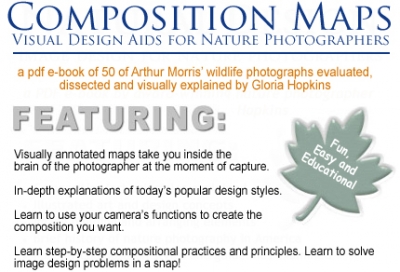
Composition Maps: Visual Design Aids for Nature Photographers
Many new folks may be unaware of “Composition Maps: Visual Design Aids for Nature Photographers” an e-Guide by Gloria Hopkins (with photographs by Arthur Morris). Gloria’s first BAA e-book was Natural Design: Image Design for Nature Photographers. The book received positive reviews from many happy customers and everyone (including me) raved about her composition maps. I still have no clue as to how she knows exactly what is going on in my brain when I press the shutter button and optimize my images. But she does and shares that ingeniously in her second offering, “Composition Maps.”
Click here to order your copy now.
The E-book features more than 80 BIRDS AS ART IMAGES and 61 composition maps–some of the maps deal with two or more images. In the e-book you simply click on the map and hold the cursor down: the image is revealed! Give the animated GIF below a few moments to play and you will get the idea.
The simplest and fastest way to order your copy of “Composition Maps: Visual Design Aids for Nature Photographers” is through the BAA On-line Store by clicking here. Or, you can order your copy by sending a check for $30 made out to “Arthur Morris” to us at BIRDS AS ART, PO Box 7245, Indian Lake Estates, FL 33855. Be sure to include your e-mail address (written legibly). If you prefer PayPal you can send $30 to us via e-mail; be sure to include the title of the book.
Brilliant
Gloria’s composition maps are simply brilliant–the simplest and easiest way to study and learn the principles of image design.
|
|
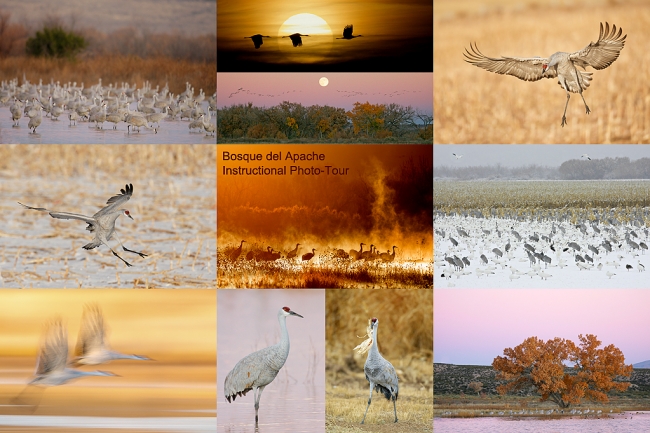
Sandhill Crane composite, Bosque del Apache NWR, San Antonio, NM. Click on the image for a larger version. |
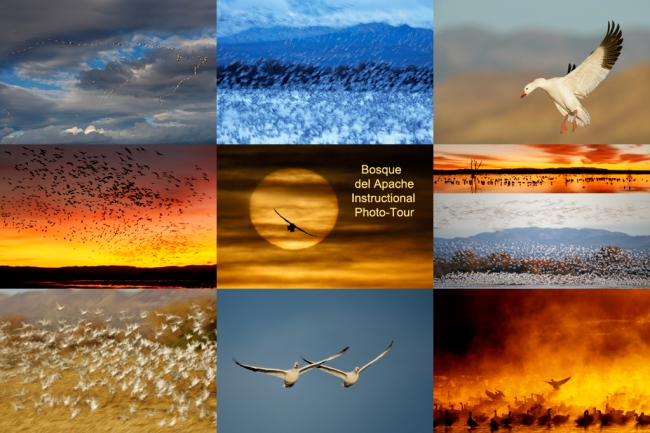
Bosque del Apache 2013 IPT: “The Complete Bosque Experience.” NOV 26-DEC 2, 2013. 7-FULL DAYS: $3399. Co-leader: Denise Ippolito. Introductory Slide program: 6:30 pm on 11/25. Limit: 12.
Tens of thousand of Snow Geese, 10,000 Sandhill Cranes, ducks including point-blank American Wigeon and Wood Duck, amazing sunrises, sunsets, and blast-offs. Live, eat, and breathe photography with one of (if not the) world’s premier photographic educators at one of his very favorite locations on the planet. Top-notch Photoshop instruction. This will make 19 consecutive Novembers at Bosque for me. Nobody knows the place better than I do. Join us to learn to think like a pro, to recognize situations and to anticipate them based on the weather, especially the sky conditions, the light, and the wind direction. Every time we make a move we will let you know why. When you head home applying what you learned will prove to be invaluable. Includes all lunches and the Thanksgiving Buffet at the Crowne Plaza in Albuquerque. I hope that you can join me for what will be an unparalleled learning experience.
A $500 non-refundable deposit is required to hold your slot for this IPT. Your balance is due 4 months before the date of the IPT and is also non-refundable. If the trip fills, we will be glad to apply a credit applicable to a future IPT for the full amount less a $100 processing fee. If we do not receive your check for the balance on or before the due date we will try to fill your spot from the waiting list. If your spot is filled, you will lose your deposit. If not, you can secure your spot by paying your balance.
Please print, complete, and sign the form that is linked to here and shoot it to us along with your deposit check (made out to “Arthur Morris.”) You can also leave your deposit with a credit card by calling the office at 863-692-0906. If you register by phone, please print, complete and sign the form as noted above and either mail it to us or e-mail the scan. If you have any questions, please feel free to contact me via e-mail.
|
Snow Goose composite, Bosque del Apache NWR, San Antonio, NM. Click on the image for a larger version. |
Typos
On all blog posts, feel free to e-mail or leave a comment regarding any typos, wrong words, misspellings, omissions, or grammatical errors. Just be right. 🙂
Support the BAA Blog. Support the BAA Bulletins: Shop B&H here!
We want and need to keep providing you with the latest free information, photography and Photoshop lessons, and all manner of related information. Show your appreciation by making your purchases immediately after clicking on any of our B&H or Amazon Affiliate links in this blog post. Remember, B&H ain’t just photography!


Support the Blog


Amazon
Everyone buys something from Amazon, be it a big lens or deodorant. Support the blog by starting your search by typing in the little white box below. No purchase is too small to be appreciated; they all add up. Why make it a habit? Because I make it a habit of bringing you new images and information on an almost daily basis.



How does Composition Maps differ from Natural Design? I.e., from the description it sounds like the two may have a lot of overlap?
Click on the links and see the descriptions :). The two works are vastly different. artie
In your example above, it seems to me that the results demonstrated in composition map B would be true only if the red rectangle were farther away from you than the black oval. If the black oval were farther away than the red rectangle, the results would be reversed if you moved to the right. If the red rectangle and the black oval were both the same distance from you, their relative positions would not change. Perhaps you meant to imply that the black oval is in fact closer than the red rectangle (similar to the relative positions of the foreground and background elements in your earlier “A Simple Design Principle That Few Understand …” post), but this was not clear to me on reading the above post.
Gary, with all due respect: objects that are in the front of the frame like the black oval in the opening diagram, are always closer to the camera than objects in the back of the frame. Nobody should need to tell you that….