The Streak…
I am feeling a bit better today. Another improvement….
This post inexplicably marks 56 days in a row with a new educational blog post, a record by far that should be extended for at least another week or two. Or not. 🙂 To show your appreciation, we ask that use our B&H and Amazon affiliate links for all of your B&H and Amazon purchases. Please check the availability of all photographic accessories in the BIRDS AS ART Online Store. We sell only what I use and depend on. We will not sell you junk. We know what you need to make creating great images easy and fun. And we are always glad to answer your gear questions via e-mail.
You can find the following items in the store: Gitzo tripods, Mongoose M3.6 and Wimberley heads, plates, low feet, and accessories, flash brackets, , Delkin e-film Pro Compact Flash Cards, LensCoat products, and our unique line-up of educational materials including ABP I & II, Digital Basics, Site and Set-up e-Guides, Canon and Nikon Camera Users and AF e-Guides, and MP-4 Photoshop video tutorials among others.
We would of course appreciate you using our B&H and Amazon affiliate links for all of your B&H and Amazon major gear, video, electronic, household, and personal purchases. For the photographic stuff mentioned above we would of course great appreciate your business.
Thanks and enjoy today’s blog post! More than 4 solid hour of work went into the creation of this blog post 🙂
South Florida IPT Late Registration Discount Info
Scroll down here for IPT details then call us at 863-692-0906 or e-mail to learn of the Late Registration Discounts for each of the three segments and the complete trip.
|
|
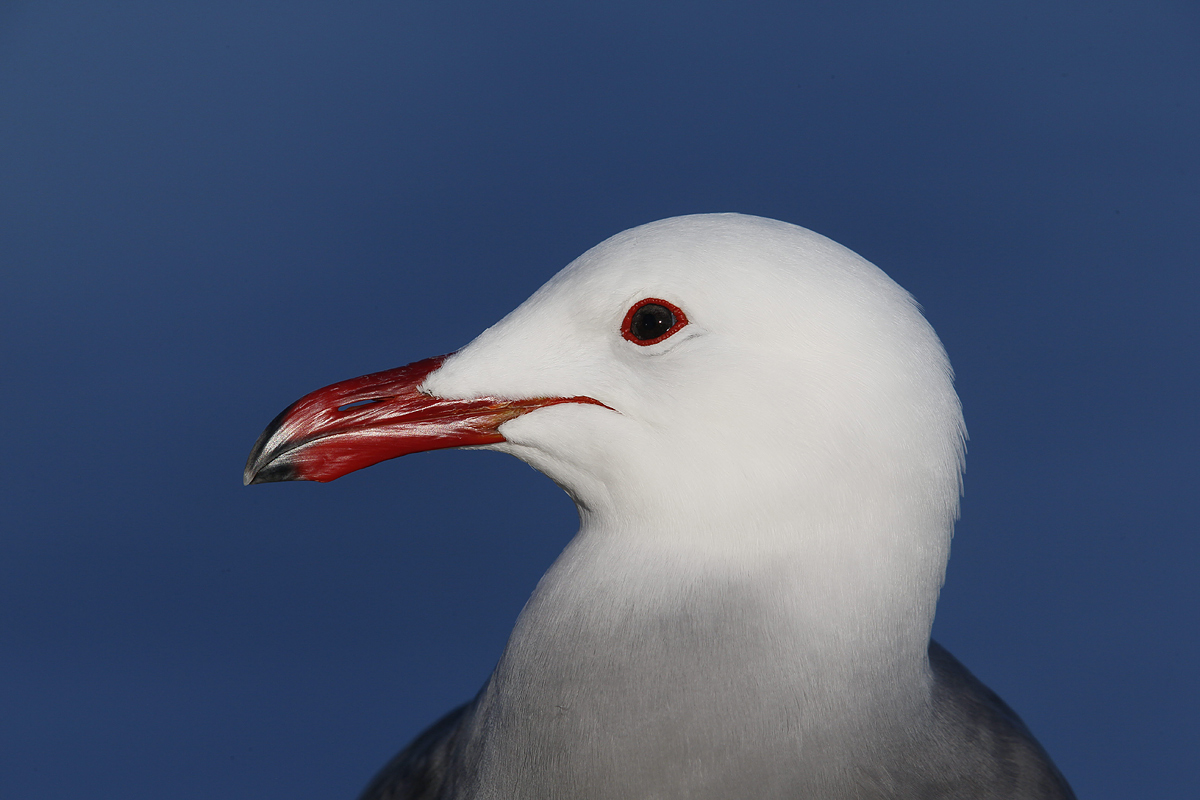
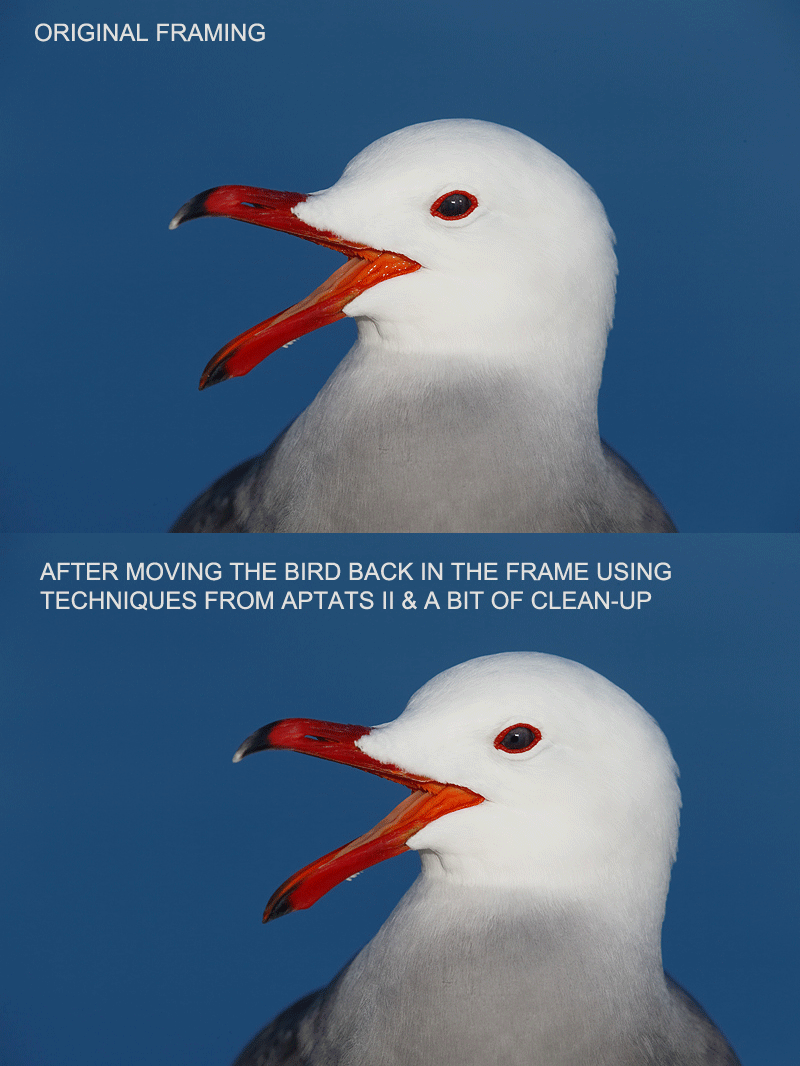
This Heerman’s Gull head portrait was created on the San Diego Short Notice IPT with the Gitzo 3532 LS carbon fiber tripod, Mongoose M3.6 head, the Central sensor (by necessity) Expand/AI Servo/Rear Focus on the base of bird’s bill as originally framed active at the moment of exposure. Click here if you missed the Rear Focus Tutorial. Click on the image to see a larger version. To see the “original framing” of each of the images here, see the animated GIF below. Note: this image represented the extracted JPEG; it has not been not optimized at all but for the sharpening of the JPEG. |
600/2X III TC & AV Mode…
To create each of the four images here I went with Av mode -1/3 stop; I wanted to make sure that I did not burn the bright WHITEs of the Heerman Gull’s head. I was being just a bit cautious as I needed to add 1/3 stop to the exposure during the RAW conversion in DPP in order to bring the WHITEs into Photoshop with the RGB values in the very high 220s. As the light was constant, the background was constant, and the framing was constant, Av mode worked just fine and allowed me control the aperture while adjusting only a single exposure parameter. Had I chosen to work in Manual mode, actually a very viable option, I would have needed to change the shutter speed each time that I changed the aperture…. Those of you who missed “At Long Last, As Promised: the Greatest, Most Educational Blog Post Ever? Manual… Av… Tv… Program… Which is The Best Shooting Mode?” should click here and read, study, and bookmark the post. A great plan would be to follow that up by re-visiting “The #1 Reason that it is Mandatory, Imperative, and Vitally Important that you Work in Manual Mode for Flight Photography.”
Not all real photographers work in Manual Mode 100% of the time… There are times when working in an automatic mode like Av or Tv is faster easier, and more efficient than working in Manual mode.
|
|
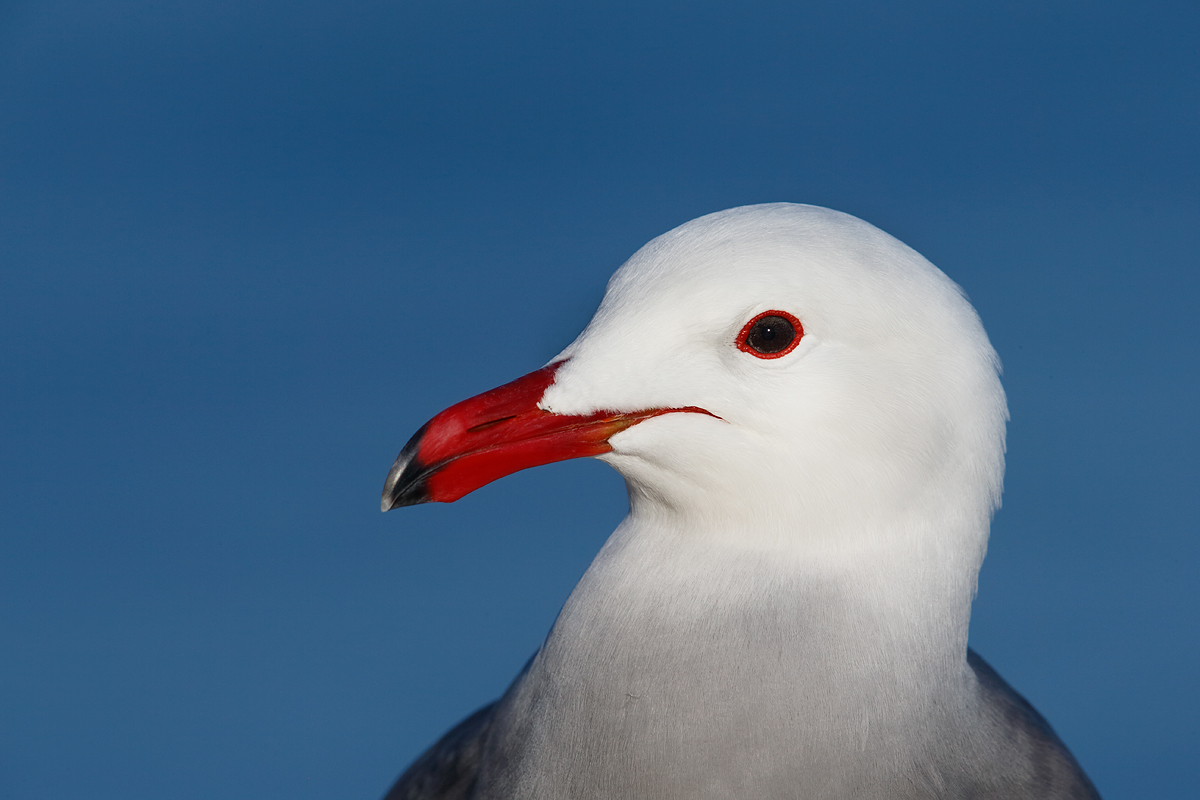
This Heerman’s Gull head portrait was also created on the San Diego Short Notice IPT with the Gitzo 3532 LS carbon fiber tripod, Mongoose M3.6 head, the Central sensor (by necessity) Expand/AI Servo/Rear Focus on the base of bird’s bill as originally framed active at the moment of exposure. Click here if you missed the Rear Focus Tutorial. Click on the image to see a larger version. To see the “original framing” of each of the images here, please see the animated GIF below. |
Easy Image Question
Considering Image A and Image B, which is the keeper and which is the insta-delete? Be sure to let us know why.
|
|
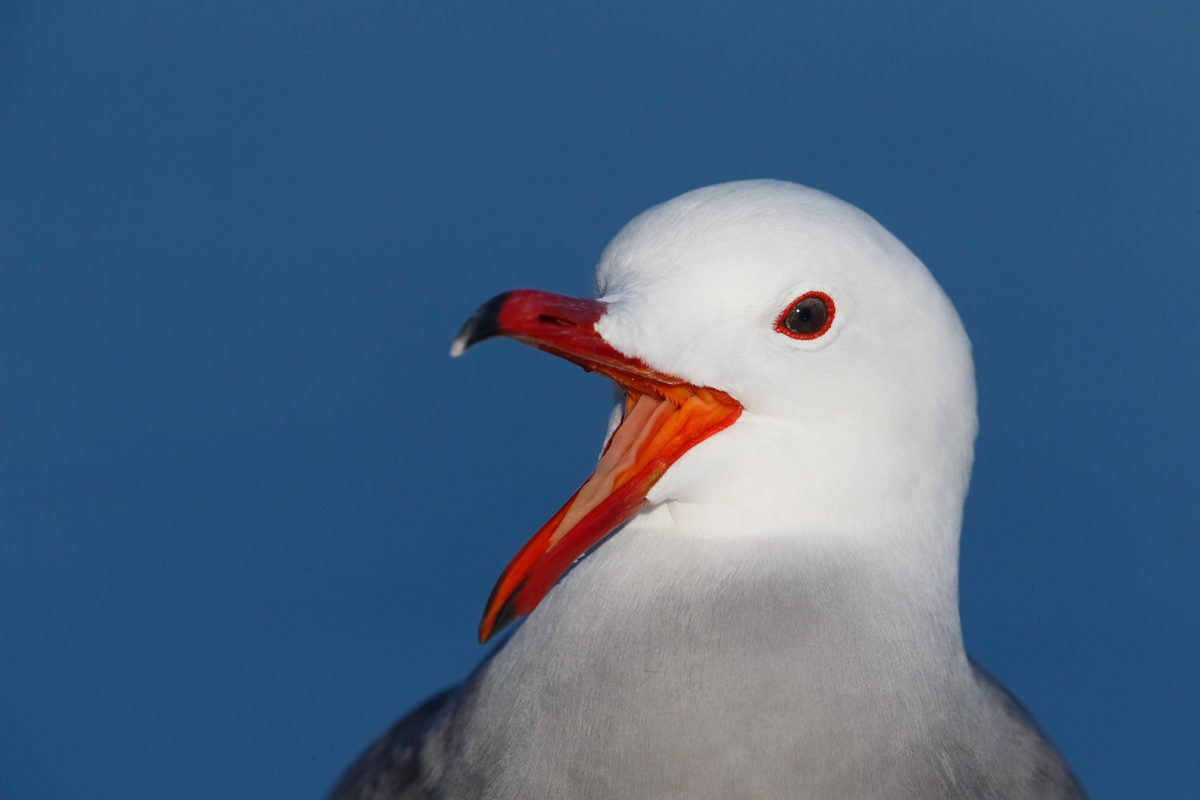
This Heerman’s Gull head portrait was also created on the San Diego Short Notice IPT with the Gitzo 3532 LS carbon fiber tripod, Mongoose M3.6 head, the Central sensor (by necessity) Expand/AI Servo/Rear Focus on the base of bird’s bill as originally framed active at the moment of exposure. Click here if you missed the Rear Focus Tutorial. Click on the image to see a larger version. To see the “original framing” of each of the images here, please see the animated GIF below. |
When You Point Your Lens at a Gull…
If I have said or written it once, I have said or written it a thousand times: “If you point your lens at a gull, it will usually not be long until the bird does something really interesting. At times, I point my long lens at a gull and am rewarded almost instantly. Here, I had made about a dozen head portraits before the bird let out with a lovely tight yawn.
|
|
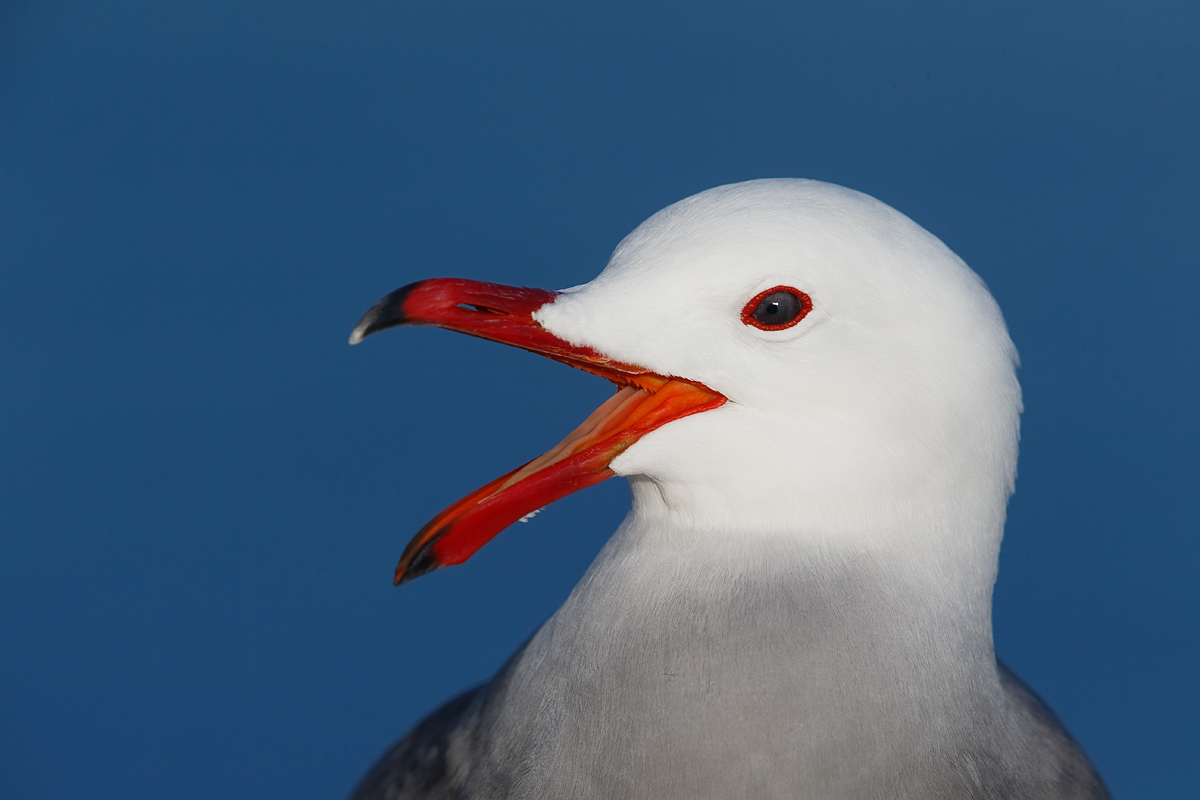
This Heerman’s Gull head portrait was also created on the San Diego Short Notice IPT with the Gitzo 3532 LS carbon fiber tripod, Mongoose M3.6 head, the Central sensor (by necessity) Expand/AI Servo/Rear Focus on the base of bird’s bill as originally framed active at the moment of exposure. Click here if you missed the Rear Focus Tutorial. Click on the image to see a larger version. To see the “original framing” of this image, that represents the original framing of each of the images here, please see the animated GIF below.
|
Images C & D
Of the two images of the gull yawning, Imaged C & D, which is the stronger image? Let us know which one of the two you like best and why?
I am not sure if I switched to a larger aperture (that resulted in a faster shutter speed) because I was experimenting or because I suspected that a yawn was imminent. I would guess the former.
|
Central Sensor only Image Design Strategies
When using a super telephoto lens at f/8 with the 1D X or the 5D Mark III (and the EOS-1D Mark IV I believe), you are limited to choosing the central sensor only. You are however OK to choose the Expand option provided that that option is available. When working with the 600 II/2X III/1D X or the 200-400 with internal and an external TCs in place I will almost always go to Expand; this gives me 5 active AF points, the central sensor and the 4 surrounding points.
In situation like the one that I encountered here, there are 2 options: focus on the eye and then re-compose or keep AF active and focus on the base of the bill. The former option would result in better framing but might result in an unsharp eye if the bird moves a tiny bit closer or farther away. With the clean background in this series I knew that keeping AF active at the moment of exposure would yield consistently sharp on the eye images with the bird too centered. Moving the bird back in the frame using techniques detailed in one of the several tutorials in APTATS II took about 10 seconds with another 10 seconds to apply are regular Layer Mask and paint away the edge. Mention this blog post and Jim will be glad to apply a $10 discount on your APTATS II purchase with phone orders only.
Southwest Florida Site Guide
My Southwest Florida Site Guide includes detailed instructions for photographing at the great spots within an hour or two of Fort Myers, Florida. Included are Ding Darling NWR then and now, Blind Pass Beach, the Sanibel Fishing Pier, the East Gulf Beaches–great for Snowy Plover, Little Estero Lagoon, the Sanibel Causeway, Venice Rookery, my secret White Pelican spot–head shots with a 300mm lens plus flight and action, and the two best Burrowing Owl sites on Cape Coral. Learn more or purchase here.
|
|
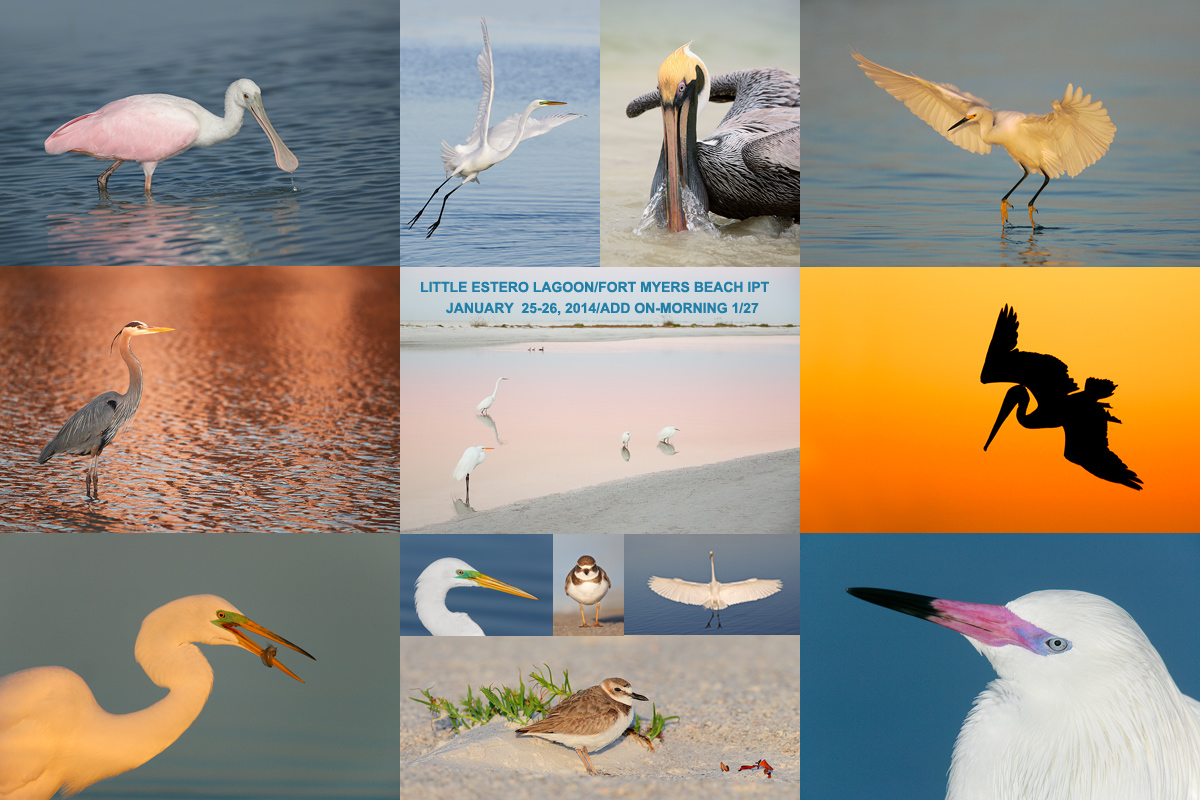
Join us to learn the ins and outs of Little Estero Lagoon. Call us at 863-692-0906 or e-mail to learn of the Late Registration Discounts for both the segments and the complete trip. |
Little Estero Lagoon IPT: 2 full days–Sat/Sun: JAN 25-26 (Limit 12/Openings 9): $799. Introductory slide program: 7pm, FRI, JAN 24, 2014
Join Denise Ippolito and Arthur Morris for four great photography sessions at one of the top bird photography hotspots in North America. Morning sessions: 6:15am to 10:30am. Afternoon sessions: 3:00pm till 5:45pm. Lunch included. Informal image review and Photoshop sessions after lunch. Call 863-292-0906 to registger; payment if full is now due so call with your credit card in hand. Please e-mail with any questions.
Monday: Jan 27: Optional Estero Add-on/morning only (Limit 12/Openings 9): $249
Adding the last morning as above is an option.
What you will learn:
When to be where and where to be when at Little Estero Lagoon to maximize the photographic opportunities.
Autofocus basics and correct camera and gear set-up.
How to get the right exposure with digital every time.
How and why to expose to the right.
How to create pre-dawn silhouettes.
How to design pleasing images.
How to find the best perspective.
How to make strong images in cluttered situations.
How to photography birds in flight.
In-the-Field creative techniques.
Do consider joining us for the all or part of the South Florida Composite IPT. Call us at 863-692-0906 or e-mail to learn of the Late Registration Discounts for both the segments and the complete trip.

|
|
This afternoon seminar is 100% free and open to the public. |
Free Afternoon Seminar
Join Denise Ippolito and me on the afternoon of January 28, 2014 at 1:00pm in the Boca Grande Community Center for a free two-part nature photography seminar entitled “Birds and Blooms.” At 1:00pm I will be presenting “A Bird Photographer’s Story” (updated with lots of my favorite new images). Denise will follow with her hugely popular “Bloomin’ Ideas.” The venue is located at 131 First Street West, Boca Grande, FL 33921.
Suggestion
Join us for the free seminar and then for the Venice Rookery IPT the following day.
|
|
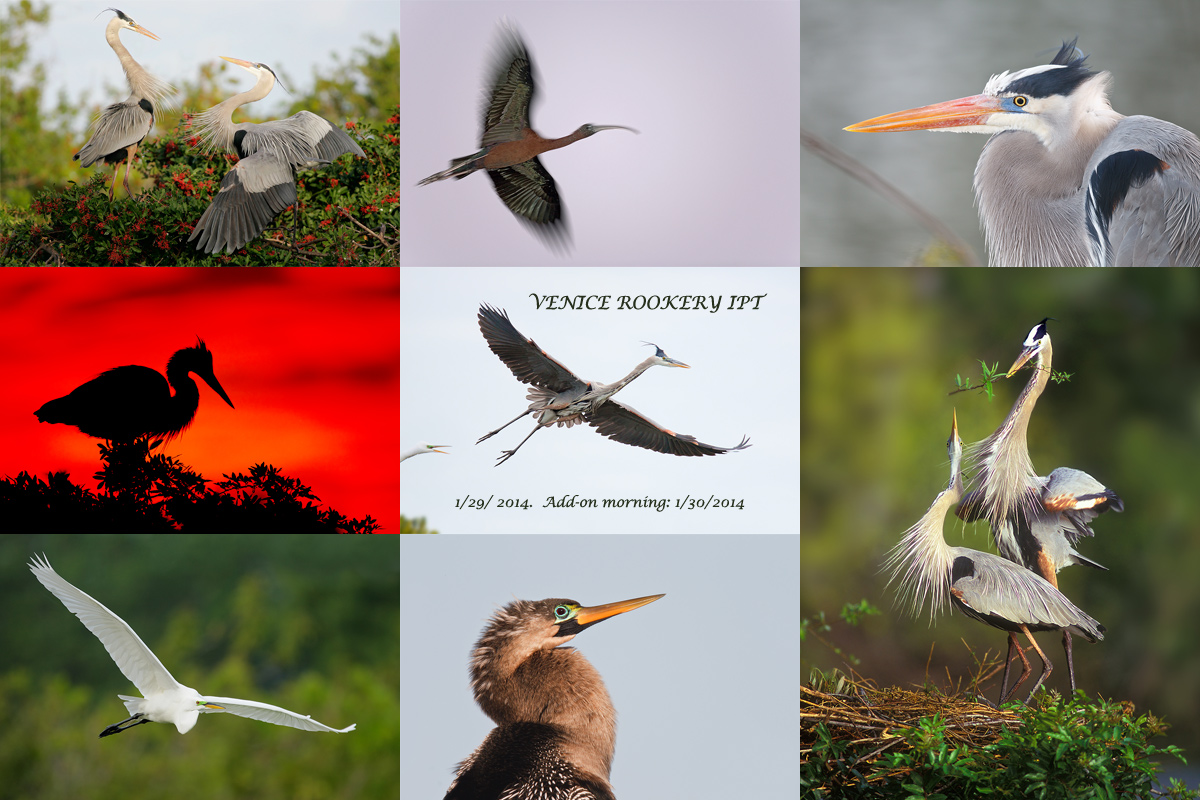
Do join us on the Venice Rookery IPT, or better yet, for the whole South Florida Composite IPT. Scroll down or click here for complete details. |
Jan 29 (WED): Venice Rookery In-the-Field: all day: (Limit 12/Openings 8): $399. Introductory slide program 7pm, Jan 28.
30 (THURS) -Venice am only. (Limit 12/Openings 8):: $249
You can sign up for one or more of the short IPTs and/or one or more of the add-on days or you can opt to sign up for the all the sessions. Those signing up for the whole shebang will be having all lunches and dinners with us most every day. Call us at 863-692-0906 or e-mail to learn of the Late Registration Discounts for both the segments and the complete trip.
|
|
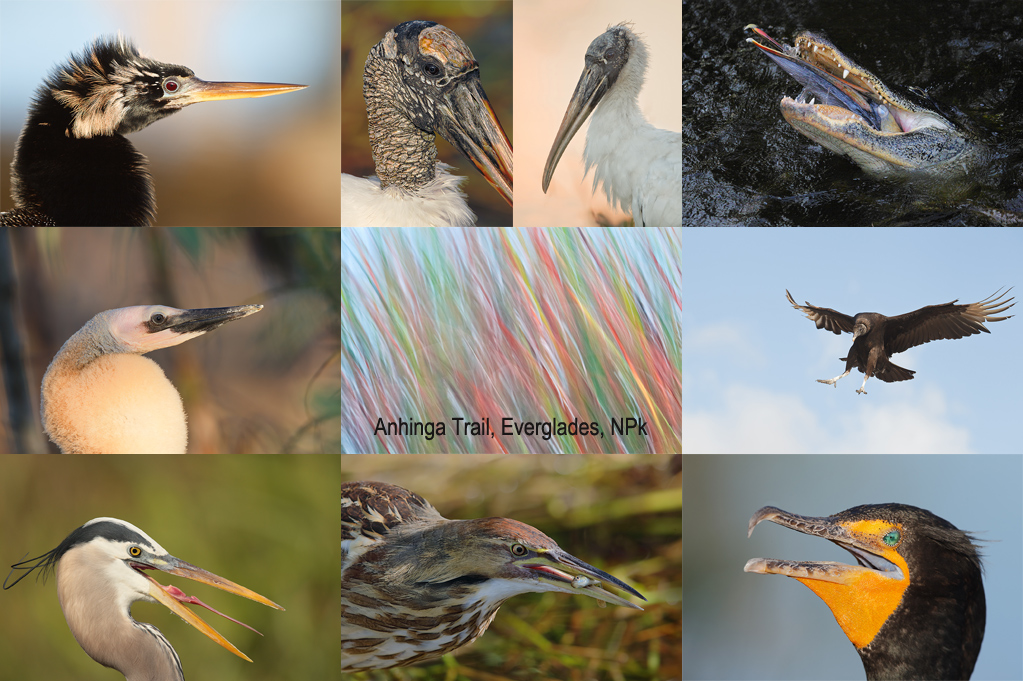
Bird Photography Hotspot: Anhinga Trail, Everglades National Park. Learn more here. |
Anhinga Trail/Everglades National Park Mini-IPT: Feb 1-2, (SAT/SUN), 2014. (Limit 12/Openings 5): $799. Introductory slide program: 7pm: FRI Jan 31. (Limit 14/Openings: 12):
Join Denise Ippolito and Arthur Morris for four great photography sessions at one of the top bird photography hotspots in North America. Morning sessions: 6:15am to 10:30am. Afternoon sessions: 3:00pm till 5:45pm. Lunch included. Informal image review and Photoshop sessions after lunch.
Jan 31 (Friday) Anhinga Trail/Everglades National Park Optional Add-on/Morning Only (Limit 14/Openings 12): $249
Includes lunch, and informal image review and Photoshop session.
2014 South Florida Composite IPT: 6 1/2 days of photography spread over 9 days of learning, hanging out, and travel: $2644. (Limit 12/Openings: 5
Because of our intense travel schedule that includes a trip to Japan I will not be running the traditional SW FLA IPT. In addition, in an effort to give some folks a chance to get a taste of our teaching and our passion for bird photography, Denise Ippolito and I have organized a series of short IPTs that may be combined into one wonderful experience or enjoyed piecemeal. Click here for complete details or to register. Please e-mail with any questions or leave a comment below.
A $500 non-refundable deposit is required to hold your slot for this IPT. For the short segments that are less than $500 payment in full is due at the time of registration. Your balance is due 4 months before the date of the IPT and is also non-refundable. If the trip fills, we will be glad to apply a credit applicable to a future IPT for the full amount less a $100 processing fee. If we do not receive your check for the balance on or before the due date we will try to fill your spot from the waiting list. If your spot is filled, you will lose your deposit. If not, you can secure your spot by paying your balance. Best to call Jim or Jennifer with a credit card in hand to register. Credit cards are not accepted for balances. Alternatively you can send a check for $500 made out to Arthur Morris to us at PO Box 7245, Indian Lake Estates, FL, 33855. Please include a note with your e-mail address and be sure to let us know what you are signing up for.
Support the BAA Blog. Support the BAA Bulletins: Shop B&H here!
We want and need to keep providing you with the latest free information, photography and Photoshop lessons, and all manner of related information. Show your appreciation by making your purchases immediately after clicking on any of our B&H or Amazon Affiliate links in this blog post. Remember, B&H ain’t just photography!


Amazon
Everyone buys something from Amazon, be it a big lens or deodorant. Support the blog by starting your search by starting your search by clicking on the logo-link below. No purchase is too small to be appreciated; they all add up. Why make it a habit? Because I make it a habit of bringing you new images and information on an almost daily basis.
Typos
In all blog posts and Bulletins, feel free to e-mail or to leave a comment regarding any typos, wrong words, misspellings, omissions, or grammatical errors. Just be right. 🙂
IPT Info
Many of our great trips are filling up. See especially info on the South Florida, Holland, and Nickerson Beach IPTs. Two great leaders on most trips ensure that you will receive individual attention, have all of your questions answered, and learn a ton including how to think like a pro, see the situation, and get the right exposure every time. In addition you will have fun, and make lots of great images. Click here for IPT details and general information.


I guess I’m feeling a little contrary today. While I prefer the head angles on B & D, I would keep A due to the lighting and detail on the bill, and C due to the tongue detail. (Due to my skill level–or lack thereof–I would keep them all, however.)
Between image A & B, A is a delete because of the head angle, too parallel or even slightly away from the viewer. In image C & D, D is the best image. Once again head angle, and the beak is more defined against the blue background.
Hi Artie,
Glad your starting to feel better.
For me, Keepers are image B and D.
Don’t know why, but they just seem more pleasing to the eye.
Now that you’ve tied Joe DiMaggio at 56, give it a rest. I need time to catch up on all the tips I’ve bookmarked from your prior blogs. Sounds like you need a rest.
Thanks. But I am resting. And records are made to be broken… artie
Just don’t shoot for Cal Ripken’s consecutive game record! (2632.)
🙂
Thanks for all you’re doing.
Artie, Glad you are feeling better. Could you explain the expand option a little more thoroughly.
Thanks. Expand is the only option to the central sensor only when you are working at f/8 with either the 5D Mark III or the 1D X. All is covered in detail in the appropriate camera guides. Expand is generally 4 additional points, Surround is generally 8 additional points. As the commercial says, “More is better, right?”
A gets an instant delete because of the head angle; bird looking away by few degrees.
Artie: What are your thoughts on the 1Dx Firmware upgrade, and especially EC in manual mode?
Hi Hossam, As I am not concerned with the aperture setting I cannot understand how this great new function improves upon my Tv method (with auto ISO or ISO Safety Shift) for getting the shutter speed that you want. I addition, folks are, as Nikon folks have in the past, proclaiming EC in Manual mode as a Godsend. But it is not: you need to change the EC when the background changes, the same as with the Tv method that I have been teaching… So for me, no big deal at all.
Artie: I’m snow-bound in Washington DC, which doesn’t take much snow! Glad you’re feeling better. I like image B better than A, because in A the bird is looking away, as others have said. I think I prefer image C to D, because in C, where you can see the bird’s tongue, it really seems to be yawning. In D it could be laughing (although it’s not a laughing gull). But I like them both a lot.
Two typos. 1. “Not all real photographers do not work in Manual Mode 100% of the time…” I think you mean “Not all real photographers work in Manual Mode 100% of the time…”
2. “I am not sure if I switched to a smaller aperture (that resulted in a faster shutter speed)…” A smaller aperture would result in a slower shutter speed for the same exposure.
Image A or B? A gets the garbage can. A looks like its looking away just a tad.
Image C or D? I think both are great, but if I had to choose, C gets trashed by
a beak. I like D cause of the blue showing thru the top beak and the space of
blue between the bottom and body. I also like that tiny little feather on the
bottom.
Doug
Artie –
Glad you’re feeling better; must have been that good old chicken soup!
Considering Image A and Image B, which is the keeper and which is the insta-delete? Be sure to let us know why.
B is the keeper due to the much more positive head angle.
Of the two images of the gull yawning, Imaged C & D, which is the stronger image? Let us know which one of the two you like best and why?
Even though the head angle of C is better, the tip of the beak looks a bit soft to me; also, the placement in D is less centered, so D would be my keeper of the two.
Missed the head the whites are better in image B also
Artie Glad you,r felling better as for the images A gets deleted. The head angle is looking away and it really shows up in the eye.With the head angle the eye has no capture or looks lifeless.In image B the eye grabs you and the colors look better with the light angle on the bill and around the eye the red definitely comes out.
Love the deep reds on that gull. Great capture.