Stuff
Aside from writing this blog post Sunday was a very relaxing day of doing nothing but watching NBA and NHL playoff games…. This blog post, the 102nd in a row, took about 1 1/2 hours to prepare. It should be published at one minute after midnight on Monday. Coming tomorrow: my and your Lightroom Comments….
See below for St. Augustine IPT Late Registration Discount info.


Canon’s Huge Megapixel Bodies
Canon’s two new huge megapixel bodies are available for pre-order. If you want to get your hands on one, please pre-order by clicking on the logo-link above. They will surely be difficult to get; shoot me your B&H receipt via e-mail and I will be glad to do my best to expedite your order. Learn more about the two new bodies here.
Please Remember to use our Affiliate Links 🙂
To show your appreciation for my continuing efforts here, we ask, as always, that you use our the B&H and Amazon affiliate links on the right side of the blog for all of your purchases. B&H is recommended for you major photography gear purchases, Amazon for your household, entertainment, and general purpose stuff. Please check the availability of all photographic accessories in the BIRDS AS ART Online Store, especially the Mongoose M3.6 tripod heads, Gitzo tripods, Wimberley heads and plates, LensCoats and accessories, and the like. We sell only what I have used, have tested, and can depend on. We will not sell you junk. We know what you need to make creating great images easy and fun. And we are always glad to answer your gear questions via e-mail. I just learned that my account was suspended during my absence; it should be up and running by Monday at the latest.
I would of course appreciate your using our B&H affiliate links for all of your major gear, video, and electronic purchases. For the photographic stuff mentioned in the paragraph above we, meaning BAA, would of course greatly appreciate your business. Here is a huge thank you to the many who have been using our links on a regular basis and visiting the BAA Online store as well.
|
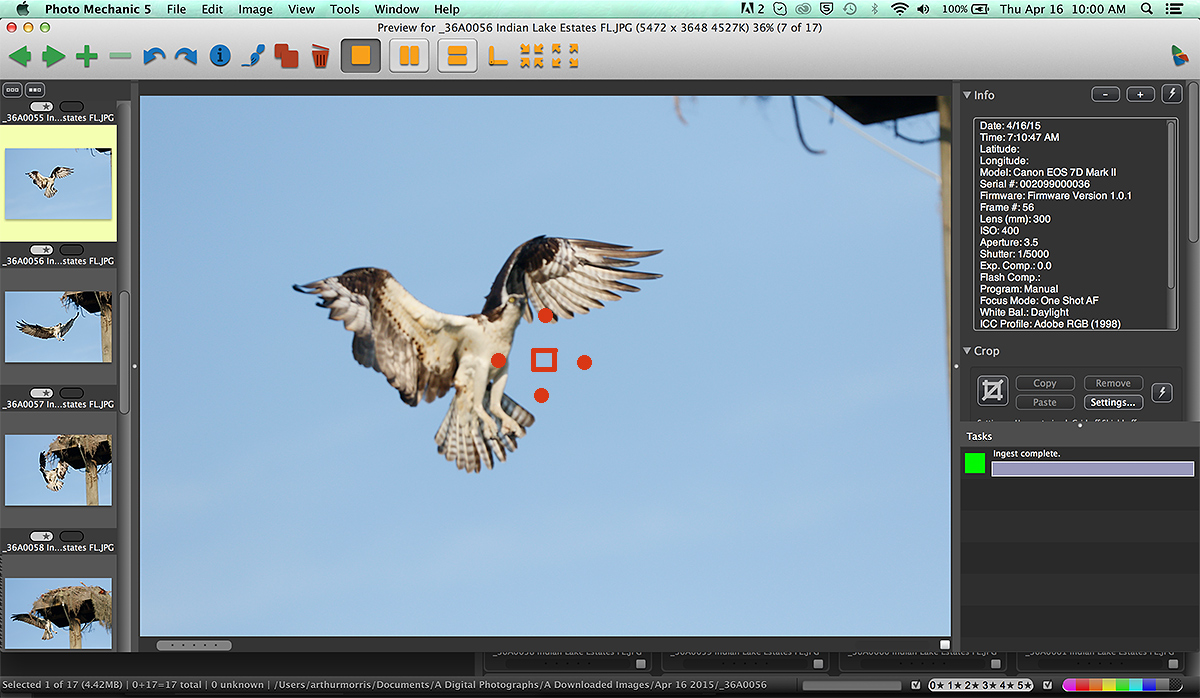
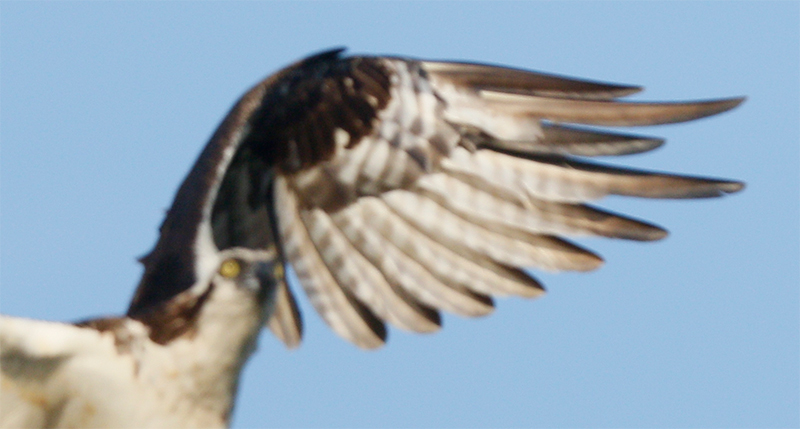
This image was created down by the lake near my home at Indian Lake Estates, FL with the hand held Canon EF 300mm f/2.8L IS II USM lens and the Canon EOS 7D Mark II. ISO 400. Evaluative metering +2/3 stop off the blue sky: 1/5000 sec. at f/3.5. in Manual mode. Center AF point/Expand/Shutter Button AF as framed was active at the moment of exposure. Click on the image to see a larger version. Badly out of focus Osprey
|
“Lousy Camera or Lousy Photographer?
In the “Lousy Camera or Lousy Photographer?” blog post here, many folks noted that I was in One-Shot AF (Single Servo or AF-S in Nikon). For flight photography, you need to be in AI Servo AF (Continuous or AF-C with Nikon) so that the system can track a moving subject.
And the Answer Is:
Lousy Photographer
AF Primer
When working in in One-Shot AF (Single Servo or AF-S in Nikon) you have press the shutter button (or engage rear focus) to set and lock focus. Both the subject and your rig–the camera and lens–<em>must not move once focus is locked or else the resulting image will not be sharp.
AI Servo AF (Continuous or AF-C with Nikon) was designed to track moving subjects. Not only do these amazing systems track a moving subject but they actually determine the speed and direction of the subject and predict accurate focus at the moment the shutter is released.
Some AF systems offer an AF mode that is designed to switch between the two AF modes when either a still subject or a moving subject is detected. This mode is called AI Focus AF in Canon and AF-A in Nikon. These AF modes rarely works properly. Do not use or depend on them.
My Excuse
My excuse (I do understand that there are never any legitimate excuses in photography :)) is that I had been micro-adjusting that very camera body lens combination with Michael Tapes the day before I went down to the lake and created the badly o-o-f Osprey image. One of the first steps in doing an accurate micro-adjustment with LensAlign/Focus Tune is to set One-Shot AF. Whether I am using Rear Focus or Shutter Button AF I pretty much never use One-Shot AF so I never thought to check that setting….
|
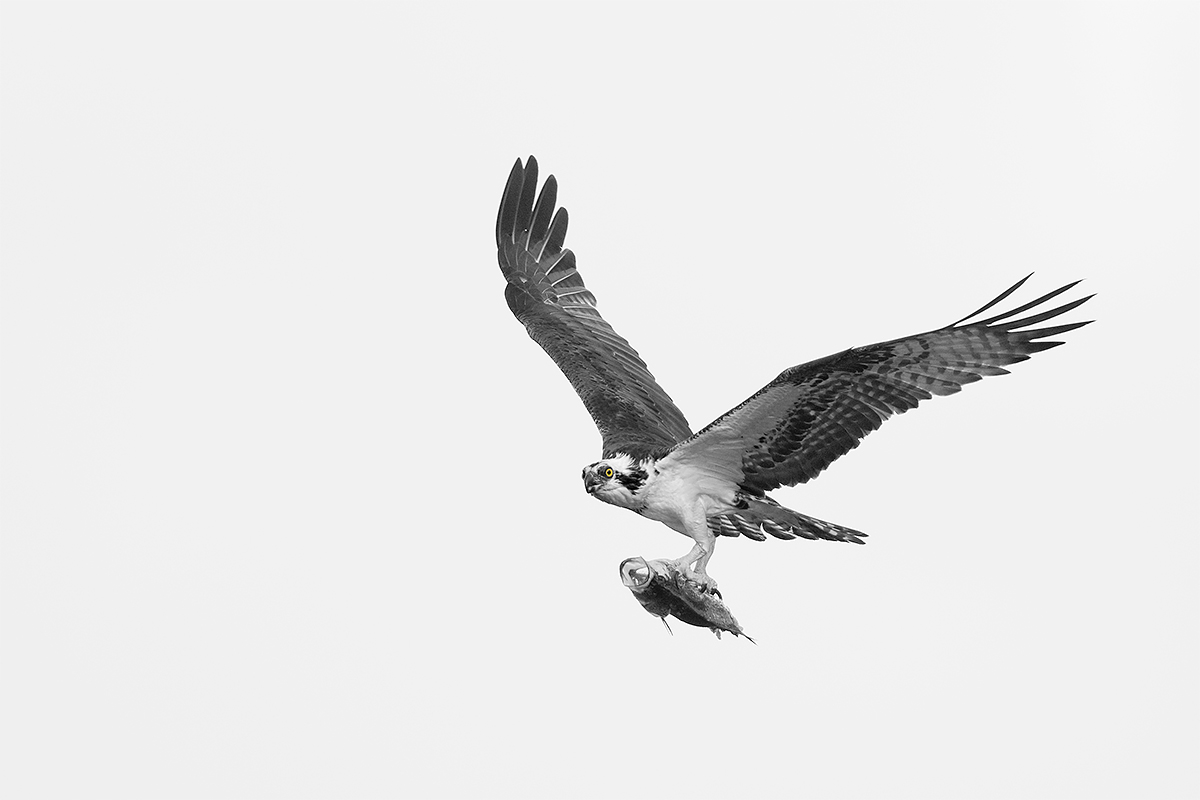
This image was created Lake Blue Cypress with the hand held Canon EF 300mm f/2.8L IS II USM lens and the Canon EOS 7D Mark II. ISO 400. Evaluative metering +2 2/3 stops off the white sky: 1/2000 sec. at f/2.8. Center AF point/AI Servo Expand/Shutter Button AF as originally framed was active at the moment of exposure (as is always best for flight photography). The active sensor was on the left side of the bird’s face. Click on the image to see a larger version. Image #1: Osprey black & white NIK Silver EFEX Pro Neutral |
Osprey Wing Position Lesson
In the “NIK Silver Efex Pro 2 Osprey” blog post here, I asked, “Which wing position is far less than ideal, the near wing or the far wing? What would have been better?” Two folks left a comment, asked some good questions, and eventually understood that the image would have been a lot stronger if the near-wing had been raised higher with the wings fully up. This would have evened out the exposure, given us a better look at the underwing surface, and added more tension to the image. Good on Deirdre Sheerr-Gross and David Peake for sticking with it. As is often the case, you can learn a ton by reading and following the comments on each blog post.
BTW on the B&W
Of the two versions, I far preferred the Neutral treatment. The High Structure image was overdone for my taste. Several disagreed. How boring would life be if we all thought or liked the same things.
The Big Payoff
Checking Your Camera Settings Before You Start
I do make it a habit of checking my settings before I am in position to start making images. And we teach that on IPTs as well. Here is my mental check list: ISO setting, Shooting Mode, AF Area Selection Mode, selected AF point, Evaluative Metering, rear focus or shutter button AF, White Balance, and Highlight Tone Priority (those last 3 by hitting the Q button). When I do not know what to expect, I will set the ISO according to the light, ISO 400 if it is bright or sunny, or ISO 800 or higher if need be. I usually choose Aperture Priority (at or close to the wide open aperture) so that I am ready for anything simply by dialing in exposure compensation. Once I am in the ballpark I will usually switch to Manual mode. Most recently I have been setting center point Expand shutter button AF. I keep Highlight Tone Priority on. (Do not do that unless you convert your images in DPP 4 as doing so will give you a false sense of security as far as your WHITEs go. Only DPP can read the HTP info.) I set the White Balance to either AUTO or to CLOUDY. As I never use anything but Evaluative Metering the only way I might change that is accidentally but as we have seen here, it never hurts to check. At this point I know my starting points, and if you know where you are in terms of camera settings, you have a much better chance of getting to where you want to be.
Now I just have to remember to add “Make sure to be in AI Servo AF” to my mental checklist.
There is nothing worse than coming upon a great situation and not having a clue as to how your camera is set up so be sure to make it a habit of going through your mental camera check list before you head into the field.
|
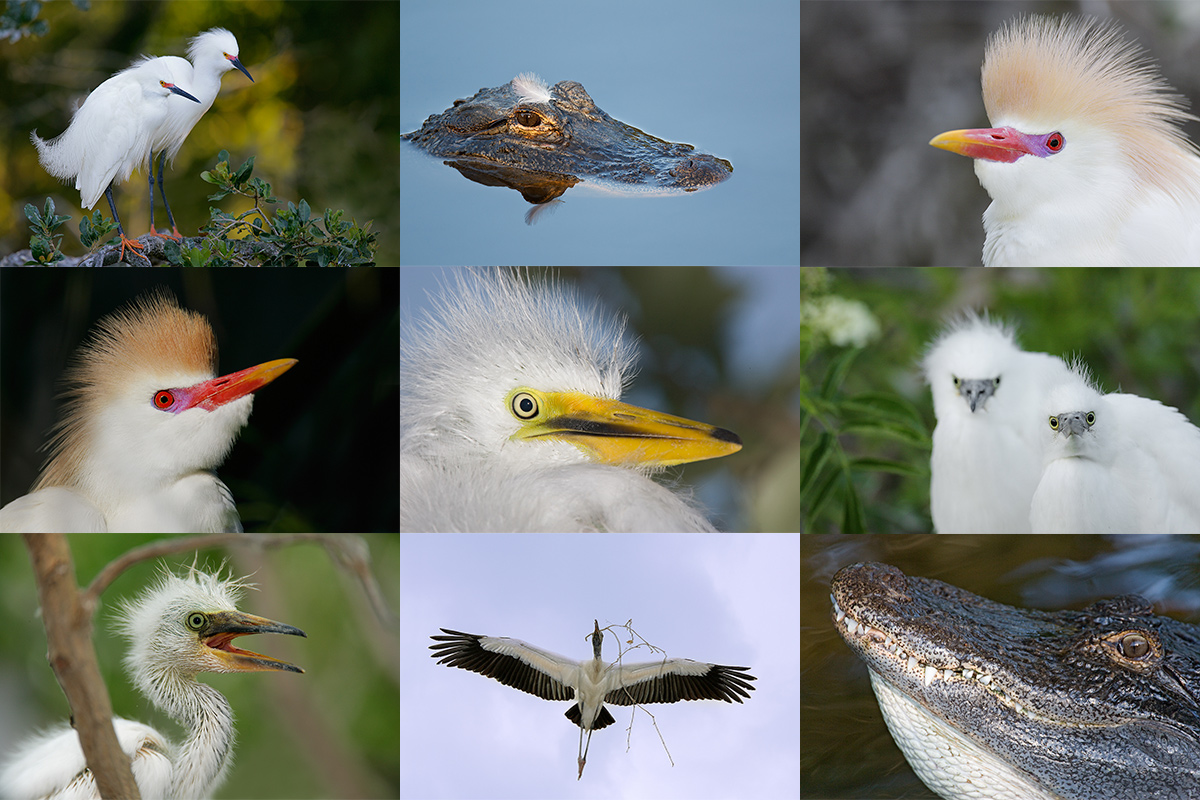
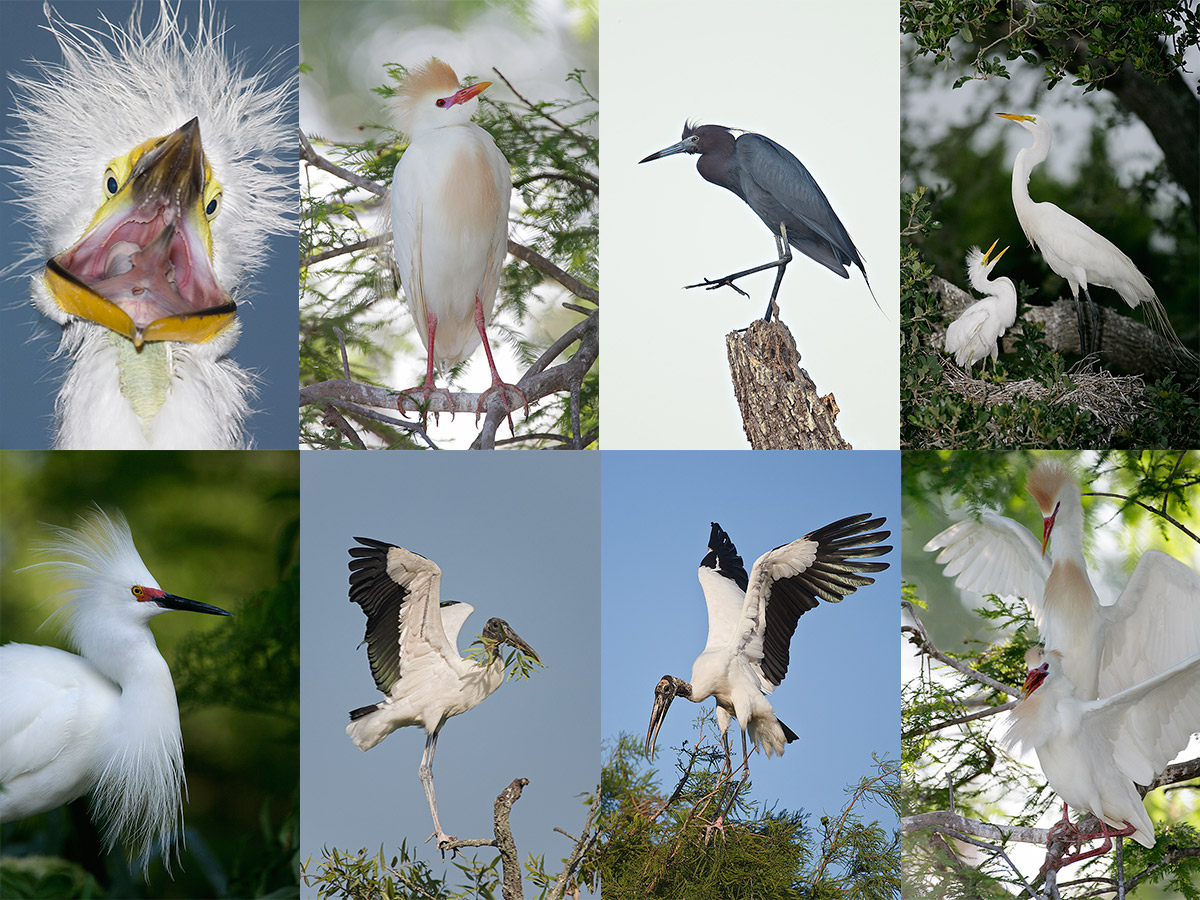
Clockwise from upper left to center: Snowy Egrets/breeding plumage pair, American Alligator with egret feather on head, Cattle Egret in breeding plumage (with fill flash), large Snowy Egret chicks, displaying gator, Wood Stork in flight carrying nesting material (fill flash), begging Snowy Egret chick, another Cattle Egret in breeding plumage (with fill flash), and Great Egret chick. |
Date Change: St. Augustine Alligator Farm Short-Notice Spoonbill and Wading Bird Chicks IPT: May 4-6, 2015.
St. Augustine Alligator Farm Short-Notice Spoonbill and Wading Bird Chicks IPT: May 4-6, 2015. TWO FULL and TWO 1/2 DAYS: $1099. Limit 8/Openings 5.
Call on Monday to learn of the Late Registration Discount: 863-692-0906
St. Augustine in early May is a bird photographer’s paradise. With any luck we should have chicks of all sizes in the nests ranging from newly hatched Snowy Egrets and Tricolored Herons to nearly fledged Great Egrets. More than a few pairs of Roseate Spoonbills have nested at the Alligator Farm for the past several years. Photographing the spoonbill chicks in the nest is a huge challenge…. With any luck we will encounter a few Snowy and Cattle Egrets in stunning breeding plumage. We should have lots of flight photography ops especially late in the day. We will enjoy extra early entry on our three mornings. Folks who will need a photographer’s pass need to get us $89.95. This fee includes full season early entry and late stay and submission fees for up to 5 photos in their annual contest. This works out to cheaper than four separate entry tickets. We pick up the passes on our first afternoon.
|
Clockwise from upper left: flash-as-main light Great Egret chick begging, breeding plumage Cattle Egret w/fill flash, Little Blue Heron, Great Egret chick in nest begging, Cattle Egrets copulating, Wood Stork with nesting material, another Wood Stork with nesting material, and breeding plumage Snowy Egret displaying. |
What You Will Learn
On this IPT you will the learn the basics and fine points of digital exposure and how to get the right exposure every time after making a single test exposure. You will learn to understand and predict bird behavior and to see and understand the light. You will learn to design pleasing images by mastering your camera’s AF system and how and why to work in Manual mode (even if you’re scared of it). Most importantly, you will learn to spot the good situations, to choose the best perspective. Rookeries are crowded, cluttered, white-washed places. Most folks who visit have no clue as to the difference of an image with tons of distractions and one with a clean line of sight and the best possible distant background. Join me and I will teach you to see like a pro.
I will be bringing my flash to the Alligator Farm (gasp!) I have not used flash for at least a year. I will be teaching you how to use flash as fill and how to use flash as main light. In addition, I will be reviewing the flash flight techniques that I developed at St. Augustine more than a few years ago.
|
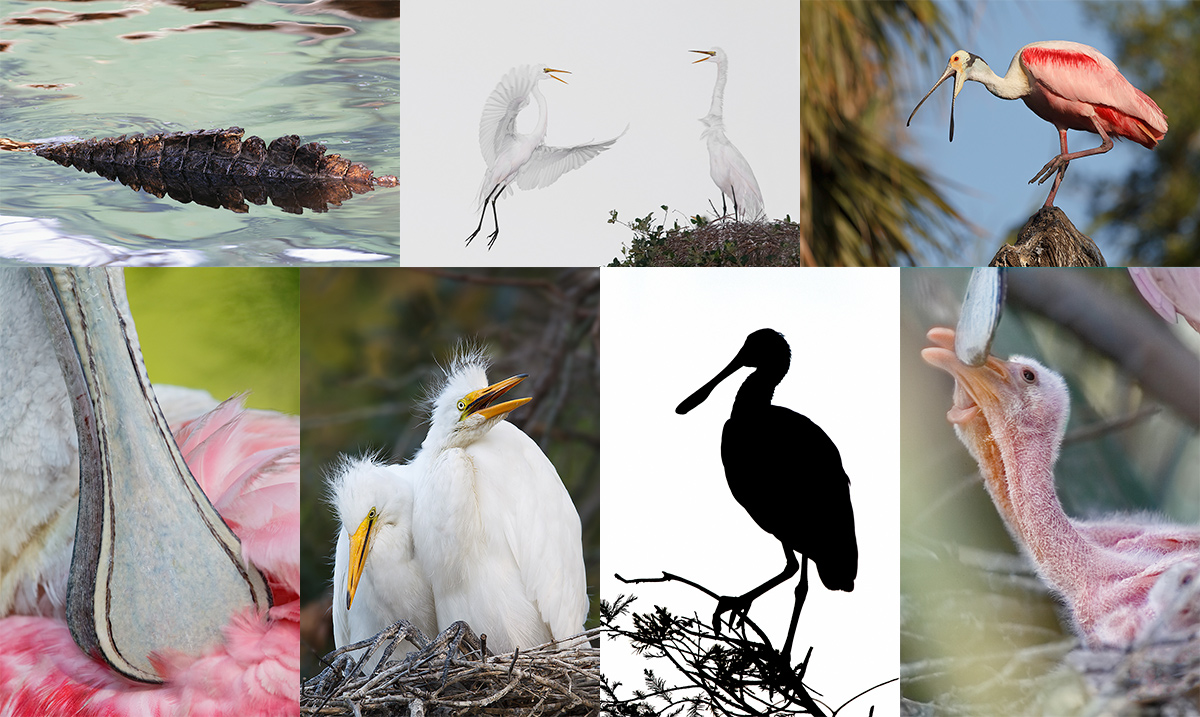
Clockwise from upper left: gator back, Great Egret returning to mate (with fill flash), Roseate Spoonbill with bill open, Roseate Spoonbill chick begging, Roseate Spoonbill 11am silhouette, large Great Egret chicks in nest, and bill of Roseate Spoonbill. |
Whats the Rest of the Deal?
Afternoon session on Monday, May 4. Then two full days with a morning and afternoon session each day, May 5 & 6. Then our last morning on May 7. At lunch on Tuesday and Wednesday (included) we will review my images; folks learn a ton watching me edit–why keep this one and delete that one? If you opt to bring your laptop, we can take a look at five of your best images from the morning or another session. We will process a few of my images in Photoshop after converting them in DPP. That followed by Instructor Nap Time.
A $499 non-refundable deposit is required to hold your spot. Your balance–$600, payable only by check, is due immediately. Please include a separate check for $89.95 so that we can purchase your pass in advance. Please click here to read our cancellation policy before committing. Then please print, read, and sign the necessary paperwork linked to here and get it to us. You can register by calling Jim or Jen at the office at 863-692-0906 and arranging for your deposit of $499. Balances are payable only by check. I hope to see you there.
From Pat and Stokes Fishburne
The Alligator Farm is quite good right now. Good spoonbill nests and lots of spoonbills. Also, Snowy Egrets, Tricolored Herons, and a few Cattle Egrets along with more than a few Great Egret nests with chicks.
Be sure to like and follow BAA on Facebook by clicking on the logo link upper right. Tanks a stack!
Support the BAA Blog. Support the BAA Bulletins: Shop B&H here!
We want and need to keep providing you with the latest free information, photography and Photoshop lessons, and all manner of related information. Show your appreciation by making your purchases immediately after clicking on any of our B&H or Amazon Affiliate links in this blog post. Remember, B&H ain’t just photography!
Amazon.com
Those who prefer to support BAA by shopping with Amazon may use this link:
Amazon Canada
Many kind folks from north of the border, eh, have e-mailed stating that they would love to help us out by using one of our affiliate links but that living in Canada and doing so presents numerous problems. Now, they can help us out by using our Amazon Canada affiliate link by starting their searches by clicking here. Many thanks to those who have written.
Typos
In all blog posts and Bulletins, feel free to e-mail or to leave a comment regarding any typos or errors. Just be right :).



Artie, I usually don’t dabble in rumors, however, it seems that Canon may be primed to release a firmware that affects autofocus on the 7DII.
Not sure how it will affect all of your micro-adjustments, but I would be interested to know your experience if/when you update.
The link should be firmware that affects autofocus on the 7DII.
I always read the fine print before updating…. I am praying for a few changes most notably the AF Grid Void and the invisible vertical analog scale :). Fixing those two issues with a firmware update would be miraculous. Let us know when you learn something substantive.
a
The frame rate changes from hi-speed to single frame.
Thanks. Strangest thing I have ever heard. Did you switch your Power off to 30 minutes?
a
I save my default camera setup to one of the custom settings (C1). Then I always start from there.
As I have been saying, whatever works! a
(Somewhat related to your post) Yesterday while photographing my grandsons playing soccer (7DII + 100-400 II) the camera kept switching from the setting (AI Servo + hi-speed frame rate) to the setting (one shot, 1shot) every time the battery went to sleep between shots. Is there a way to make sure those settings remain set until I change them? TIA
I do not think that the camera going to sleep would cause that…. IAC, you should have your camera set to Auto power off: 30 minutes as is recommended in all of our camera User’s Guides….
You might want to check and see that you have not assigned assigned any of the items under camera Customs Controls to toggle between One-Shot and AI Servo…. Is the frame rate changing as well?
I think if you are using C1, C2 or C3 and you change certain settings, they automatically revert back to the “C” settings at some point.
You are correct Mike. If you are using a custom setting and make a change, when the camera sleeps it will revert back to the custom settings when it wakes up.
Why not use c1, c2, c3 as the basis of what you shoot. For instance, I have c1 set for images for mostly static objects (class one, etc.) and all of the other items on your check list are set appropriately (e.g. af servo, manual, I use auto iso, evaluative metering, etc. C2 is for moving objects that are not moving all over the place (e.g. slow moving, big birds) and c3 for things that dart all over the place. I set for c1 center point expanded, c2 center point 8 point expanded and I am trying to figure out what setting to use for butterflies with the background is not pure sky (probably 8 point expanded). Everyones setting might be different depending upon their photo style and what they are shooting. But, using c1, c2, c3 consistently makes a check list easier to implement, in my opinion anyway. Arnie, what do you think?
That is a good idea for some folks. For a variety of reasons, it does not work well for me. i always want to change something…
artie
ps: who is Arnie??
Hi Artie,
Checklists are a very good thing to make and keep in your gear bag…. I do some volunteer event photography for youth retreats that are 3 days long, and I get very tired, and mental check lists don’t always work. There are a few situations during the retreat where I need to change over to a completely different setup than getting pictures of moving kids, (the group photo for example), and I made a laminated checklist of the setup I need for each different situation, so I can check it over and make sure things are the way I want them to be, even when I am very tired!! Even setting the camera back to moving kid mode can be challenging without a checklist when you are tired…..
Thanks for all you do!!
Steve
Different strokes… All I need to do is to remember and not be lazy 🙂 a
Hi Artie, sorry if you didn’t appreciate my little “joke” yesterday. Anyway, in most situations both the shutter speed (slow or fast) and the f-stop (more or less depth of field) are important. Having said that, you really haven’t touched much on auto-iso, in which you have full control over both shutter and f-stop, especially with the 1dx which allows exposure control in auto-iso (I don’t know about the 7DII).
Thanks, MIke
I was fine with your joke once I saw the smiley face :).
Are you talking about AUTO ISO in Manual mode? a
Sorry, yes, auto-iso in manual mode. Seems like the best of all worlds.
It might work for you but I do not like it. If you do, make sure not to keep Same exposure for new aperture (at the bottom of Orange 1) set to OFF or you might get some unwanted surprises. a
Okay, enough said about auto-iso, Thanks for the tip on “same exposure…”. Something new to learn.
Mike
Thanks. Will need to memorize that list. Missed a turkey flight picture last year for not doing that. In defense of the osprey, it needed the right wing raised more to get a more horizontal lift vector on the right to turn left ( aided by turning the fish slightly left).
Thanks Dick but I have no sympathy for the Osprey. As I said, there are no excuses in photography 🙂 a