What’s Up?
Jim and I drove up to Gatorland early on Thursday morning. I worked with private clients Dixon and Carolyn Soracco of Portland, OR. Working with truly happy campers always makes me smile; I headed home with a big grin on my face after our working lunch at Ruby Tuesdays. More on Gatorland soon.
Thursday was another good post-surgery day…
The Streak
Today’s blog post marks 182 days in a row with a new educational blog post. As always-–and folks have been doing a really great job recently–-please remember to use our B&H links for your major gear purchases. For best results use one of our many product-specific links; after clicking on one of those you can continue shopping with all subsequent purchases invisibly tracked to BAA. Your doing so is always greatly appreciated. Please remember: web orders only. Please remember that if you are shopping for items that we carry in the BAA Online Store (as noted in red at the close of this post below) we would appreciate your business.
A Common Weakness in Perceptual Vision Skills and Understanding Perspective Choices as They Relate to Photography
Many beginning and intermediate (and more than a few “advanced”) nature photographers have serious shortcomings when it comes to understanding how a change in perspective will affect the juxtaposition of the elements in their compositions. I see it often on IPTs when I ask, “What happens to the bird and the rock in the background if I move 2 feet to my right?” And I have seen it here on the blog, especially in these two recent posts:
My Favorite Namibia Image: Does It Get Any Better Than This?
and
Amazing Luck + A Venerable Animal + Surreal Light = A Wonderful Photographic Opportunity…
In each of those posts I asked what I thought was an easy peasy perspective question and was pretty much amazed when folks went off on seemingly inexplicable tangents. With the Gemsbok image, it seemed obvious to me that if you got lower, the out-of-focus ridge of sand in the foreground would cut off the animal’s feet. To me, that would have been a very big no-no. You can check out the more detailed explanation here.
The same thing happened in the surreal elephant post when I asked why getting lower and photographing from the window would not work. See below for the explanation…
|
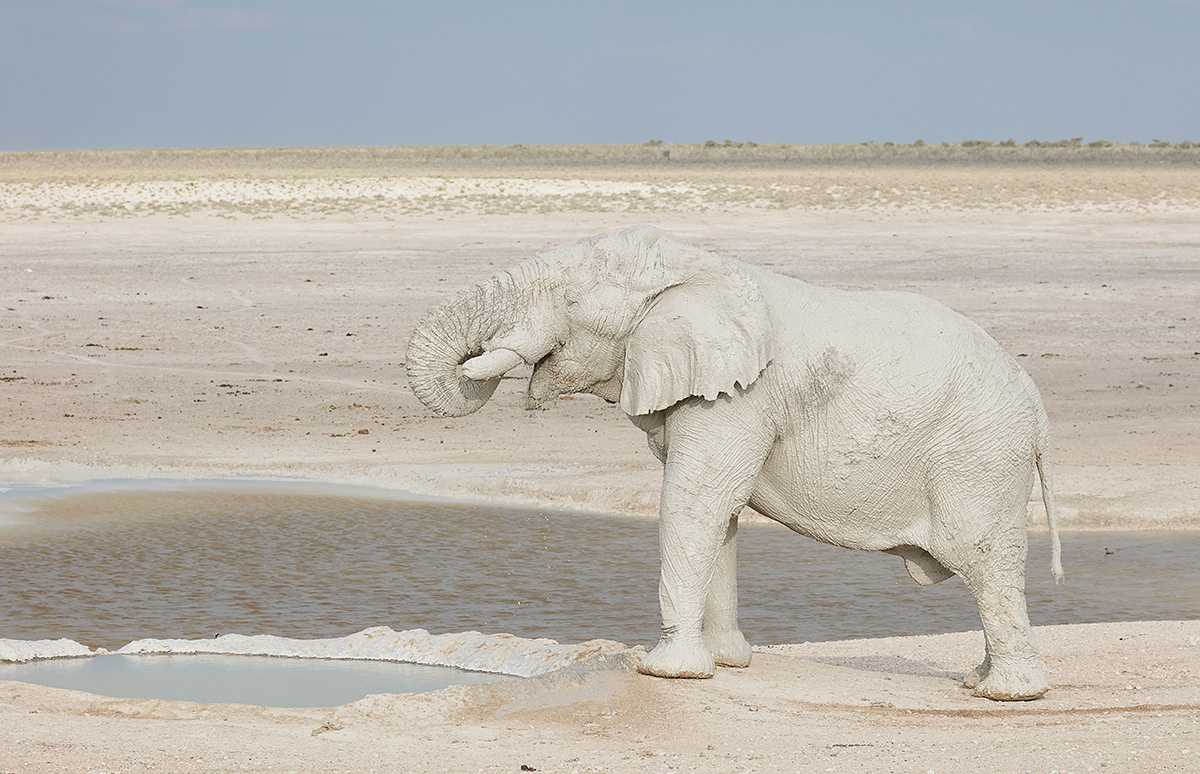
This image was also created at on the same afternoon of the 2016 Namibia IPT with the hand held Canon EF 100-400mm f/4.5-5.6L IS II USM lens, the Canon Extender EF 1.4X III (at 160mm) and the mega mega-pixel Canon EOS 5DS R. ISO 400. Evaluative metering +1 stop: 1/1600 sec. at f/8. Daylight WB. Center AF point/AI Servo/Expand/Rear Focus AF was active at the moment of exposure (as is always best when hand holding).The selected AF point was on the elephant’s throat. Click here to see the latest version of the Rear Focus Tutorial. Click on the image to see a larger version. Royalty on a pedestal… |
Is a Lower Perspective Always Better?
With regards to the image above, I wrote, “Once this pachyderm approached the vehicles and posed for us, I went from the top of the van to the open window below and made a very few frames. Why did I go back to standing and photographing from below the raised roof? In this and many other cases, lower was not better.”
I thought that the question was pretty straightforward (and still do) but several folks were confused so I followed up with this: “Why was it better to photograph from on high at from the roof than to go lower and photograph from the window?”
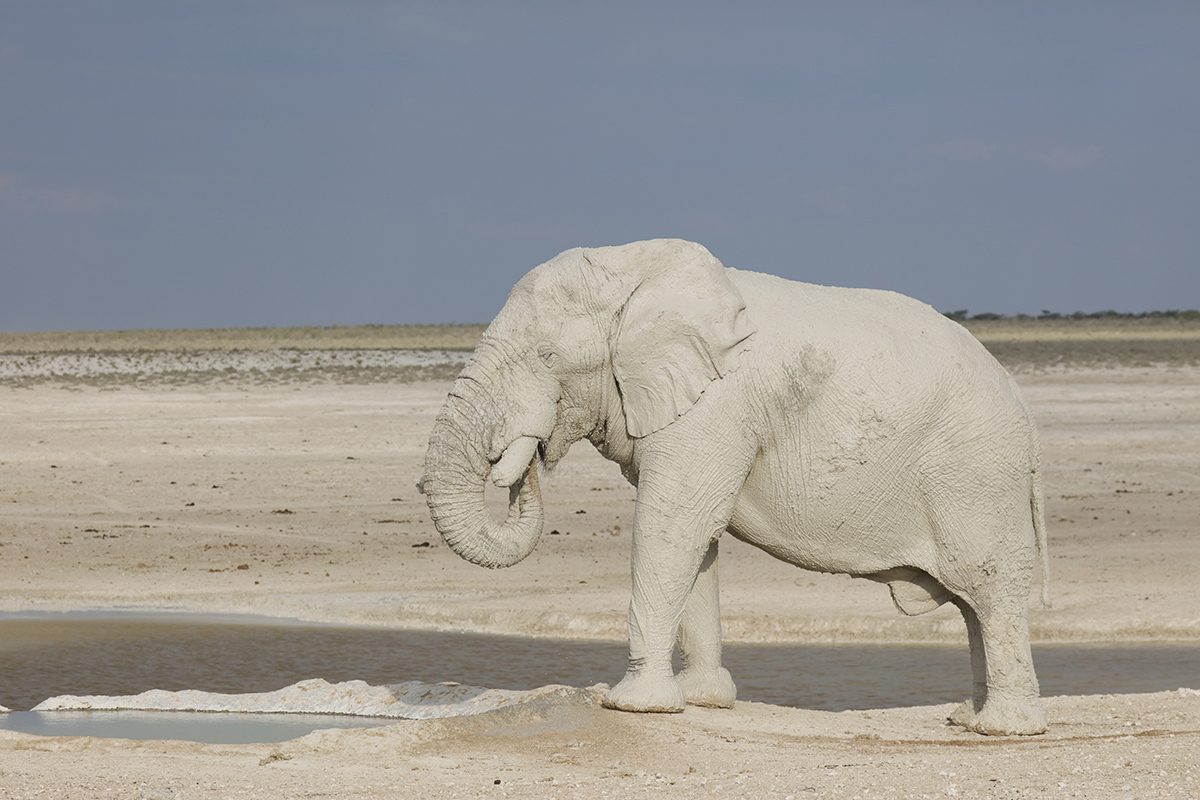
The image below, made from a lower perspective, the open window in my row, answers the question very clearly.
Mud elephant from the window, i.e, from a lower perspective… |
It Seems So Simple To Me…
When looking at the “Royalty on a pedestal…” image that opens today’s blog post, it seems completely obvious that if you get a few feet lower that the horizon would intersect the elephant’s head… As shown in the image above, made from the open safari vehicle window….
But time after time, here and elsewhere, we see evidence that many folks have difficulty picturing how a change in their perspective will affect the image. Considering that the #1 factor to the success of any image is choosing exactly where to stand, where to put your lens, this is a serious problem for those who wish to improve their photography, birds, wildlife, flowers, nature, scenic, or otherwise.
While reviewing images at lunch on an IPT I can remember dozens of times where I arranged a salt shaker and a ketchup bottle on the table and asked, what happens to the juxtaposition if you move to right? Or left? Sometimes that helps, sometimes not so much 🙂
Suggestions On How to Improve
Whether hand holding or on a tripod, the next time that you peer through your camera’s viewfinder at two objects in the frame, ask yourself, what happens to the juxtaposition of these objects if I move left or right, or up or down. If hand holding, actually move left of right or up or down and see how the relationship of the two objects in the frame changes. If your lens is on a tripod, remove it and move left or right or up or down, and note the changes as above. If you make it a habit of doing this exercise, you will soon be able to visualize the results without having to move physically. Acquiring this skill over time will make you a much better photographer.
The next step in the process is to learn to consider the quality and direction of the light in the equation… By doing that, you will learn to know how moving left or right or up or down will affect not only the spatial arrangements of the various elements of composition but the all important effect of light on the image. This a much higher level of skill than simply learned to visualize spatial changes. But you first need to practice the basic skill before attempting the more advanced exercise of being able to see how the light will affect the image without actually having to move…
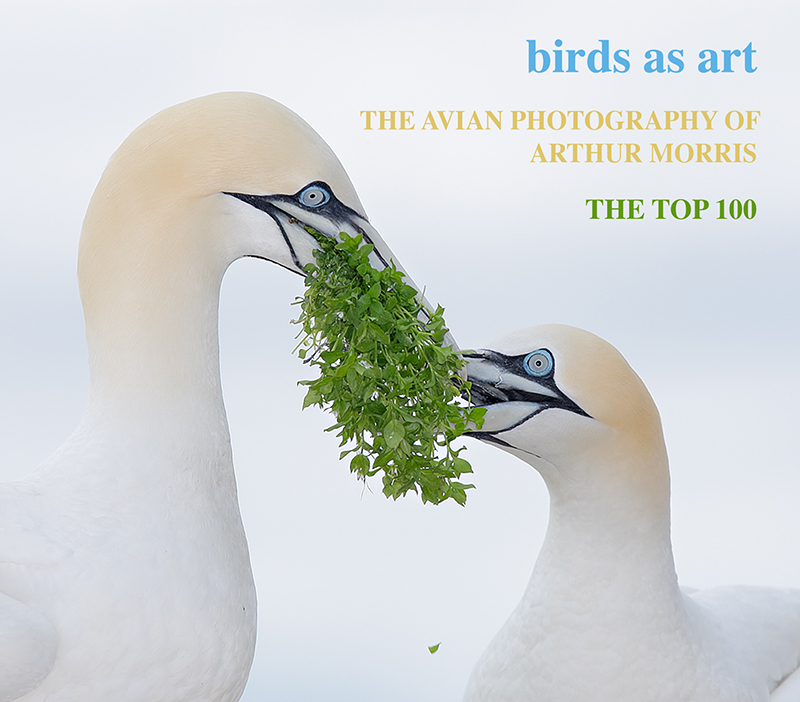
birds as art: The Avian Photography of Arthur Morris/The Top 100
|
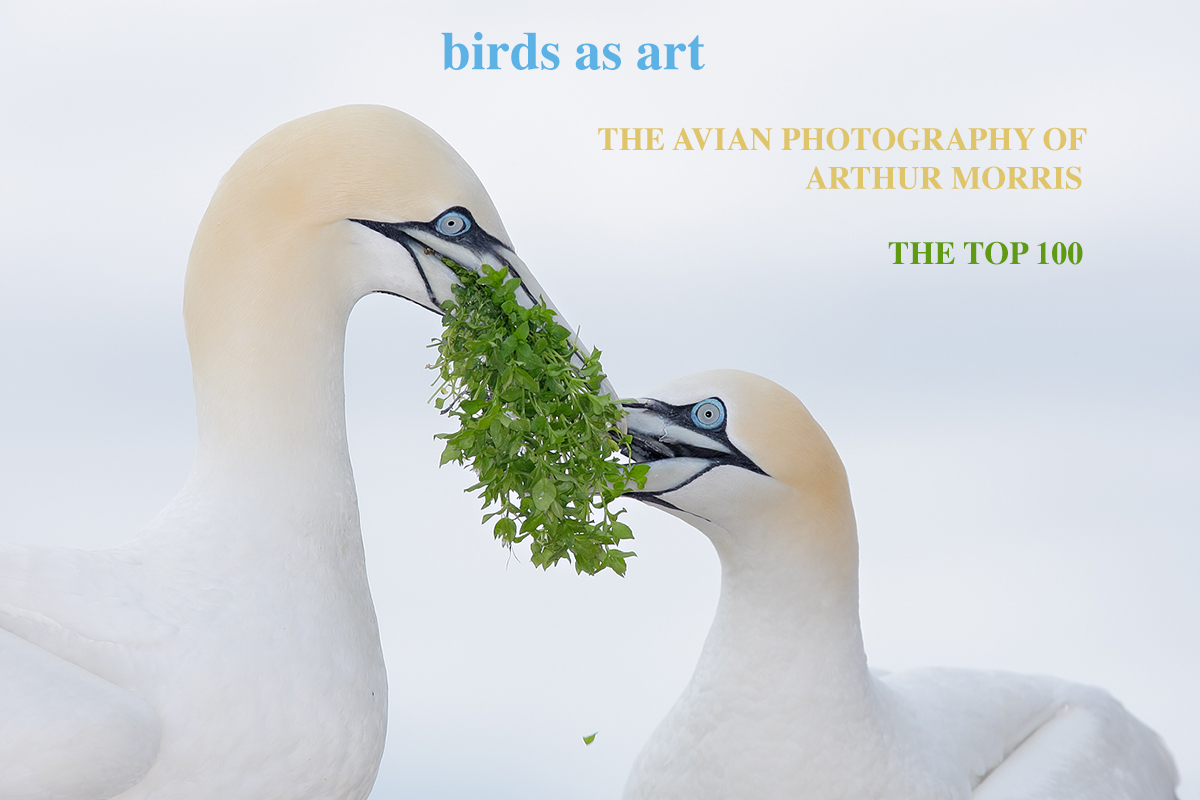
birds as art: The Avian Photography of Arthur Morris/The Top 100
My latest e-book, created on a wing and a prayer in less than two weeks–see Harebrained Scheme here–includes the 67 spectacular images that will hang in the Ordover Gallery at the San Diego Natural History Museum in a career-retrospective solo exhibition. In addition, there are an additional 33 images in the spectacular e-book that barely missed making the show.
This exhibition companion e-book makes it possible for everyone to “visit” TheNAT gallery and, in addition, to enjoy seeing my top one hundred bird photographs under one roof. Each image includes a title, the species name, the location, relevant EXIF data, and an anecdotal caption.
birds as art: The Avian Photography of Arthur Morris/The Top 100: $23 for the professionally produced CD (includes shipping to US addresses only)
Please click here to purchase the physical CD. As above, your purchase price includes shipping to all US addresses. If you would like your CD signed on the inside cover with a black Sharpie, you will need to place your order by phone and request a signed copy: 863-692-0906. For our Canadian friends we are offering the CD for $28 with shipping to Canada via phone orders only: 863-692-0906.
Those who purchase the CD are advised to copy the file to their computers and then archive the CD.
|
The new e-book via is also available via convenient download for $20 by clicking here. |
birds as art: The Avian Photography of Arthur Morris/The Top 100: $20 via convenient download.
Overseas folks, and anyone else as well, can purchase the e-book via convenient download for $20 by clicking here.
Notate Bene
Please share this e-book only with your spouse or significant other. If a friend asks you to share a copy with them, please direct them either to this blog post or to the appropriate link in the BAA Online Store as above. All of the images and text are protected by international copyright law and may not be copied or printed without written permission from the photographer/author. Many thanks for honoring these requests.
You will–of course–need Adobe Acrobat Reader to view the PDF.
|
Sample page from birds as art: The Avian Photography of Arthur Morris/The Top 100. |
Adobe Acrobat Reader Tip
To maximize your viewing pleasure, click Command + L on a Mac, or Control + L on a PC to view the e-book full screen. And then press Esc to exit full screen.
Please Remember to use our Affiliate Links 🙂
To show your appreciation for my continuing efforts here, we ask, as always, that you get in the habit of using my B&H affiliate links on the right side of the blog for all of your photo and electronics purchases. Please check the availability of all photographic accessories in the BIRDS AS ART Online Store, especially the Mongoose M3.6 tripod heads, Induro tripods and ballheads, Wimberley heads and plates, LensCoats and accessories, and the like. We sell only what I have used, have tested, and can depend on. We will not sell you junk. We know what you need to make creating great images easy and fun. And we are always glad to answer your gear questions via e-mail.
I would of course appreciate your using our B&H affiliate links for all of your major gear, video, and electronic purchases. For the photographic stuff mentioned in the paragraph above we, meaning BAA, would of course greatly appreciate your business. Here is a huge thank you to the many who have been using our links on a regular basis and visiting the BAA Online store as well.
I would of course appreciate your using our B&H affiliate links for all of your major gear, video, and electronic purchases. For the photographic stuff mentioned in the paragraph above we, meaning BAA, would of course greatly appreciate your business. Here is a huge thank you to the many who have been using our links on a regular basis and visiting the BAA Online store as well.
Be sure to like and follow BAA on Facebook by clicking on the logo link upper right. Tanks a stack!
Typos
In all blog posts and Bulletins, feel free to e-mail or to leave a comment regarding any typos or errors. Just be right 🙂



Even lower, like flat on the ground, may have been good if it put him against the sky and didn’t cut his feet off.
Yes, flat on the ground may have been great, but totally illegal in the National Park 🙂 a
Hi Artie; Perhaps the following might help those that are having problems visualizing a change of perspective. Objects behind the subject will move (relative to the subject) in the same direction that the camera moves; and objects in front of the subject will move in the opposite direction of the camera movement. Illustrated by your examples, when you moved lower to shoot the elephant, the horizon (behind the subject) also moved lower. If you had moved lower to shoot the Gemsbok, the berm (in front of the subject) would have moved higher, thus obscuring the feet.
Behind > same as you move. In front of > the opposite of how you move. Well done. For me it is easier to visualize that than remember the rules. But I have used similar devices to help with the learning process so this may help many. So thanks! a
Hi Artie,
Its all a question of perspective.
How we answer your questions is all about perspective.
We have a two dimensional screen and your comments plus our experience and knowledge to answer the questions as posed.
Since we are not standing in the situation in person, in close proximity to the three dimensions reality you experienced on the day, we are obliged to read carefully and answer accordingly.
The question as posed is very straight forward but…. does it send us in the direction of your intended lesson on perspective?
So why did you go back to photographing from below the raised roof? It’s obvious that the horizon will intersect with the outline of the Elephant from the lower perspective and we have your statement that “lower was not better”. So to me this suggests there must be some other reason since it would be totally out of character for you to intentionally choose a worse perspective.
Your second question is spot on. It points us in the direction of your intended lesson.
This reminds me of a situation that occurred when travelling with Karen in the early days of our marriage, when the question is not THE question.
She would ask me “are you hungry”?
I would answer “no” and keep driving.
It took me a while then too, to figure out why she was asking that question.
Thanks for another great lesson and a good explanation as above.
I was thinking this morning that the one thing I plan to learn from you on the South Georgia trip is how to recognised a good situation. This is my main objective for the trip. Anything else I learn is pure gravy. I plan to pay attention and stay within earshot as much as possible. its gonna be great fun.
have a great day.
kind regards
David.
Hi David,
Often when the animal is close, getting low and photographing from the safari vehicle window is a good strategy. I was excited. Once I got low, I made a few images and realized the error of my ways. Once up top, I went to 1200mm to create some abstracts, one of which was seen in the original post.
As far as the South Georgia trip, many folks have said exactly what you said only to be sucked in by the amazing spectacle and going off on their own to explore. I welcome you and others to stay by my side but it will be a tough chore 🙂
later and love, a
Hi, Artie, and thanks for this good lesson. And while you’re getting the perspective right you have to get the sun angle right too, and not fall in the creek while you’re doing it. 🙂 And get the exposure. Even with our wonderful new technology good photographers still stand out. Thanks again.
And get close to your subject. And use AF properly to get the image design that you want. And make the image sharp if you want it sharp. And you often need to do all of that in about one second…
I love the challenge. a
That’s may biggest issue, when I see something beautiful then try to get the right position with the right light to capture the beauty I’m seeing in an image….I’m learning so much from this blog! Thank you Artie! 🙂 Jackie
Many thanks Jackie. You need to get on an IPT soon 🙂 a
We tend to think in terms of rules instead of creative right brain thinking. I am a software developer in my day job and often it is difficult to transition from left brain to right brain thinking. In post production, things start to become clearer as we notice the distractions more and start to analyze ways to improve. What is the one thing they always tell us “get low for a new perspective.” Often times this works, but when it becomes dogma, we start to have a problem. “Why is this freaking sand berm in my way dang it, I am shooting low?”
The answer of course is because every situation is different. One of the things I love about listening to those like Artie is they have unpacked a ton of these situations and so they make us think outside the rules when it is necessary. So that moves the ball farther down the field, but my feeling is only experience is the true remedy.
Honestly, I just love getting out there and seeing what happens. I like the unexpected and the beauty of nature. I analyze all day long. Sometimes I just like to let it fly baby!
Well said Matt. Thanks for sharing your thoughts. a
Ansel Adams’ working mantra while composing his images was “assume you are in the wrong place.” If he could do that with wooden tripod and heavy 8×10 view camera, what excuse do we digital photographers have for settling for the first perspective we choose?
As useful an exercise as there could possibly be. Thanks for writing it.
Understood, but misses my main point: with practice you can learn to get in just the right spot right from the get-go by learning to visualize what will happen if you go left or right or up or down… a
ps: YAW