Stuff
Thanks to Eugen Dolan for getting me off my butt and getting this information together. And to Lee Sommie for the three images that he contributed. On Friday I worked on blog posts, answered e-mails, and entertained the Ridge Energy air conditioning repairman. A team will be here on Tuesday to replace the air handler; everything was so rusted that the fan motor failed and it seemed to make much more sense to replace the whole unit rather than to replace the motor and then try to figure out what was leaking …
Right now nobody is signed up for DeSoto next weekend. That means that if you can join me you will be in a very small group, possibly a very small group of one. I am going with none 🙂
Due to a cancellation there is a single opening on San Diego IPT #1 (click here for details). And with only two folks signed up, there is lots of room on San Diego IPT #2 (scroll down here for details that one). I am offering a free Saturday morning session for those who sign up for San Diego #2.
|
|
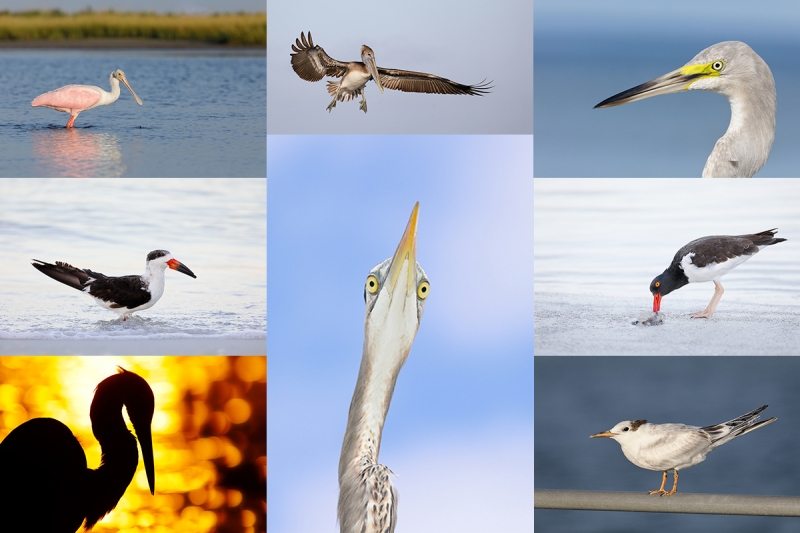
Recent Fort DeSoto ImagesFrom bottom left clockwise back to center: Great Egret, blasting sunrise highlights; Black Skimmer, winter plumage in pre-dawn light; Roseate Spoonbill foraging; Brown Pelican, juvenile landing; hybrid heron X egret; American Oystercatcher feeding; Royal Tern, worn juvenile; Great Blue Heron from below. |
More Cheap Weekend Fort DeSoto In-the-Field Instruction
Sign up for the full day Saturday 11 NOV and the Friday afternoon session (4:30pm till sunset) on 10 NOV is free!
Saturday, November 11, 2017: Morning session — 6:45am for 3 1/2 hours: $149. Add lunch, image review, and Photoshop session: $249 (total).
Saturday, November 11, 2017: Afternoon session — 4:30pm for 3 hours: $99.
Saturday, November 11, 2017, both sessions including lunch: $329. Sign up for the full day Saturday and enjoy a Friday afternoon session for free.
Sunday, November 12, 2017: Morning session — 6:45am for 3 1/2 hours: $149.
Learn to get the right exposure every time, to approach free and wild (and often tame!) birds, and to design a pleasing image. And learn the location of my new Fort DeSoto hotspot along with my favorite sunset location (sky conditions permitting). To register call Jim or Jen at the office at 863-692-0906 or shoot me an e-mail.
Canon lens rentals are available on a limited basis: 600 II, 500 II, 400 DO II, and 200-400 f/4 with Internal TC.
Cheap but great instruction.
The Streak
Today makes ninety-nine days in a row with a new educational blog post! This one took less than an hour to prepare. With all of my upcoming free time (or not …), the plan right now is to break the current record streak of 480 … Good health and good internet connections willing.
Booking.Com
Booking.Com came through for me twice again recently with both the DeSoto Fall IPT and next July’s UK Puffins, Gannets, and Bempton Pre-trip room reservations. And all the rates were great. If you’d like to give Booking.Com a shot, click here and you will earn a $25 reward. Thanks to the many who have already tried and used this great service.


Gear Questions and Advice
Too many folks attending BAA IPTs and dozens of folks whom I see in the field, and on BPN, are–out of ignorance–using the wrong gear especially when it comes to tripods and more especially, tripod heads… Please know that I am always glad to answer your gear questions via e-mail.
General Comments on Hand Holding Big Glass
I am not young and I am not strong. I used to be younger 🙂 Hand holding the Canon 600mm IS II (8.65 pounds plus the camera and a TC) is something that I do only rarely. Hand holding the Canon 500mm IS II (7.04 pounds plus the camera and a TC) is a lot easier for me, but still something that I do not make a habit of. I an fairly comfortable hand holding the Canon 400mm f/4 DO II (4.63 pounds plus the camera and a TC), but after awhile even that causes some fatigue. I can, however, hand hold the Canon 100-400mm II (a measly 3.5 pounds plus the camera and possibly the 1.4X TC) pretty much all day long.
That said, there are lots of techniques that you can use to make your hand holding easier, reduce fatigue, and enable you to produce consistently sharper images no matter how young and strong or old and weak you are. Questions are of course welcome.
General Hand Holding Tips
When you are not actively photographing, find a comfortable rest position, one that does not require you to hold the camera up. For the smaller telephoto lenses (up to the 400 DO II), the Black Rapid Curve Breathe Camera Strap is ideal. With big glass some folks use a strap or a belt device of some sort to reduce muscle strain. Others simply hold the rig by the camera with the lens pointing at or even resting on the ground or on a fence rail of on the gunnels or a boat.
The biggest mistake that I see is folks not extending their left hands far enough out on the lens barrel. I will often ask them, “Would you try to hold a log up from one end? Whatever the lens, be sure to get your left hand at least half way out on the lens barrel.
Study and learn from each of the images below and from my brief comments below each photograph. Again, questions are of course welcome.
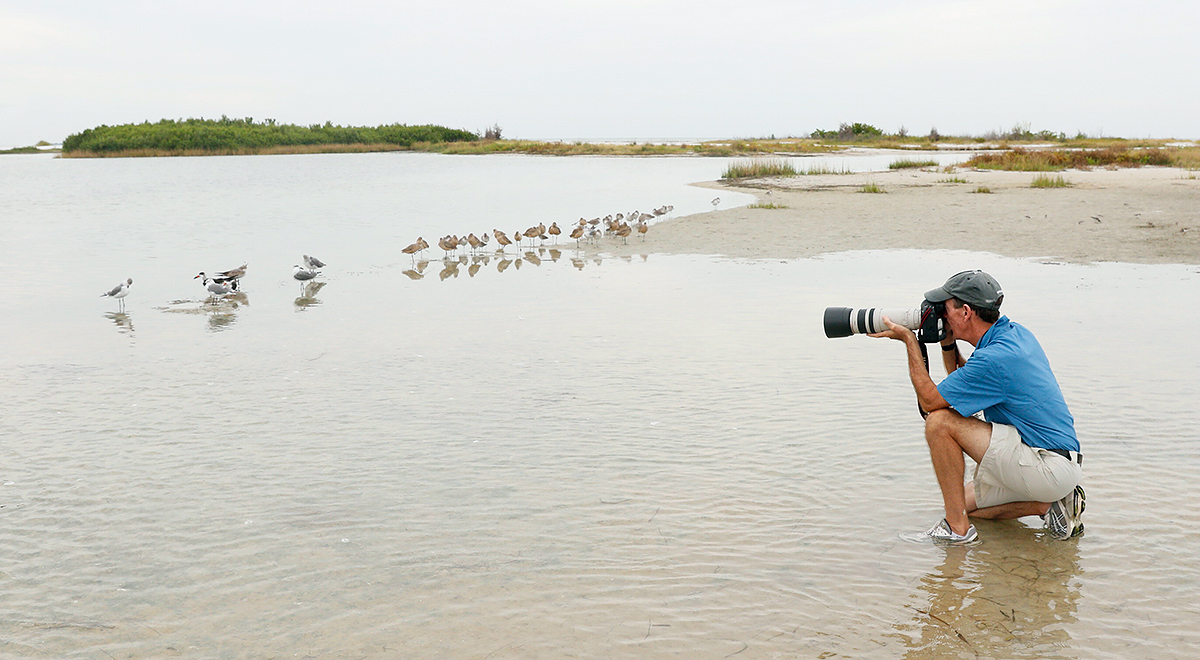
Kneeling knee-pod technique |
Kneeling Knee-pod Technique
The kneeling ground pod technique is an excellent one. Note that DeSoto IPT participant Alan Nodes has his left hand well out on the lens barrel of the old 100-400. Because I often get cramps in my hamstrings when kneeling, I rarely if ever use this technique.
Canon EF 100-400 f/4.5-5.6L IS Zoom Lens (the original 1-4)
Chesley Swann is offering a Canon EF 100-400 f/4.5-5.6L IS Zoom Lens (the original 1-4) in excellent condition for the very low price of $529.00. The sale includes the rear lens cap, the front lens cap, the tough fabric zippered lens case, and insured Ground shipping via major courier. Your item will not ship until your check clears unless other arrangements are made.
Please contact (Chesley) via e-mail or by phone at 1-210-771-9072) (Central time).
The older 100-400 is a versatile intermediate telephoto zoom lens with 1,000+ uses. It makes a great starter lens especially for folks who do general nature and wildlife in addition to birds. Over the years I’ve sold 100s of images made with this lens. And Denise Ippolito loved hers for many years forsaking it only recently for the Canon EF 70-200mm f/2.8L IS II USM lens. Chesley’s lens is priced to sell quickly. artie
Get Your Butt Dirty Knee-Pod Position |
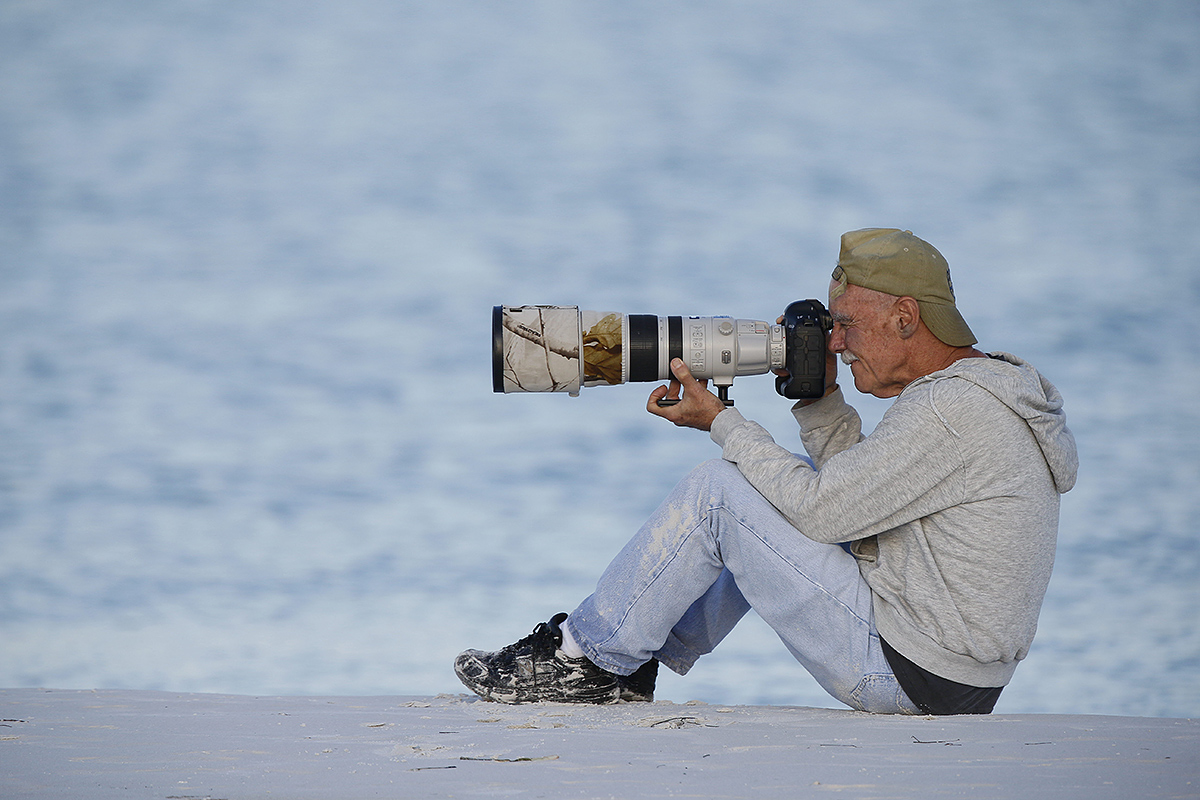
Sitting Knee-pod Technique
Here my right-hand man Jim Litzenberg demonstrates the sitting knee-pod technique while hand holding the 200-400 f/4L IS lens with Internal 1.4X TC (7.98 pounds plus the camera and a TC) at Fort DeSoto. Note that his left forearm is firmly and squarely positioned on his left thigh and that his left hand is on the focusing ring. This allows him to pre-focus manually when he needs to. When using short telephoto lenses I usually opt to rotate the tripod collar so that the lens plate faces up to the sky as holding the lens barrel rather than the lens plate that seems more stable to me. Other fine photographers do it exactly as Jim does. Try both and determine which works better for you.
|
|
Patrick Sparkman using the sitting knee-pod technique on the low cliffs at LaJolla |
Sitting Knee-pod Technique with the 600 II/2X III/5D IV Combo
You need a measure of strength when hand holding at 1200mm even if you use perfect sitting knee-pod technique (as Patrick is doing above). Note that unlike me Patrick keeps the lens plate (actually the CRX-5 Low Foot/Plate) below the lens. But unlike Jim he hooks the pinky of his left hand over the top of the CRX-5. When I do that, I use the last two fingers of my left hand. Try all three ways and see which one works best for you.
|
|
Sitting Knee-pod Technique with the 600 II/2X III/5D IV Combo
|
Sitting Knee-pod Technique with the 600 II/2X III/5D IV Combo
Above is yours truly demonstrating the sitting knee-pod technique with the 600 II/2X III/5D IV combo while working vertically. Note how far out on the lens barrel I have my left hand; that for increased stability.
Standing Olympic Rifle-shooter Technique with the 600 II/5D IV Combo
|
Standing Olympic Rifle-shooter Technique with the 600 II/5D IV Combo
Above is yours truly demonstrating the standing Olympic rifle-shooter technique with the 600 II/5D IV combo while working vertically. Begin by standing roughly square to the subject with your feet shoulder width apart. Note how far out on the lens barrel I have my left hand; that for increased stability. Note that my body is positioned roughly 90 degrees to the subject.
For more information, see the excellent detailed explanation (with photos) on the RifleSilhouette website here.
|
|
Standing Olympic Rifle-shooter Technique/side view
|
Standing Olympic Rifle-shooter Technique/Side View
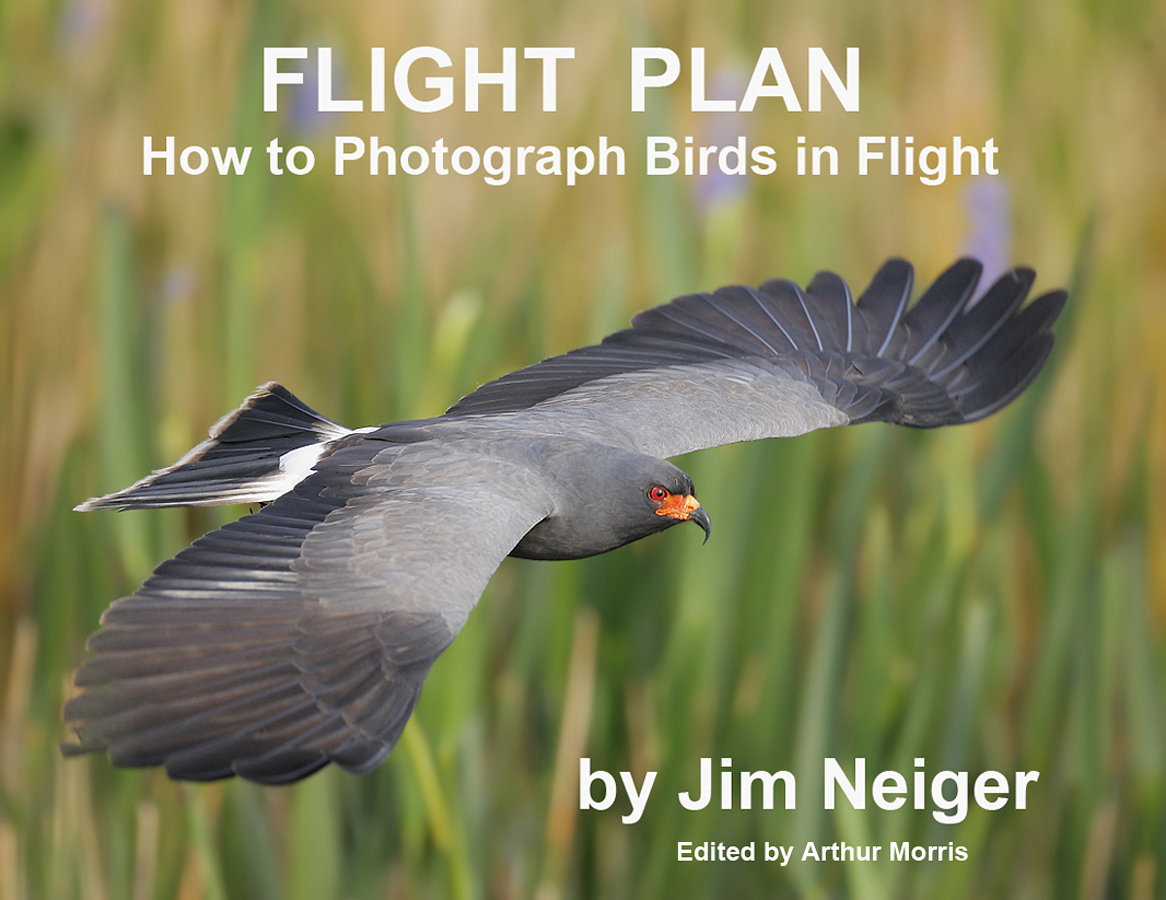
In the image above, you can see that my left upper arm is tucked firmly into my side and that my upper body is leaning back just a bit to better balance the weight of the lens. When doing flight photography or photographing birds perched up in trees, you need to lean back a bit more. There are dozens of great tips on hand holding and flight photography in Jim Neiger’s Flight Plan e-Guide.
|
Flight Plan
I can say without a doubt that after spending more than two months (part time) editing Jim Neiger’s great e-Guide–Flight Plan–four years ago–that my flight photography improved by leaps and bound whether I am working off a tripod or hand holding. His explanation of the bumping the focus technique finally sunk in. Learning to use this technique regularly is a huge help for any all types of flight photography.
You can learn more about Flight Plan here (sorry, we lost the images …) or by clicking here.
|
|
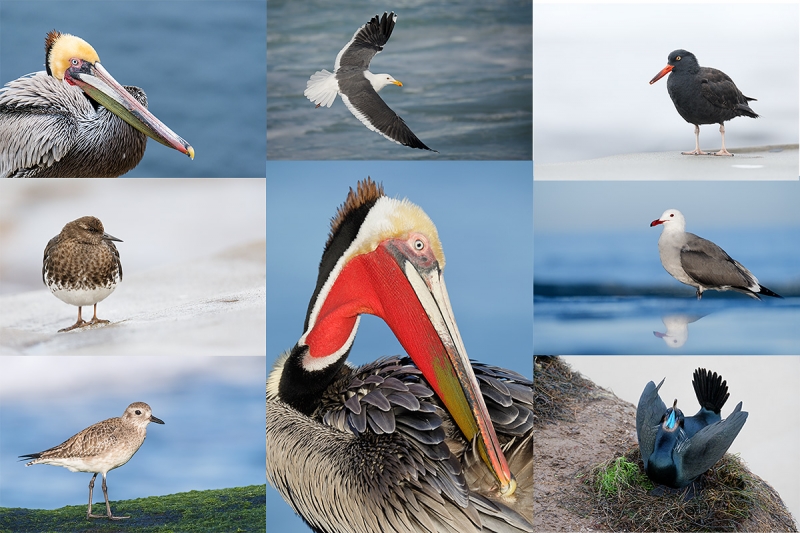
2017 in San Diego was a very good year …. |
2018 San Diego 3 1/2-DAY BIRDS AS ART IPT #2: Sunday, JAN 28 thru and including the morning session on Wednesday, JAN 31, 2018 and a free Saturday morning session the day before the IPT starts: 3 1/2 days (+1/2!): $1699. Limit: 8: Openings: 7.
Meet and Greet at 6:30pm on the evening before the IPT begins; Saturday, Jan 27, 2018.
San Diego IPT #2: Shorter and Less Expensive!
Please remember: I go with one.
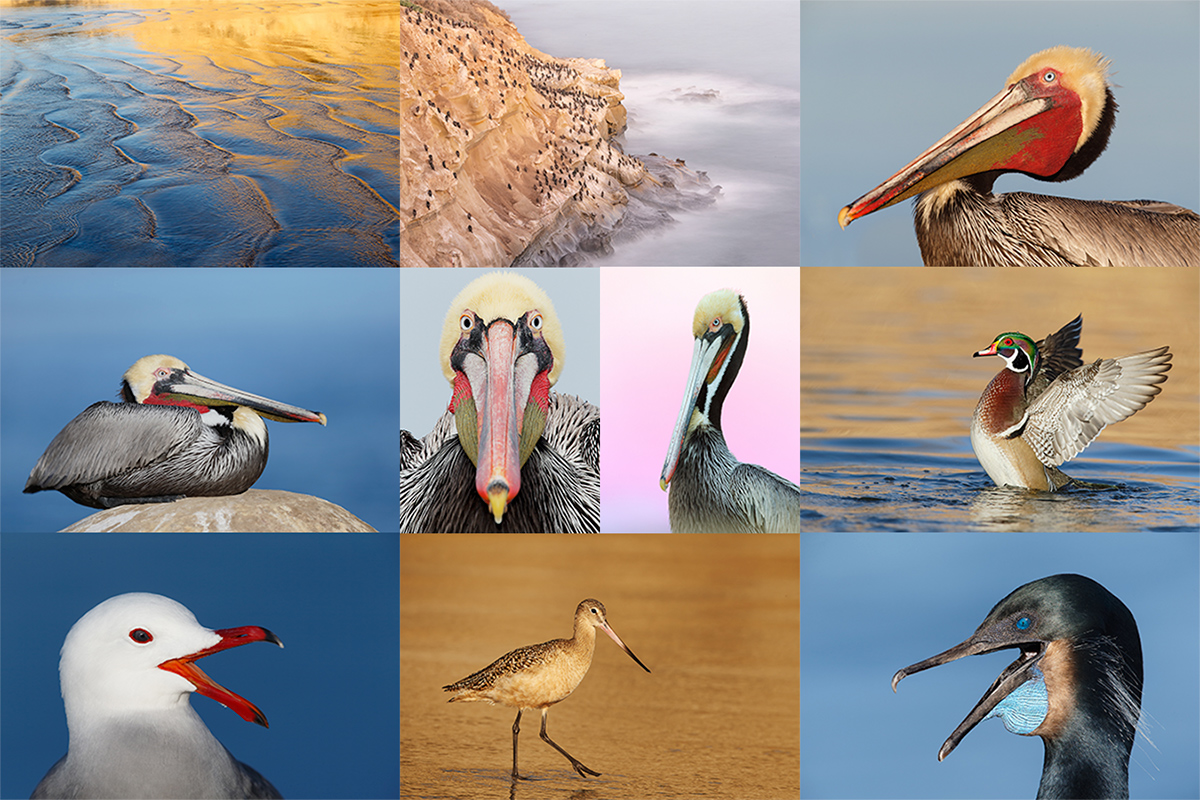
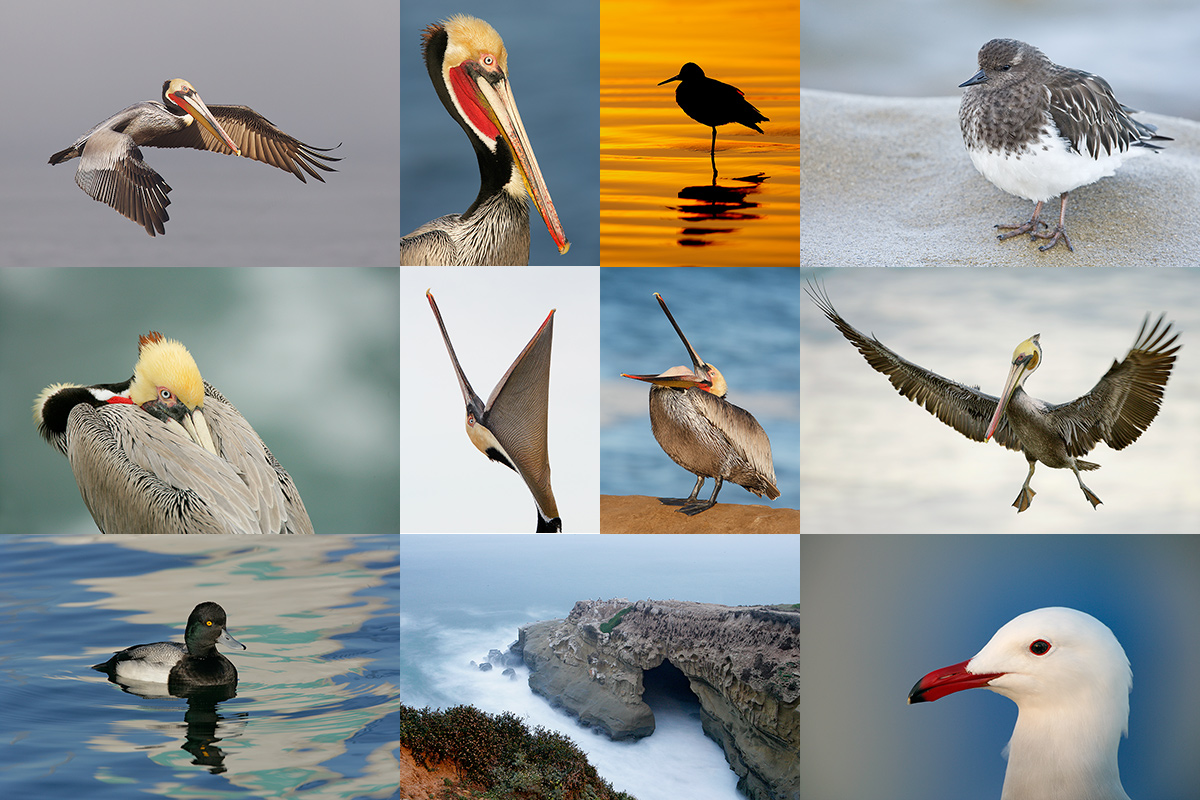
Join me in San Diego near the end of January to photograph the spectacular breeding plumage Brown Pelicans with their fire-engine red and olive green bill pouches; Brandt’s (usually nesting and displaying) and Double-crested Cormorants; breeding plumage Ring-necked Duck; other duck species possible including Lesser Scaup, Redhead, Wood Duck and Surf Scoter; a variety of gulls including Western, California, and the gorgeous Heerman’s, all in full breeding plumage; shorebirds including Marbled Godwit, Whimbrel, Willet, Sanderling and Black-bellied Plover; many others possible including Least, Western, and Spotted Sandpiper, Black and Ruddy Turnstone, Semipalmated Plover, and Surfbird; Harbor Seal (depending on the current regulations) and California Sea Lion; and Bird of Paradise flowers. And as you can see by studying the two IPT cards there are some nice bird-scape and landscape opportunities as well. Please note: formerly dependable, both Wood Duck and Marbled Godwit have been declining at their usual locations for the past two years …
|
San Diego offers a wealth of very attractive natural history subjects. With annual visits spanning more than three decades I have lot of experience there…. |
With gorgeous subjects just sitting there waiting to have their pictures taken, photographing the pelicans on the cliffs is about as easy as nature photography gets. With the winds from the east almost every morning there is usually some excellent flight photography. And the pelicans are almost always doing something interesting: preening, scratching, bill pouch cleaning, or squabbling. And then there are those crazy head throws that are thought to be a form of intra-flock communication. You can do most of your photography with an 80- or 100-400 lens …
Did I mention that there are wealth of great birds and natural history subjects in San Diego in winter?
|
Though the pelicans will be the stars of the show on this IPT there will be many other handsome and captivating subjects in wonderful settings. |
The San Diego Details
This IPT will include four 3 1/2 hour morning photo sessions, three 2 1/2 hour afternoon photo sessions, three lunches, and after-lunch image review and Photoshop sessions. To ensure early starts, breakfasts will be your responsibility. Dinners are on your own so that we can get some sleep.
A $599 non-refundable deposit is required to hold your slot for this IPT. You can send a check (made out to “Arthur Morris) to us at BIRDS AS ART, PO Box 7245, Indian Lake Estates, FL, 33855. Or call Jim or Jennifer at the office with a credit card at 863-692-0906. Your balance, payable only by check, will be due on 11/1/2016. If we do not receive your check for the balance on or before the due date we will try to fill your spot from the waiting list. Please print, complete, and sign the form that is linked to here and shoot it to us along with your deposit check. If you register by phone, please print, complete and sign the form as noted above and either mail it to us or e-mail the scan. If you have any questions, please feel free to contact me via e-mail.
If In Doubt …
If in doubt about using the BAA B&H affiliate link correctly, you can always start your search by clicking here. Please note that the tracking is invisible. Web orders only. Please, however, remember to shoot me your receipt via e-mail.


Please Remember to use my Affiliate Links and to Visit the New BAA Online Store 🙂
To show your appreciation for my continuing efforts here, we ask, as always, that you get in the habit of using my B&H affiliate links on the right side of the blog for all of your photo and electronics purchases. Please check the availability of all photographic accessories in the New BIRDS AS ART Online Store, especially the Mongoose M3.6 tripod head, Wimberley lens plates, Delkin flash cards and accessories, and LensCoat stuff.
As always, we sell only what I have used, have tested, and can depend on. We will not sell you junk. We know what you need to make creating great images easy and fun. And please remember that I am always glad to answer your gear questions via e-mail.
I would of course appreciate your using our B&H affiliate links for all of your major gear, video, and electronic purchases. For the photographic stuff mentioned in the paragraph above, and for everything else in the new store, we, meaning BAA, would of course greatly appreciate your business. Here is a huge thank you to the many who have been using our links on a regular basis and those who will be visiting the New BIRDS AS ART Online Store as well.
Amazon.com
Those who prefer to support BAA by shopping with Amazon may use the logo link above.
Amazon Canada
Many kind folks from north of the border, eh, have e-mailed stating that they would love to help us out by using one of our affiliate links but that living in Canada and doing so presents numerous problems. Now, they can help us out by using our Amazon Canada affiliate link by starting their searches by clicking here.
Be sure to like and follow BAA on Facebook by clicking on the logo link upper right. Tanks a stack.
Typos
In all blog posts and Bulletins, feel free to e-mail or to leave a comment regarding any typos or errors. Just be right :).

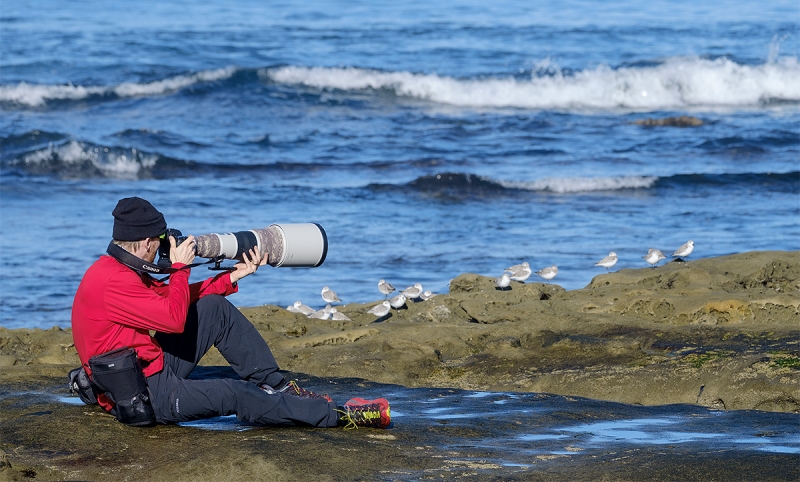
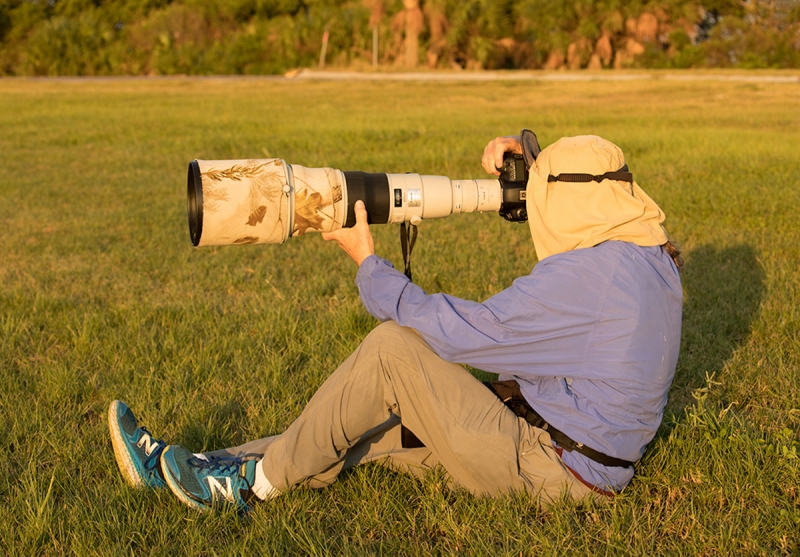
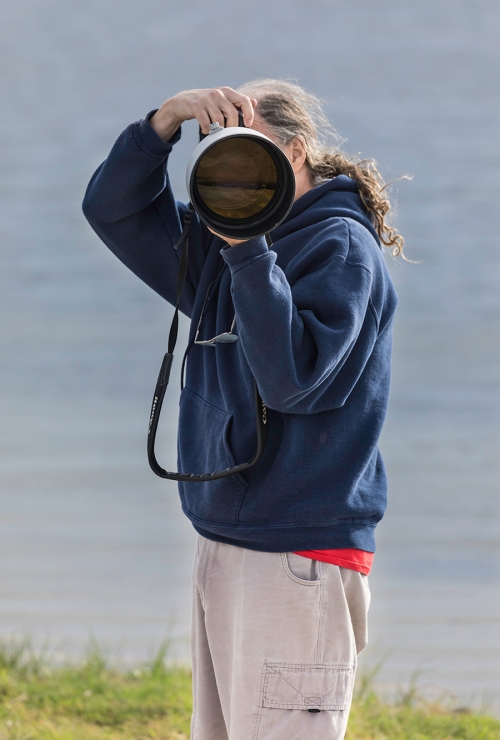
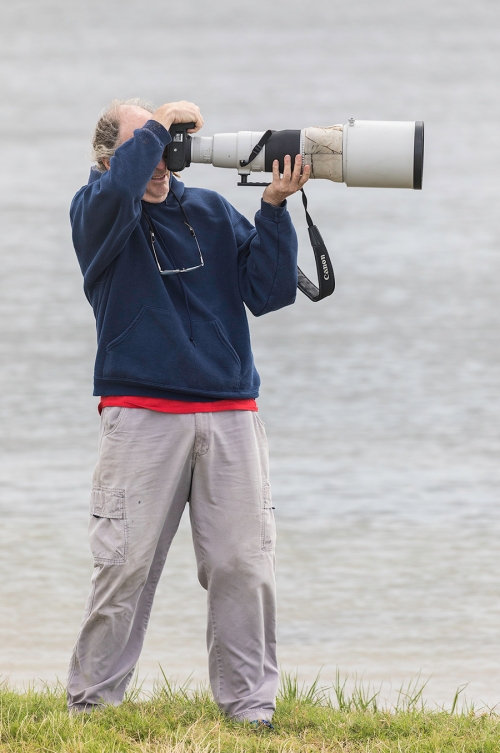


Thank you for your reply – and the images to show the various options – as we get older and our knees and backs are not as agile as they once were- is helpful to have options
You are most welcome; sorry that it took so long.
with loave, artie
Many thanks, Artie, and Adam, for this helpful information. I was on the shooting team when I was in high school (.22 rifles) and I was pretty good. One thing I’d like to add, which applies to target shooting as well, is the advice to squeeze the trigger or shutter-release button gently and smoothly. A jerky movement can ruin a shot or photograph.
Great tutorial on different long lens, hand holding techniques. There are obvious advantages and disadvantages to the various positions and I would encourage people to explore and see which ones work best for them. For example, I find the kneeling, knee pod technique very comfortable and stable for short, sustained periods. The same is true for the sitting, one leg extended, one bent, sitting, knee pod approach. In contrast, both knees bent, sitting, knee pod technique I find fatiguing in the abs and less stable overall.
It’s interesting that you didn’t mention the prone, bipod position? Much of what I learned from holding long lenses steady comes from my experience with firearms – I know, heresy, right? I’ve experimented with creating slings to help steady the lenses but unfortunately lenses don’t come with integrated attachment points. Obviously, folks should be comfortable in a variety of positions as terrain, intervening objects (foliage, etc.), and perspective all influence the type of position one can assume for the shot. Here’s one link (there are dozens of others) which addresses basic aspects about relative stability. https://welikeshooting.com/tips-how-to/four-basic-shooting-positions/.
Thanks Adam. And thanks for the link; the Cross Leg technique is good. I did not mention prone as to me it is not really hand holding. I think of it as the ground holding the rig. None-the-less, there are still lots of things to do to ensure getting sharp images. I have covered some of those in part in recent blog posts such as the one with the low level pelican image.
with love, artie
ps: I do great sitting with my left leg more bent than my right 🙂