What’s Up?
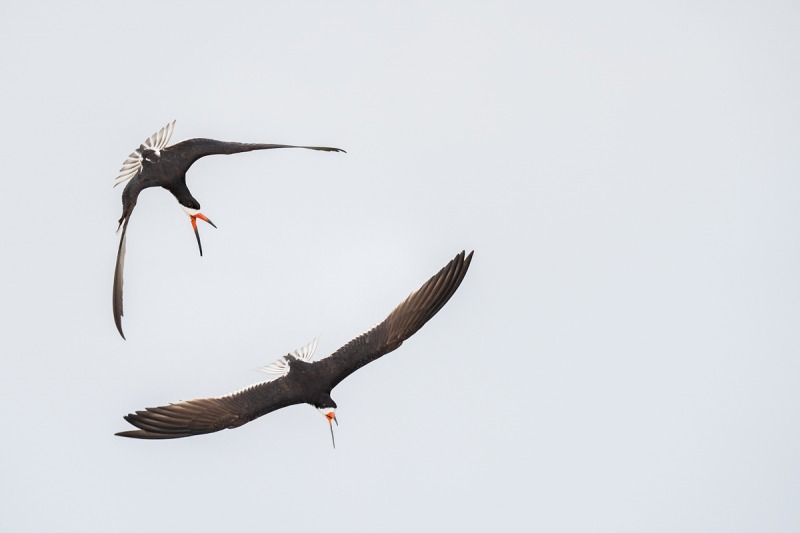
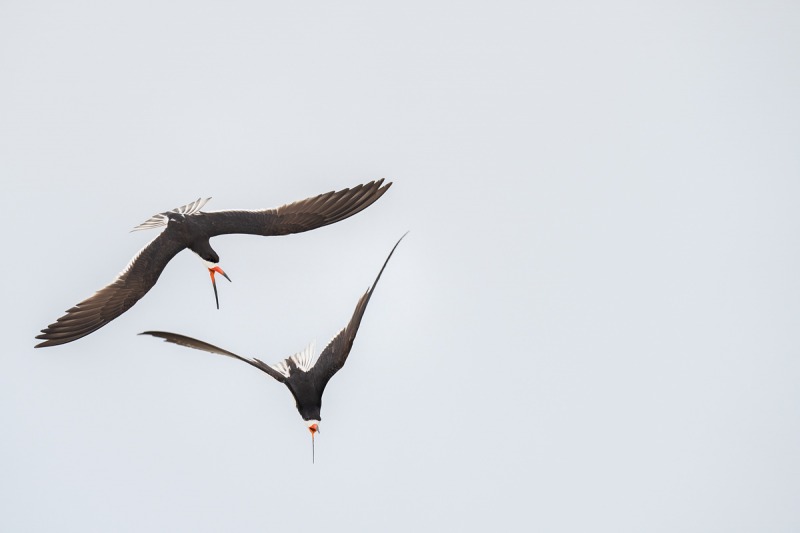
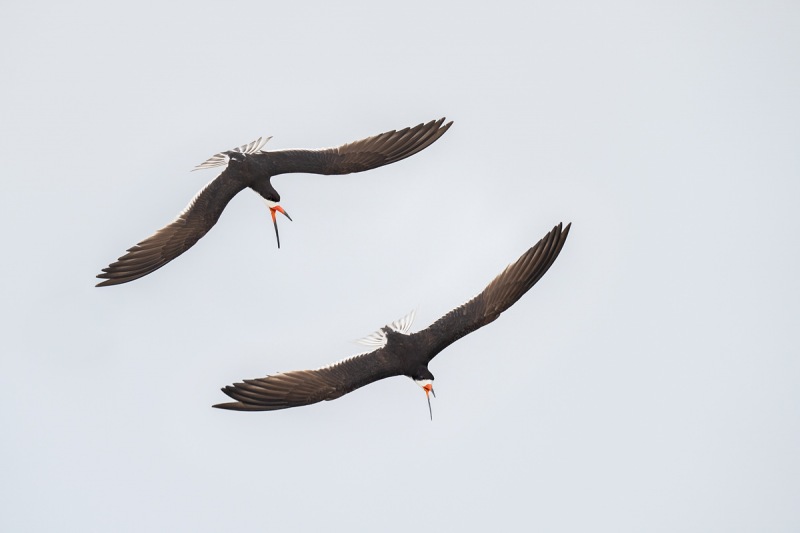
I had another amazing morning at Nickerson Beach on Monday. It was raining when I arrived, but tapered off quickly. I began creating (hopefully) pleasing blurs of skimmers skimming. After an hour, they quit, so I headed to the beach on the basis of the north/northeast wind and the soft light and tried for Common Terns grabbing sand crabs from the surf line along with tons of flight photography. I finished off a very long morning with an oystercatcher family that included two un-banded young. Just before bed on Monday I edited the 5315 image morning folder in 56 minutes. I wound up with 236 keepers after the first edit, a 4.4% keeper rate. Those included several very good ones 🙂
I had a very crazy thing happen near the end of the session: my battery died at the exact same moment that my card was full. How did I know that? First came Battery Exhausted. I replaced the battery, and when I raised the camera it said, Card Full.
Private client Bill Schneider flew from RSW to JFK and got to the hotel at about 4pm. We headed out for a nice dinner at Bonefish Grill in Rockville Center. Today is Tuesday August 9th 2021 and the weather is looking good for the morning at Nickerson Beach: partly cloudy with a southeast breeze. Wherever you are, and whatever you are doing, I hope that you too have a great day.
Remember that you can find some great photo accessories (and necessities!) on Amazon by clicking on the Stuff tab on the orange/yellow menu bar above. On a related note, it would be extremely helpful if blog-folks like me, who spend too much money on Amazon, would get in the habit of clicking on the Amazon logo link on the right side of each blog post when they shop online. As you might expect, doing so will not cost you a single penny, but would be appreciated tremendously by yours truly. And doing so works seamlessly with your Amazon Prime account.
This blog post took about two hours to prepare, and makes 224 consecutive days with a new one. Please remember that if an item — a Delkin flash card, or a tripod head — for example, that is available from B&H and/or Bedfords, and is also available in the BAA Online Store, it would be great, and greatly appreciated if you would opt to purchase from us. We will match any price. Please remember also to use my B&H affiliate links or to save 3% at Bedfords by using the BIRDSASART discount code at checkout. Doing either often earns you free guides and/or discounts. And doing so always earns my great appreciation.
|
|
|
Click on the composite to view a larger version. The Homer 2020 IPTs image |
Homer Bald Eagles Winter 2022
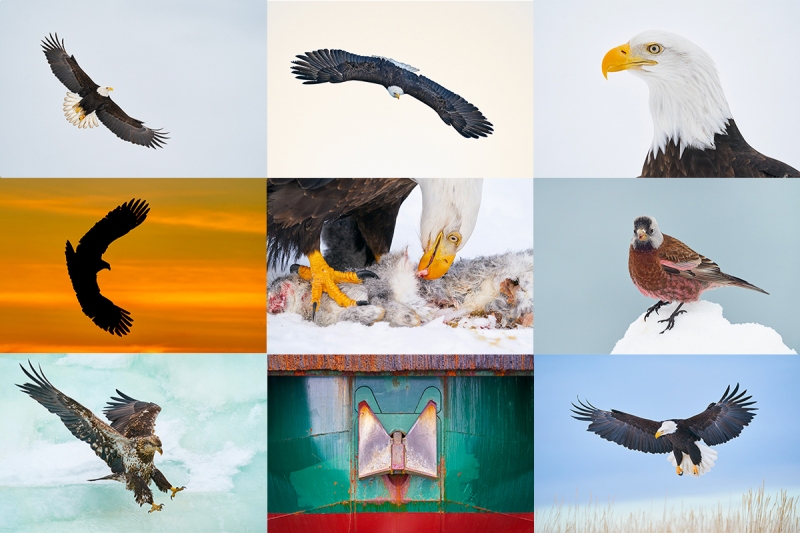
The photography on this trip of a lifetime is beyond amazing. You can do the whole trip with either the Canon 100-500 or the SONY 200-600 along with any 70-200mm lens. Flight photography until you cannot raise your arms, creative set-ups, lots of snow we hope (earlier in the season is best for that), and lots of opportunities for point-blank head portraits and talon shots. All in a variety of spectacular settings. This is an expensive (but competitively priced) trip. If you are seriously interested in joining me for the world’s best Homer/Kachemak Bay Bald Eagle trip(s) — mid-FEB thru early MARCH 2022, please contact me immediately via e-mail for dates and details. I am looking for a roommate who will be doing all eleven days.
Please Remember
With income from IPTs now close to zero, please, if you enjoy and learn from the blog, remember to use one of my two affiliate programs when purchasing new gear. Doing so just might make it possible for me to avoid having to try to get a job as a Walmart greeter and will not cost you a single penny more. And if you use Bedfords and remember to enter the BIRDSASART code at checkout, you will save 3% on every order and enjoy free second-day air shipping. In these crazy times — I am out at least forty to sixty thousand dollars so far due to COVID 19 (with lots more to come) — remembering to use my B&H link or to shop at Bedfords will help me out a ton and be greatly appreciated. Overseas folks who cannot order from the US because of import fees, duties, and taxes, are invited to help out by clicking here to leave a blog thank you gift if they see fit.
New and Better Bedfords Discount Policy!
You can now save 3% on all of your Bedfords photo gear purchases by entering the BIRDSASART coupon code at checkout. Your discount will be applied to your pre-tax total. In addition, by using the code you will get 2nd day air shipping via Fed Ex.
Grab a Nikon AF-S Teleconverter TC-14E III and save $14.99. Purchase a Canon EOS R5 and your discount will be $116.97. Purchase a Sony FE 600mm f/4 GM OSS lens and save a remarkable $389.94! Your Bedford’s purchase no longer needs to be greater than $1,000.00 for you to receive a discount. The more you spend, the more you save.
Money Saving Reminder
Many have learned that if you need a hot photo item that is out of stock at B&H and would enjoy free second-day air shipping, your best bet is to click here, place an order with Bedfords, and enter the coupon code BIRDSASART at checkout. If an item is out of stock, contact Steve Elkins via e-mail or on his cell phone at (479) 381-2592 (Central time). Be sure to mention the BIRDSASART coupon code and use it for your online order to save 3% and enjoy free 2nd-day air shipping. Steve has been great at getting folks the hot items that are out of stock at B&H and everywhere else. The wait lists at the big stores can be a year or longer for the hard to get items. Steve will surely get you your gear long before that. For the past year, he has been helping BAA Blog folks get their hands on items like the SONY a9 ii, the SONY 200-600 G OSS lens, the Canon EOS R5, the Canon RF 100-500mm lens, and the Nikon 500mm PF. Steve is personable, helpful, and eager to please.


Gear Questions and Advice
Too many folks attending BAA IPTs (remember those?) and dozens of photographers whom I see in the field and on BPN, are–out of ignorance–using the wrong gear, especially when it comes to tripods and more especially, tripod heads… Please know that I am always glad to answer your gear questions via e-mail.
|
|
|
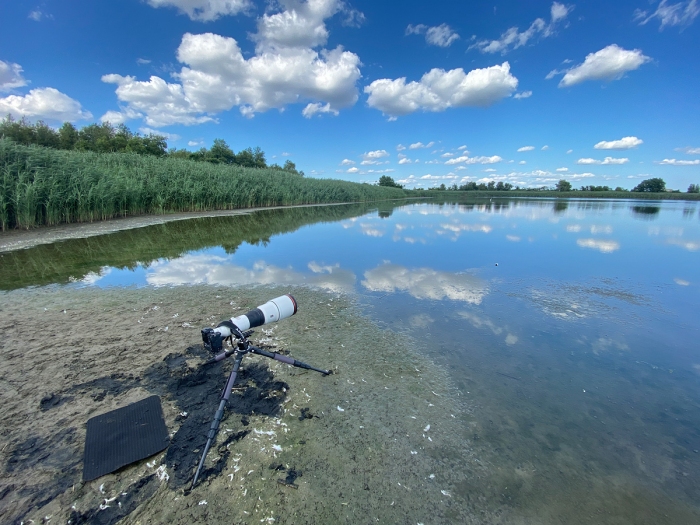
I-Phone image at 1/2X Image #1: 600 GM setup in the muck |
The Treacherous Northwest Corner
With an afternoon high tide — best for shorebirds at the East Pond, I drove in from Ronkonkoma, parked by the North Channel Bridge, and walked about a 1/2 mile to the northwest corner of the East Pond. A nice path had been cut through the phragmites, but once I got to the pond things became treacherous. The mud was soft and deep. And sticky. Carrying my lens in one hand and my tripod in the other I got stuck for a moment, lost my balance, and almost went down into a foot of deep muck. Miraculously, I did not fall.
I realized right off the bat that heading up the west shore would be unsafe at best. I had picked up a sort of rubber/felt mat on the way in. I placed it on the mud and took a seat. Scanning first to the south, I was surprised when I turned my head to see that a young Lesser Yellowlegs had landed in front of me at fairly close range. Over the course of the next 45 minutes or so, that bird was followed by an adult Lesser and then juvenile Greater. After that, having had my fill of yellowlegs, I packed up and headed to Nickerson Beach.
|
|
The iPhone Photography e-Guide
|
Hard to Believe
Yes, Cliff has a great eye and wonderfully creative vision. Yet it is still hard for me to believe that he can make so many great images with “just“ an i-phone. Almost more amazingly Cliff captures with his iPhone and does all of his post-processing on the phone! In this great new e-Guide written for BIRDS AS ART you will learn to use set up you iPhone quickly and efficiently and how to use it. In addition, there are dozens and dozens of tips on Cliff’s favorite apps and his favorite gear. Scroll down to the bottom to see the Table of Contents.
The iPhone Photography e-Guide: $20.00.
To order your copy of the iPhone Photography e-Guide please click here.
Dr. Cliff Oliver
Dr. Cliff Oliver is an award-winning photographer, former photography instructor for the San Diego Natural History Museum, cutting-edge integrative health care professional, and international workshop leader. He created and taught the first 5-day immersion iPhone photography workshop at Hollyhock, Canada’s premier Leadership Learning Center. He teaches quarterly iPhone photography classes at the Athenaeum Music & Arts Library School of the Arts (these include Art on the iPhone, iPhoneography, Portraits and Selfies, and Practicing in the Field). His images have been on the cover of WildBird magazine, on display at Scripps Oceanography Institute, and been honored with multiple first-place finishes in the International Exhibition of Photography Del Mar. The San Diego Natural History Museum’s, “Birds of the World” centennial exhibit featured several of his images. One of his iPhone images received an honorable mention in the Athenaeum 23rd annual juried exhibition. He has displayed images at Art Speaks: Expressions of Hope and Healing and has produced a series of books, called Zen I, II, III, IV, V, VI and VII that feature original images that promote inner peace. The last 4 books feature only images taken on the iPhone. He teaches individuals and groups the skills of capturing iPhone/mobile photographs and then how to create personalized works of art.
To see some of Cliff’s iPhone images, click here. Learn more about Cliff and what he does on his Center for Balance website here. And don’t forget, if I had never met Cliff I would be pushing up daisies somewhere. To request my Health Basics File that contains the whole story, please shoot me an e-mail by clicking here..
|
|
|
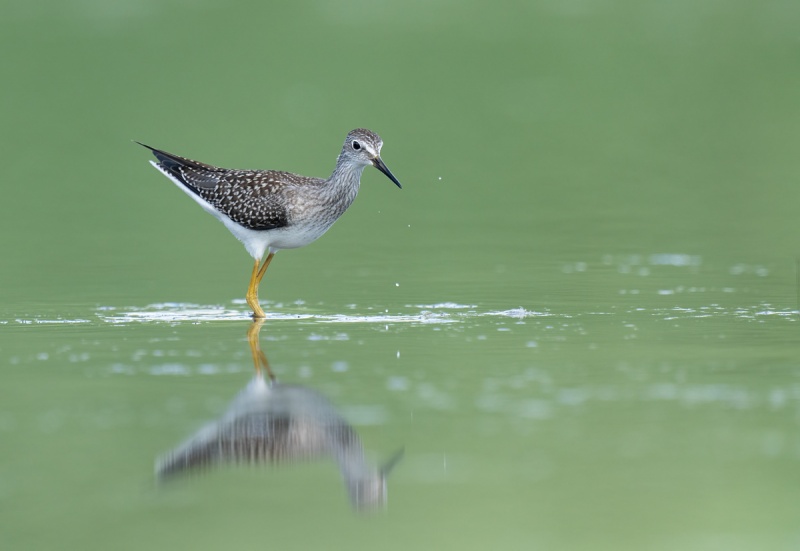
This image was created on 2 August 2021 at the very muddy northwest corner of the East Pond at Jamaica Bay Wildlife Refuge in Queens, NY. Seated on a flat pad that I had found while walking to the pond, I used the <Induro GIT304L Grand Series 3 Stealth Carbon Fiber Tripod/ Levered-Clamp FlexShooter Pro-mounted-Sony FE 600mm f/4 GM OSS lens, the Sony FE 2.0x Teleconverter, and The One, the Sony Alpha 1 Mirrorless Digital Camera (Body Only). ISO 2000. The exposure was determined by Zebras with ISO on the rear wheel: 1/1000 sec. at f/8 (wide open) in Manual mode. AWB at 3:55pm on a partly sunny afternoon. Tracking: Flexible Spot AF-C with Bird-Eye/Face Detection performed perfectly. Click on the image to enjoy a larger version. Image #2: Lesser Yellowlegs — juvenile |
Juvie Lesser Yellowlegs
Lesser Yellowlegs have relatively short, straight, needle-like bills. The evenly spotted patterns on the feathers of the upperparts and the rather crisp overall look, tells us that this bird is a juvenile that was hatched about 5 weeks ago — a bird of the year. Note also the finely streaked neck and upper breast. Young shorebirds are my favorites as they are usually quite tame. That in contrast to the southbound adult birds that arrive at the beginning of July, or earlier. When I did the shorebird surveys at JBWR for five seasons, we would usually see the first juvie lesser on about 10 August. So this bird is early.
Note: the raw file brightness for all three of today’s featured yellowlegs images were shown to be dead-solid perfect in RawDigger.
|
|
|
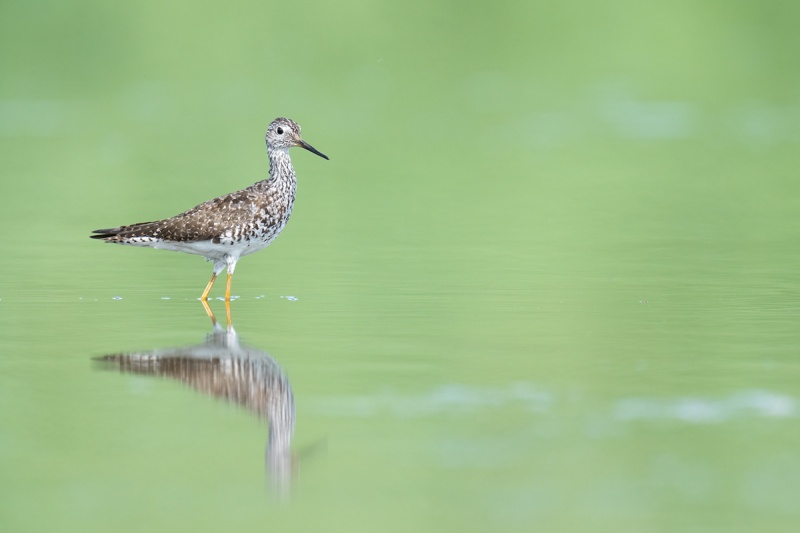
This image was also created on 2 August 2021 at the very muddy northwest corner of the East Pond at Jamaica Bay Wildlife Refuge in Queens, NY.Seated on a flat pad that I had found while walking to the pond, I used the <Induro GIT304L Grand Series 3 Stealth Carbon Fiber Tripod/ Levered-Clamp FlexShooter Pro-mounted-Sony FE 600mm f/4 GM OSS lens, the Sony FE 2.0x Teleconverter, and The One, the Sony Alpha 1 Mirrorless Digital Camera (Body Only). ISO 2500. The exposure was determined by Zebras with ISO on the rear wheel: 1/1000 sec. at f/8 (wide open) in Manual mode. AWB at 4:06pm on a partly sunny afternoon. Tracking: Flexible Spot AF-C with Bird-Eye/Face Detection performed perfectly. Click on the image to enjoy a larger version. Image #3: Lesser Yellowlegs — worn, molting adult |
Adult Lesser Yellowlegs
Note the similar structure to the bird in Image #2 and the short, straight, needle-like bill; both indicate Lesser Yellowlegs. But the plumage of the upperparts looks worn and uneven. There are some great winter feathers coming in. In addition, the breast is heavily marked with large chevrons. All of the above tells us we are looking at a worn, molting Lesser Yellowlegs. As above the usually begin arriving right around 1 July each season.
|
|
|
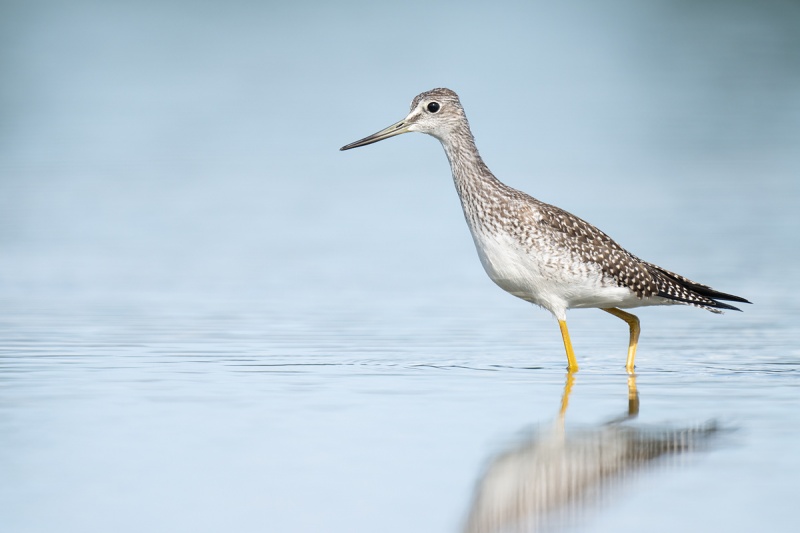
This image was also created on 2 August 2021 at the very muddy northwest corner of the East Pond at Jamaica Bay Wildlife Refuge in Queens, NY. Seated on a flat pad that I had found while walking to the pond, I used the <Induro GIT304L Grand Series 3 Stealth Carbon Fiber Tripod/ Levered-Clamp FlexShooter Pro-mounted-Sony FE 600mm f/4 GM OSS lens, the Sony FE 2.0x Teleconverter, and The One, the Sony Alpha 1 Mirrorless Digital Camera (Body Only). ISO 1000. The exposure was determined by Zebras with ISO on the rear wheel: 1/1000 sec. at f/8 (wide open) in Manual mode. AWB at 4:20pm on a partly sunny afternoon. Tracking: Flexible Spot AF-C with Bird-Eye/Face Detection performed perfectly. Click on the image to enjoy a larger version. Image #4: Greater Yellowlegs juvenile plumage |
Juvie Greater Yellowlegs
Here we have a more robust yellowlegs with a longer, thicker, upturned bill that are indicative of Greater Yellowlegs. For a greater, this bird has a relatively short bill that will increase in length as it ages. As far as the plumage, with see the same evenly spotted pattern on the feathers of the upperparts and the rather crisp overall look. Both of those clearly indicate that this is a juvenile bird. Heres the rub: as they breed far to the north of Lesser Yellowlegs, southbound juvenile greaters do usually not appear in the NYC region until the very end of August. So this bird is way early. When I asked Richard Crossley about that he said, “global warming …”
Shorebirds; Beautiful Beachcombers
If you would like to learn more about identifying and aging North American shorebirds, grab a copy of my Shorebirds; Beautiful Beachcombers. The book is twice out of print and we have very few copies left.
Typos
With all blog posts, feel free to e-mail or to leave a comment regarding any typos or errors.

